Beef Bone Broth Recipe
Making beef bone broth at home is honestly pretty simple—just bones, water, veggies, and a lot of patience. I’ve been simmering bone broth for years, and this method always gives me that deep, satisfying flavor folks rave about.
If you’re trying bone broth for the first time, or just want a reliable recipe, I’ll walk you through it. No need to stress—just let it do its thing on the stove.
The key is patience. You’ve gotta let those bones simmer for hours if you want all the good stuff to come out and give you that golden color. But honestly, most of the time you’re just waiting, and your kitchen will smell so good.
Let’s talk about what you’ll need, what goes into the pot, and how to actually pull this off step by step. I’ll toss in some tips for tweaking it to your taste, and a heads-up on what to expect.
Equipment
You don’t need anything fancy here. I use regular kitchen stuff—nothing wild.
Here’s what I grab:
- Large stockpot or Dutch oven (8-12 quarts is usually enough)
- Roasting pan (for browning bones, if you want)
- Fine mesh strainer (for getting rid of the bits)
- Cheesecloth (totally optional, just for super clear broth)
- Big bowl or containers (for the finished broth)
- Ladle (makes skimming easier)
- Tongs (for moving hot bones—trust me, you’ll want these)
The stockpot’s the main thing. Bigger is better, so you can actually fit all your bones in there and still have room for water. A heavy-bottomed pot is nice because it helps prevent burnt bits.
Once you’re done cooking, you’ll need to strain out the bones and veggies. I just pour everything through my mesh strainer into a bowl. That usually does the trick.
If you’re after super clear broth, line the strainer with cheesecloth. It catches the tiny stuff, but honestly, it’s not required unless you’re being fancy.
For storage, I like mason jars or sturdy plastic containers with tight lids. Just make sure they can handle hot liquids. Glass is great, but let things cool a bit so you don’t end up with a mess.
Ingredients
Getting the bones right makes a big difference. A mix of bones is the way to go—each kind brings something different.
Here’s what I usually use:
- 3-4 pounds beef bones (try to mix it up)
- 1-2 pounds marrow bones (makes it rich)
- 1-2 pounds knuckle bones (for that nice gelatin)
- 1 pound neck bones or oxtail (if you can find it, adds flavor)
- 2 medium onions, quartered
- 1 piece fresh ginger (about 3 inches), sliced up
- 10-12 black peppercorns
- 2-3 star anise (optional, but kinda nice)
- 2 tablespoons apple cider vinegar
- Cold water (enough to cover everything)
- Salt, to taste
If you can get grass-fed beef bones, go for it. They just taste better and have more of the good stuff.
Marrow bones make the broth silky and rich. Knuckle and neck bones are loaded with collagen, which is what makes the broth gel when it cools.
Your butcher can help—just ask for soup bones and they’ll usually set you up. Some places even sell bones labeled for broth.
Oxtail isn’t a must, but it does add a meaty kick. Use what you can find—no need to stress if you can’t get every type.
Instructions
Honestly, making bone broth at home isn’t tricky. I’ll break it down so you know exactly what to do.
First, roast the bones if you want more flavor. Toss them on a roasting pan and bake at 400°F for about 30 minutes. This step is optional, but I think it’s worth it.
Put the bones in your big stockpot. Add your onions, ginger, and any other veggies you like. Splash in the apple cider vinegar—it helps pull the good stuff out of the bones.
- Fill the pot with cold water until the bones are covered by about 2 inches.
- Crank up the heat and bring it to a boil.
- Once it’s boiling, drop the heat way down so it just barely simmers.
- Skim off any foam that floats up in the first hour. That’s normal.
Simmering is where the magic happens. On the stovetop, I let mine go for anywhere from 12 to 24 hours. The longer, the better, honestly.
If you’ve got an Instant Pot, set it to high pressure for 2-3 hours. It’s way faster, and the broth still turns out rich.
- Check the water every so often and top it up if it gets low.
- Give it a taste after the minimum time.
- Keep simmering if you want it even richer.
When it’s done, strain everything out through a fine mesh strainer. Toss the bones and veggies. Let the broth cool down, then stash it in the fridge.
You’ll see a layer of fat form on top once it’s cold. You can scoop it off, or leave it for extra flavor.
Notes
I always hang on to leftover beef bones from roasts or ask for extras at the butcher. Any mix of knuckle, marrow, or oxtail works.
Don’t skip the apple cider vinegar. It really does help pull minerals out of the bones, which is one of the reasons bone broth is so good for you.
Roasting the bones first gives you a deeper, richer flavor. If you’re in a rush, you can skip it, but I try to do it when I can.
Broth keeps in the fridge for up to 5 days, or in the freezer for 6 months. I usually freeze it in 2-cup portions, or even in ice cube trays if I want to use just a bit at a time.
If your broth gels in the fridge, that’s perfect. It means you got plenty of collagen out of the bones. It’ll turn liquid again when you heat it up.
You can get a second batch out of the same bones. It’ll be lighter, but still tasty.
Some folks say bone broth is good for joints and easy to digest. All that simmering breaks down the collagen and pulls out minerals like calcium and magnesium.
If you want, toss in some celery, parsley, or garlic in the last hour. I wouldn’t add them at the start—they can make things bitter if they cook too long.
Equipment
- Large stockpot or Dutch oven
- Roasting pan
- Fine mesh strainer
- Cheesecloth
- Big bowl or containers
- Ladle
- Tongs
Ingredients
- 3-4 pounds beef bones try to mix it up
- 1-2 pounds marrow bones makes it rich
- 1-2 pounds knuckle bones for that nice gelatin
- 1 pound neck bones or oxtail if you can find it, adds flavor
- 2 medium onions, quartered
- 1 piece fresh ginger (about 3 inches), sliced up
- 10-12 black peppercorns
- 2-3 star anise optional, but kinda nice
- 2 tablespoons apple cider vinegar
- 16 cups Cold water enough to cover everything; enough to cover bones by 2 inches
- Salt to taste
Instructions
- Optional for deeper flavor: roast the bones on a rimmed roasting pan at 400°F (205°C) for 30 minutes, turning once halfway through.
- Add the bones to a large stockpot. Add onions, ginger, peppercorns, and star anise (if using). Pour in the apple cider vinegar.
- Cover with cold water so the bones are submerged by about 2 inches (about 16 cups, depending on pot size). Bring to a boil over high heat.
- Reduce heat to the lowest simmer. Skim off any foam that rises during the first hour for a cleaner broth.
- Simmer, partially covered, for 12–24 hours, checking occasionally and adding a little water if the level drops below the bones.
- Strain through a fine-mesh strainer into a large bowl or containers (line with cheesecloth for extra clarity, if desired). Discard solids.
- Cool, then refrigerate. Skim off the fat layer if you’d like. Season with salt to taste when reheating or using.
Notes
Nutrition
Tasting Notes
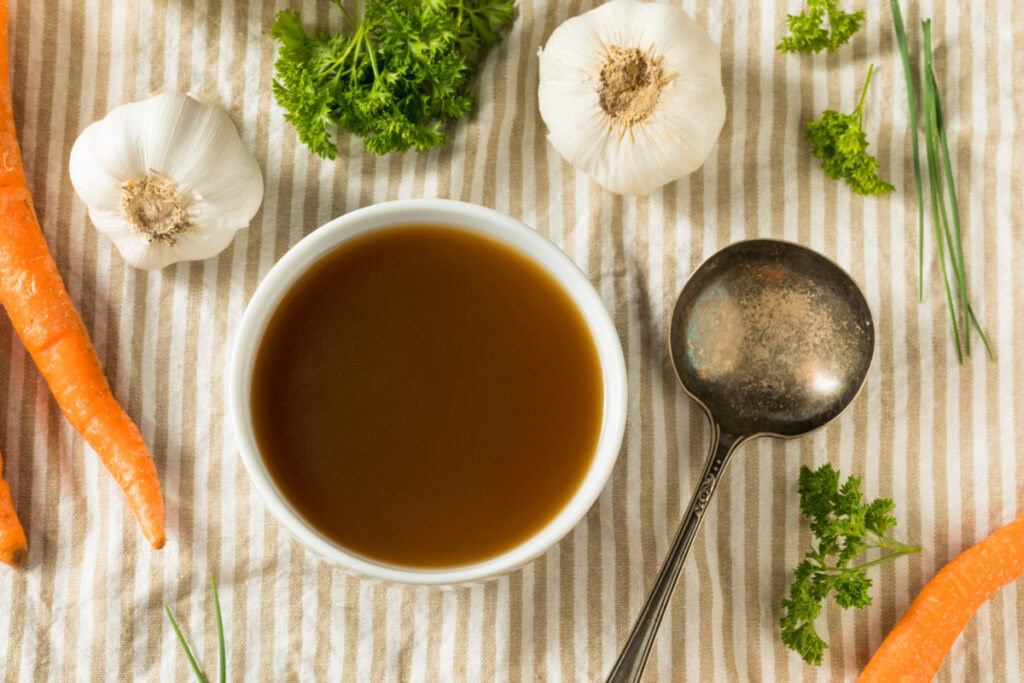
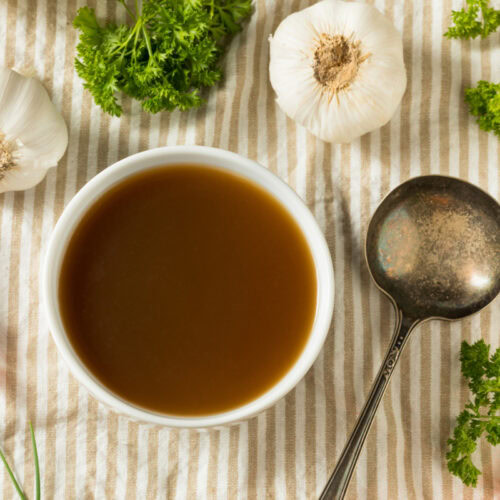
When I sip my homemade beef bone broth, the first thing I notice is this rich, savory flavor that just fills my mouth.
There’s a deep meaty taste, thanks to those roasted bones and all that time simmering away on the stove.
It’s never too salty—honestly, that lets the beef really stand out.
The texture? Smooth and just a bit thick.
Once it cools down, it turns into this gelatinous broth—plenty of collagen from the bones, which is exactly what I’m hoping for.
That gelatin makes it feel silky, almost like it’s coating my tongue.
I pick up little hints of the veggies I tossed in—onions and carrots mostly.
Those flavors don’t take over, but they do round everything out.
Garlic adds a gentle warmth, but it’s not overpowering at all.
The color usually turns out golden brown, sometimes even a dark amber if I’ve roasted the bones longer.
A darker color? That usually means more flavor, at least in my experience.
My broth stays clear, not cloudy, which I take as a good sign that I skimmed it enough.
The aroma is honestly one of my favorite parts.
It smells warm and comforting, with that slow-cooked beef and some earthy notes from the veggies.
Whenever I reheat it, the whole kitchen just smells amazing.
The taste is clean, pure, not greasy at all.
Any fat floats up to the top, so it’s pretty easy to skim off.
For me, the best broth lands somewhere in the middle—flavorful and balanced, not too strong, not too weak.