Spooky Spiderweb Cheese Charcuterie Board Recipe
Halloween’s honestly one of my favorite excuses to get a little weird in the kitchen. Cheese boards are always a win at my parties, but this time, I wanted something extra fun.
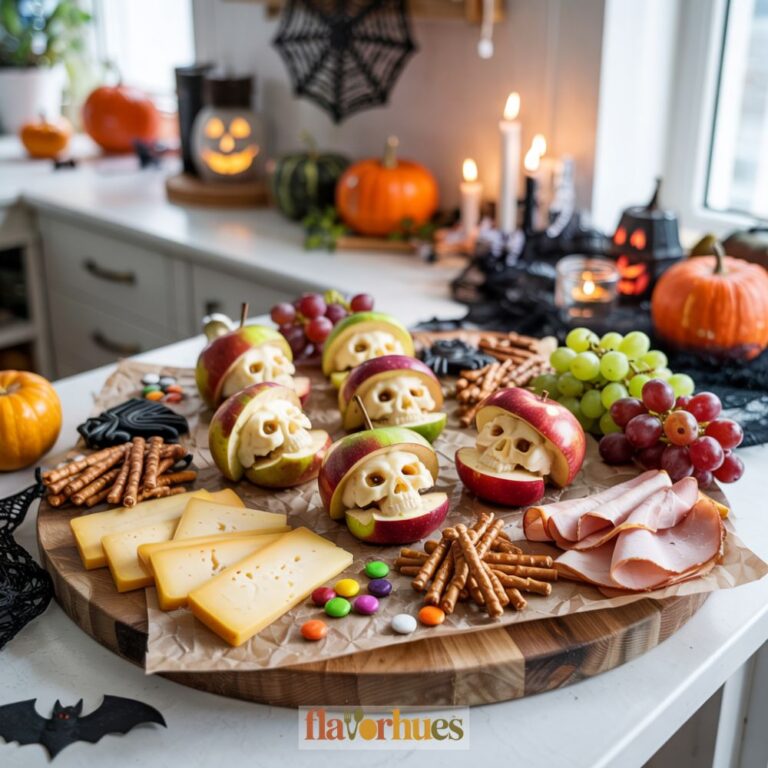
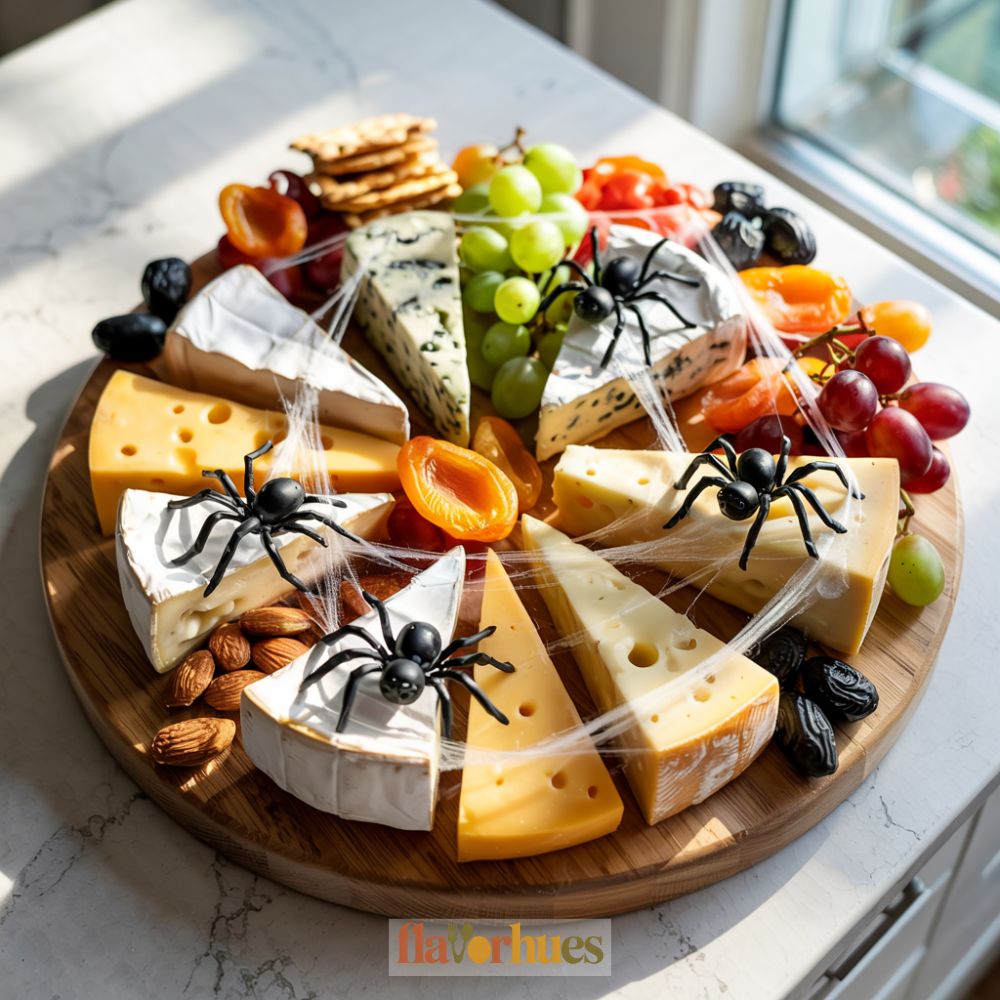
A spooky spiderweb cheese charcuterie board brings together tasty cheese, meats, and snacks with a playful spiderweb design—it’s easy to make and totally perfect for Halloween.
This recipe lets me use foods I already love, but with a festive twist. Decorating the board is almost as much fun as eating it, and it’s always a crowd-pleaser when it hits the table.
Why I Love Them
Honestly, these spooky spiderweb cheese boards are just a blast to make. I get to play around with shapes, colors, and flavors every single time.
They’re fun to put together and never look quite the same twice. My friends and family always notice the spiderweb and the way the cheese pops on the board.
It’s also nice that I can switch up the cheeses and snacks. Sometimes I’ll use white cheddar for the web, or maybe mozzarella if I’m feeling classic.
Sweet and salty combos are my favorite, like grapes with cheddar, crackers with salami, or apple slices with brie.
- Grapes and cheddar
- Crackers and salami
- Apple slices and brie
Arranging everything is kind of calming, actually. I get to focus on the little details, but it doesn’t take forever—perfect for busy days.
Kids seem to get extra excited about these, too. Sometimes they help out, adding candy spiders or moving cheese around. It’s a simple way to make a Halloween party snack that people remember.
Equipment
For my Spooky Spiderweb Cheese Charcuterie Board, I don’t go overboard with gadgets. Here’s what I usually grab:
- Large wooden board or tray (minimum 12 inches wide)
- Small paring knife
- Butter knife
- Piping bag (or just a zipper bag with a snipped corner)
- Medium mixing bowl
- Spoon
The paring knife is for slicing cheese, fruit, and meats. I use the butter knife to spread the spiderweb cheese.
Piping bags make the web look neat, but honestly, a plastic baggie works fine if you don’t have one. The bowl and spoon are for mixing spreads or cream cheese, getting it ready for the web.
I always keep paper towels close for quick clean-up. Small forks or toothpicks are handy for grabbing snacks off the board.
I try to double check that I’ve got everything before I start. It makes the whole thing way more fun.
Ingredients
Here’s what I usually use for my Spooky Spiderweb Cheese Charcuterie Board:
Cheese
- 6 ounces brie wheel
- 4 ounces cheddar, sliced
- 4 ounces mozzarella string cheese (for the spiderweb)
- 3 ounces gouda, sliced
Crackers and Bread
- 1 cup round crackers
- 1 cup breadsticks, broken in half
- ½ cup mini pretzel twists
Fruits and Extras
- ½ cup black grapes
- ½ cup green grapes
- ½ cup dried apricots
- ¼ cup almonds
Spooky Decorations
- 2 tablespoons black olives (for spider bodies)
- 1 tablespoon cream cheese (to “glue” the web)
I usually keep some extra olives and cheese handy. Sometimes I want to add another web or a few more spiders.
Pre-slicing the cheese and washing the fruit before starting makes assembly go way faster. And hey, if you like different cheeses or fruits, swap them in. Why not?
Instructions
I start by putting my biggest cheese wedges on a round board—usually cheddar and brie, but basically any firm cheese will work.
Next, I slice 8 ounces of mozzarella string cheese into skinny strips. I pull them apart gently so they look webby.
Then I lay the mozzarella strips over the cheeses in a web shape. I press the ends into the soft cheese to keep them in place. If they won’t stick, a dab of cream cheese helps.
After that, I arrange crackers and grapes around the edge. Any empty spots get filled with dried apricots, olives, or almonds.
For spiders, I use black olives. I cut a couple in half for bodies, then slice more into thin strips for legs. I tuck them into the web—spooky enough, right?
Quick checklist as I go:
- Place cheese wedges
- Stretch and arrange mozzarella webs
- Add crackers, grapes, and snacks
- Make olive spiders and set them in the web
I serve it right away, or cover with plastic wrap and chill if I’m prepping ahead.
Equipment
- Large wooden board or tray (at least 12 inches wide)
- Paring knife (for slicing cheese, fruits, and meats)
- butter knife (for spreading cream cheese or soft cheeses)
- Piping bag or zipper bag with snipped corner (for spiderweb design)
- medium mixing bowl (for mixing cheese or spreads)
- spoon (for scooping or spreading)
- Toothpicks or small forks (for serving)
Ingredients
Cheese:
- 6 oz brie wheel
- 4 oz cheddar cheese sliced
- 4 oz mozzarella string cheese for spiderweb
- 3 oz gouda sliced
Crackers and Bread:
- 1 cup round crackers
- 1 cup breadsticks broken in half
- ½ cup mini pretzel twists
Fruits and Extras:
- ½ cup black grapes
- ½ cup green grapes
- ½ cup dried apricots
- ¼ cup almonds
Spooky Decorations:
- 2 tbsp black olives for spider bodies
- 1 tbsp cream cheese for “gluing” the web
Instructions
- Place the brie and cheddar on the board as your central cheeses.
- Slice mozzarella string cheese into skinny strips. Pull them apart gently to create web-like strands.
- Arrange the mozzarella strips over the cheeses in a spiderweb shape. Press the ends into soft cheeses to hold them in place. If needed, use a small dab of cream cheese as “glue.”
- Arrange crackers, breadsticks, pretzels, and grapes around the edge of the board.
- Fill in any gaps with dried apricots, almonds, or additional cheese slices.
- Create spooky spider decorations using black olives—cut one olive in half for the body and slice others into thin strips for legs. Arrange them in the web.
- Serve immediately or cover with plastic wrap and refrigerate until ready to serve.
Substitute
Sometimes I run out of something and just swap it out. Here are a few go-to substitutions I use for this Spooky Spiderweb Cheese Charcuterie Board:
- Cheese
No mozzarella? Cream cheese or Monterey Jack work pretty well. They’re easy to melt and spread. - Meats
If I’m out of salami, I’ll use turkey or ham. Both are great with cheese, honestly. - Spider Decorations
Can’t find black olives? I’ll use raisins, grapes, or even cherry tomatoes cut into little shapes. - Crackers and Bread
No crackers? I just cut up pita, grab some tortilla chips, or use thin breadsticks instead.
Here’s a quick table:
| Original | Substitute |
|---|---|
| Mozzarella (8 oz) | Cream cheese, Jack |
| Salami (4 oz) | Turkey, ham |
| Black olives | Raisins, grapes |
| Crackers | Pita, breadsticks |
I just use whatever’s in my kitchen. It keeps things easy and honestly, it’s half the fun.
What Can Go Wrong?
Sometimes the cheese shapes just don’t look right. If my cheese gets too warm or soft, it melts or loses its form.
I try to chill the cheese before I start cutting spiderwebs or shapes. It’s a little thing, but it helps a lot.
If I don’t use parchment paper for the web, the cheese might stick to the board. Removing it can get messy and break the pattern—ugh.
I always use parchment as a base for neat edges. It’s not fancy, but it works every time.
Common Issues I Face:
- The spiderweb cheese tears while lifting
- Meats and cheeses slide around if the board isn’t flat
- Dark berries or spreads sometimes stain the lighter cheeses
- Crackers can get soggy if put on the board too early
Here’s a quick table with trouble spots and my go-to fixes:
| Problem | What I Do |
|---|---|
| Cheese melting | Keep cheese cold and work fast |
| Cheese sticking | Use parchment or wax paper |
| Web is uneven | Use a template under the paper if needed |
| Items shifting | Build on a flat, stable surface |
If the lines of the spiderweb look messy, I’ll grab a clean toothpick and tidy them up. If colors bleed, I just swap out any juicy fruit or wet ingredients right before serving.
It’s not always perfect, but that keeps everything looking fresh and neat—good enough for me.

