Spider Web Chocolate Cake Pops Recipe
I love making desserts that look as fun as they taste. Spider Web Chocolate Cake Pops are always a hit at my house.
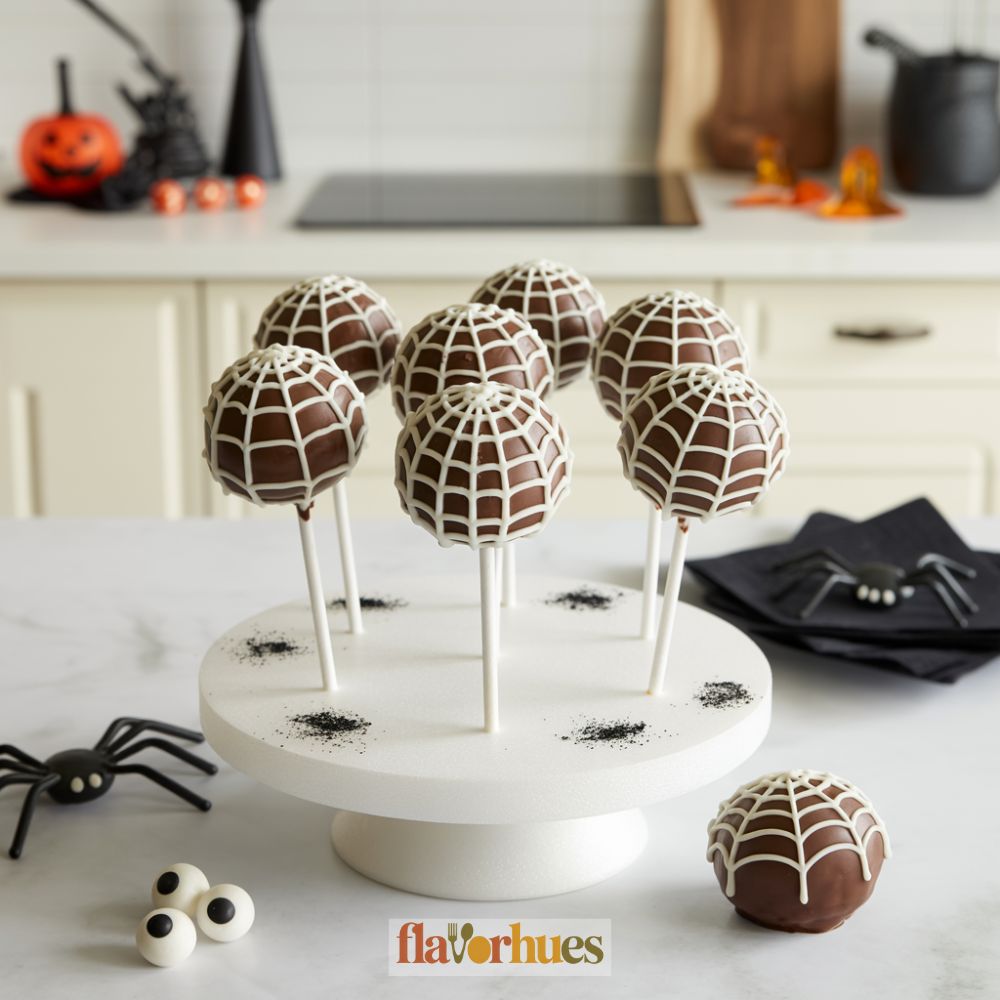
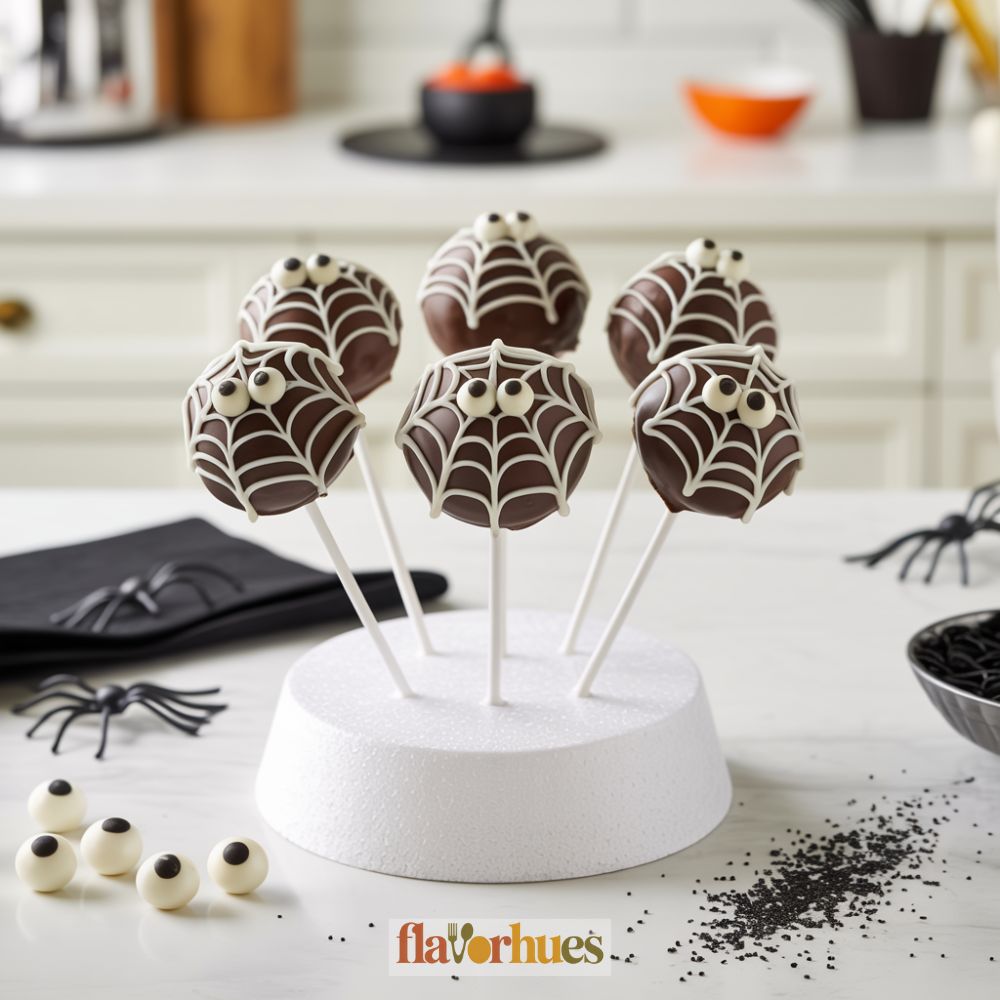
These cake pops are simple chocolate treats decorated with white chocolate to look like little spider webs. They’re perfect for parties or spooky celebrations.
Kids and adults both enjoy the mix of rich chocolate and playful designs. With just a few ingredients and a bit of creativity, I can put together a batch that looks great on any dessert table.
Making these cake pops doesn’t take much skill. I’ll walk you through each step so you can make them yourself without stressing out.
Why I Love Them
Honestly, Spider Web Chocolate Cake Pops are fun to make and even more fun to eat. The cake is soft and rich, while the chocolate coating adds a satisfying crunch.
I enjoy sharing them with friends, especially at parties. These cake pops also look great—simple spider web decorations, but they always catch people’s eyes.
Kids and adults both appreciate the creative design, especially around Halloween.
Making them lets me get creative. Sometimes I’ll switch up the decorations or try new flavors.
Another reason I like these? They’re easy to serve—people just grab one, no need for a fork or plate.
These cake pops also store well in the fridge. I can make them ahead and they stay fresh for days, which is a relief when I’m prepping for a party.
Equipment
To make Spider Web Chocolate Cake Pops, I use a few simple tools. Each one helps me get the best results (or at least, not a total mess).
First, I need a large mixing bowl. This is where I combine the cake and frosting.
A baking tray or cookie sheet is important for resting the pops after shaping them. I also use parchment paper to keep things from sticking—trust me, it’s worth it.
A stand mixer or hand mixer makes life easier, but I’ll stir by hand if I have to. Lollipop sticks are a must; I grab a pack of 6-inch sticks for this recipe.
For dipping, I use a microwave-safe bowl to melt the chocolate coating. A fork or cake pop stand is handy for letting the pops set without getting smudged.
Here’s a quick equipment checklist:
| Item | Purpose |
|---|---|
| Large mixing bowl | Mixing cake and frosting |
| Baking tray/sheet | Resting and setting cake pops |
| Parchment paper | Prevents sticking |
| Stand or hand mixer | Combines ingredients |
| 6-inch lollipop sticks | Holds the cake pops |
| Microwave-safe bowl | Melts chocolate coating |
| Fork or cake pop stand | Holds pops while setting |
| Piping bag or zip bag | Create the spider web design |
I keep all my tools ready before I start. It just makes the whole process smoother—and honestly, more fun.
Ingredients
When I make Spider Web Chocolate Cake Pops, I start by gathering everything I need. Here’s my list of ingredients with the exact amounts so it’s easy to follow:
Cake:
- 1 box chocolate cake mix (about 432g)
- Ingredients listed on the cake mix box (usually eggs, oil, and water)
Frosting:
- 1/2 cup (115g) chocolate frosting
For Coating and Decoration:
- 2 cups (340g) semisweet chocolate chips or melting wafers
- 1/2 cup (90g) white chocolate chips or candy melts
Other Supplies:
- 20–24 lollipop sticks
- Sprinkles (optional)
I use the boxed cake mix for convenience, but homemade cake works too if I have extra time. The chocolate chips are great for coating, and white chocolate is perfect for the spider web design.
If I want more color, I’ll toss a few Halloween sprinkles on top just for fun.
Instructions
First, I preheat my oven to 350°F (175°C). I line a baking pan with parchment paper and set it aside.
I mix the cake mix, eggs, oil, and water in a large bowl. After baking for 25–30 minutes, I let the cake cool completely.
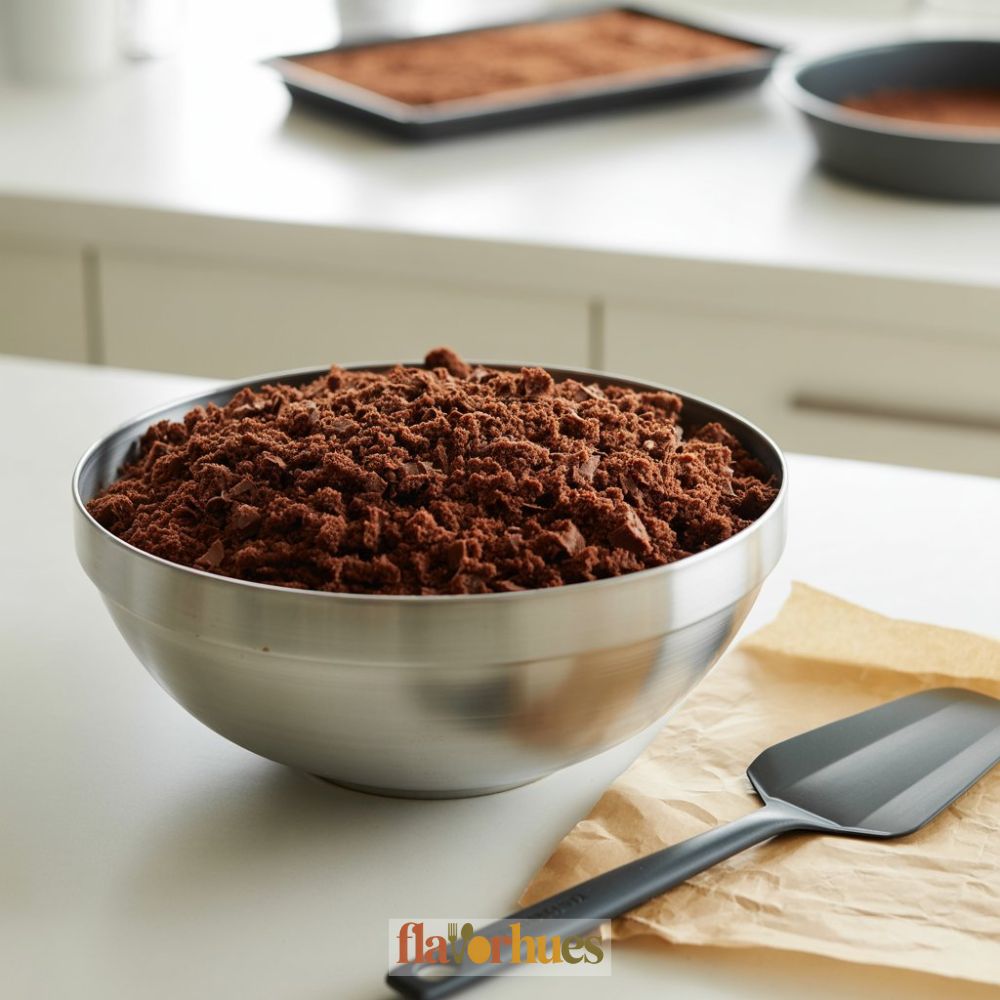
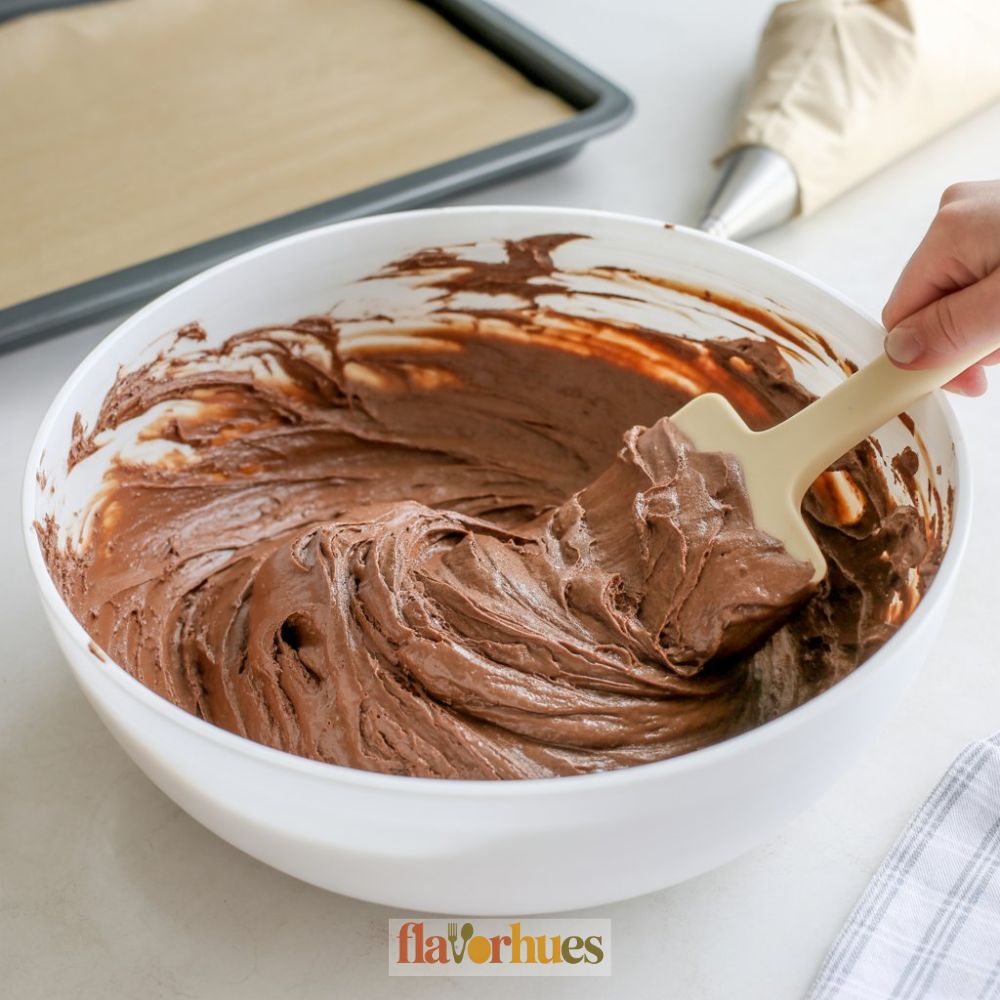
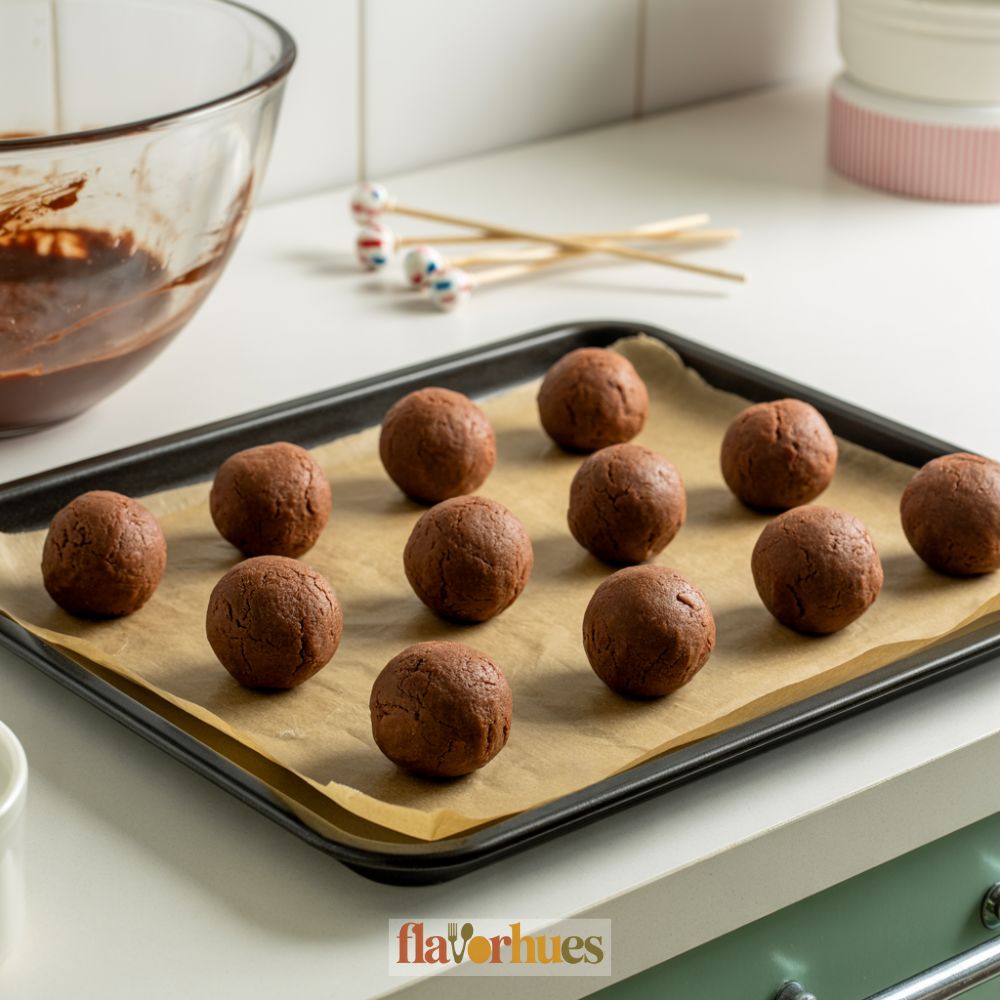
When the cake is cool, I crumble it into fine pieces in a big bowl. Then I add the chocolate frosting and mix until it feels like thick dough—kind of messy, but worth it.
I roll the mixture into small balls, about 1 inch wide. I put a lollipop stick in each ball and freeze them for at least 20 minutes.
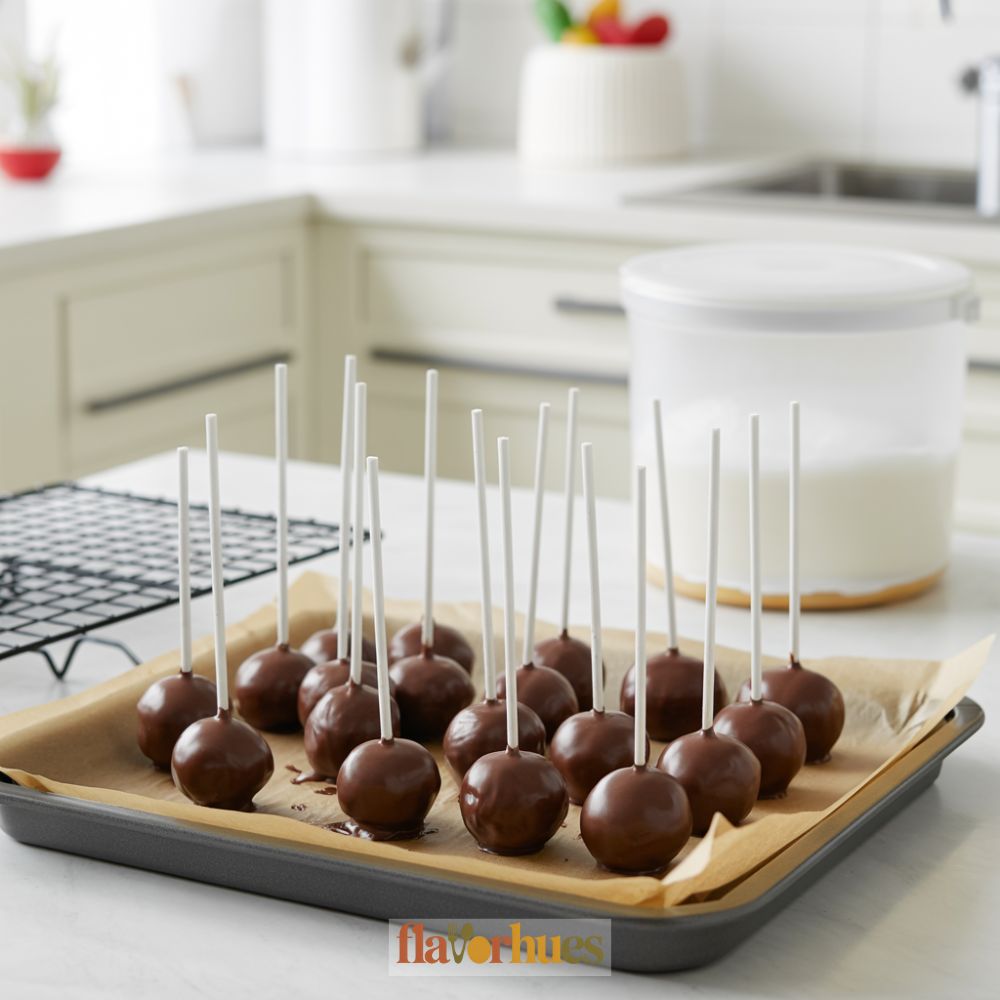
I melt the dark chocolate chips in the microwave, then dip each cake pop into the melted chocolate. I let the extra chocolate drip off (sometimes I tap them gently on the edge of the bowl).
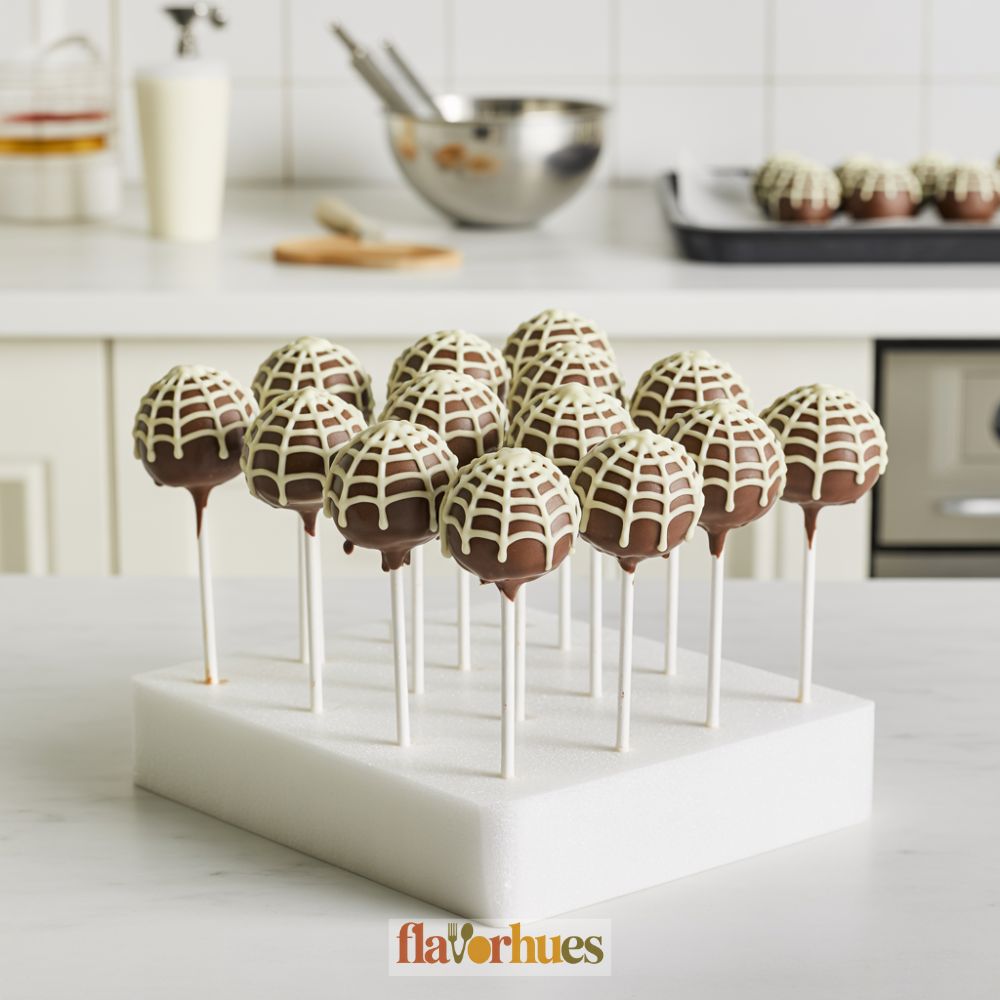
For the spider web, I melt the white chocolate and spoon it into a small zip-top bag. I snip a tiny corner and draw thin lines on each cake pop to make the web design.
I let the cake pops stand until the chocolate hardens. Now my cake pops are ready to serve—finally!
Decoration Tips
I like to start by gathering everything I need before I decorate. Here’s a quick list that helps me stay organized:
| Ingredient | Quantity |
|---|---|
| Chocolate melts | 12 ounces |
| White candy melts | 4 ounces |
| Sprinkles (optional) | 2 tablespoons |
| Lollipop sticks | 20 |
| Black edible marker | 1 |
For a smooth finish, I dip each cake pop in melted chocolate. I tap off any extra chocolate gently so it doesn’t drip everywhere—learned that the hard way.
To make spider webs, I melt the white candy melts and pour them into a small piping bag. I draw thin circles, then use a toothpick to pull lines from the center outwards. This makes the webs look more interesting (and less like a scribble).
Sometimes I add black sprinkles to look like tiny spiders. If I want more detail, I’ll draw eyes or lines with an edible marker.
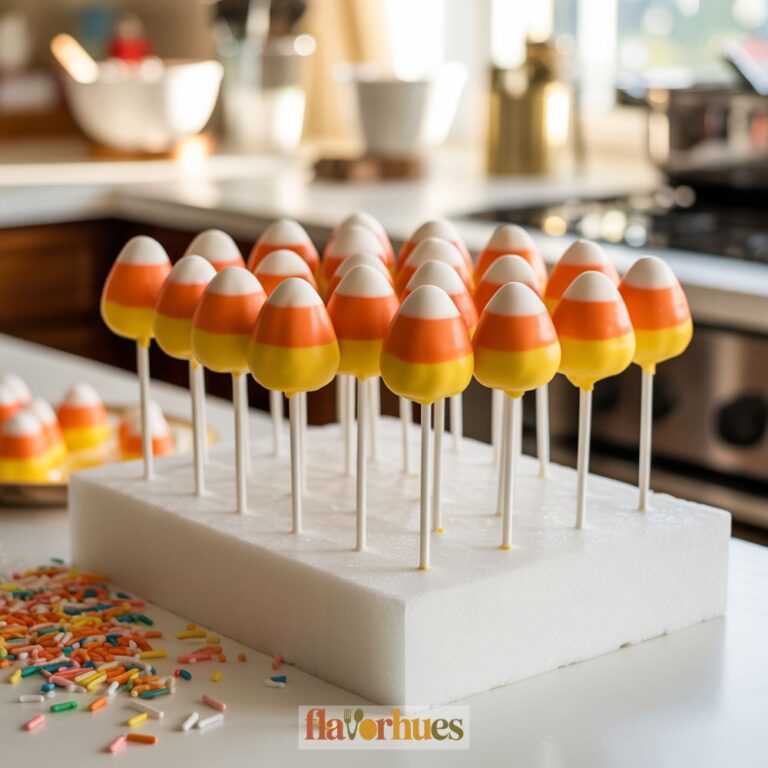
I always let my cake pops dry by standing them upright in a block of foam. This keeps the decoration neat and prevents smudging, which is honestly a lifesaver.
Getting a little creative with color and design always makes my cake pops stand out. I use just enough decoration to get that spooky web look—no need to overdo it.

Equipment
- Stand or hand mixer
- 6-inch lollipop sticks
- Fork or cake pop stand
Ingredients
For the Cake:
- 432 gram Chocolate cake mix
- 3 eggs or as listed on cake mix box
- 1/2 cup vegetable oil or as listed on cake mix box
- 1 cup water or as listed on cake mix box
For the Frosting:
- 1/2 cup 115g chocolate frosting
- For the Coating & Decoration:
- 2 cups semisweet chocolate chips or melting wafers (340g)
- 1/2 cup white chocolate chips or candy melts (90g)
- 2 tbsp Sprinkles optional
- 1 piece Black edible marker
Other Supplies:
- 24 pieces Lollipop sticks
Instructions
- Preheat oven to 350°F (175°C). Prepare chocolate cake mix according to package directions using eggs, oil, and water. Bake in a greased pan for 25–30 minutes or until done. Let cool completely.
- Once cooled, crumble cake into a large mixing bowl. Add chocolate frosting and mix until the texture becomes like thick dough.
- Roll dough into 1-inch balls. Insert a lollipop stick into each ball. Place on a parchment-lined tray and freeze for 20–30 minutes until firm.
- Melt semisweet chocolate chips in a microwave-safe bowl in 30-second intervals until smooth. Dip each cake pop into the melted chocolate, letting the excess drip off. Place upright in a stand or on parchment to set.
- Melt white chocolate chips and transfer to a piping bag or zip-top bag. Snip a small tip off the bag. Pipe thin spider web designs onto the chocolate-coated cake pops.
- While the chocolate is still soft, sprinkle with Halloween-themed sprinkles. Use an edible marker to draw faces or extra details if desired.
- Let the cake pops stand upright until the coating fully hardens. Store in an airtight container.
Creative Spider Web Chocolate Cake Pops Variations
I love trying new ideas for spider web chocolate cake pops. There are so many fun ways to switch things up and make them look special.
One way I like to make my cake pops unique is by changing the cake and frosting flavors. For example, I sometimes use red velvet cake with cream cheese frosting for a colorful twist.
Here’s a sample recipe for one batch (about 12 cake pops):
| Ingredient | Amount |
|---|---|
| Chocolate Cake (crumbled) | 2 cups |
| Chocolate Frosting | 1/3 cup |
| Dark Chocolate Coating | 1 cup (melted) |
| White Candy Melts | 1/4 cup (melted) |
| Lollipop Sticks | 12 |
I sometimes use different coatings, like milk or white chocolate. To make the spider webs, I use a toothpick to drag lines through melted white candy in a spiral shape.
I like to add colored sprinkles or sugar eyes for a spooky look. I’ve also tried using colorful candy melts instead of just white for the web design—orange or purple looks pretty cool for Halloween.
Sometimes, I crush cookies or nuts and roll the pops in them before adding the web. It gives extra crunch and flavor, which I love.
Substitute
Sometimes I don’t have all the ingredients for Spider Web Chocolate Cake Pops. Here are some simple substitutes I use that still taste great:
Chocolate Cake Substitute
- 1 cup vanilla cake mix
- 2 tablespoons cocoa powder
I mix these together if I’m out of chocolate cake mix.
Frosting Substitute
- 1/4 cup Greek yogurt
- 2 tablespoons honey
This works if I run out of frosting and want something less sweet.
Chocolate Coating Substitute
If I don’t have melting chocolate, I melt:
- 1/2 cup chocolate chips
- 1 teaspoon coconut oil
The coconut oil helps the chocolate go on smooth.
Spider Web Icing Substitute
- 1/4 cup powdered sugar
- 1 teaspoon milk
I mix these to make easy icing for drawing webs.
Substitution Tips:
- If I need gluten-free cake pops, I swap in gluten-free cake mix.
- For dairy-free, I use dairy-free chocolate and frosting.
- If I want to lower the sugar, I pick unsweetened cocoa powder and low-sugar frosting.
These swaps help me make cake pops even when I’m missing an ingredient! Sometimes you just have to improvise.
What Can Go Wrong?
Sometimes my cake pops end up way too soft, or the opposite—dry as a bone. If the cake’s too moist, the pops just slide right off the sticks.
When it’s too dry, they’ll crack as soon as I try dipping them. That’s always a letdown.
The chocolate coating? Oh, that’s a whole other struggle. If it gets too thick, there’s no chance of getting a smooth shell.
And if it’s too hot, it can melt the pops or blur those white spider web lines into a mess.
Common Mistakes:
- Dipping cake pops before they’re fully chilled
- Making the chocolate coating too thin or watery
- Drawing spider webs before the shell sets
| Problem | How I Fix It |
|---|---|
| Cake pop falls off stick | Use less frosting; chill longer |
| Cracking after dipping | Let pops reach room temperature first |
| Messy spider web lines | Wait for coating to set before piping |
I always double-check my ingredient quantities, just in case. Usually, I go with:
- 1 box chocolate cake mix (baked)
- 1/3 cup cream cheese frosting
- 1 bag (12 oz) chocolate melts
- 1/2 cup white chocolate melts
Storage And Shelf Life Tips
I usually keep my Spider Web Chocolate Cake Pops fresh by popping them into an airtight container. But first, I always let the cake pops cool off completely—otherwise, warm cake pops can sweat and make the coating annoyingly sticky.
If they’re at room temperature (let’s say, around 68-72°F or 20-22°C), they tend to stay good for about 3-4 days. I try to keep them away from sunlight and heat, just to be safe.
Here’s a quick look at shelf life:
| Storage Method | Shelf Life |
|---|---|
| Room Temperature | 3-4 days |
| Refrigerator | 1 week |
| Freezer | 1-2 months |
When I want the cake pops to last a bit longer, I stash them in the refrigerator for up to one week. Lining the container with parchment paper helps keep them from sticking together, which is just less hassle later.
If I’m planning way ahead, I go for the freezer. Each cake pop gets wrapped in plastic wrap, then I toss them into a freezer-safe bag or container. Frozen cake pops can hang out for 1-2 months, which is actually pretty convenient.
When it’s time to eat, I let them thaw in the fridge overnight. No rush, just patience.
To keep the decorations looking good, I try not to stack the cake pops. If I have to, I’ll put parchment paper between the layers—otherwise, the spider web design might smudge or stick, and who wants that?