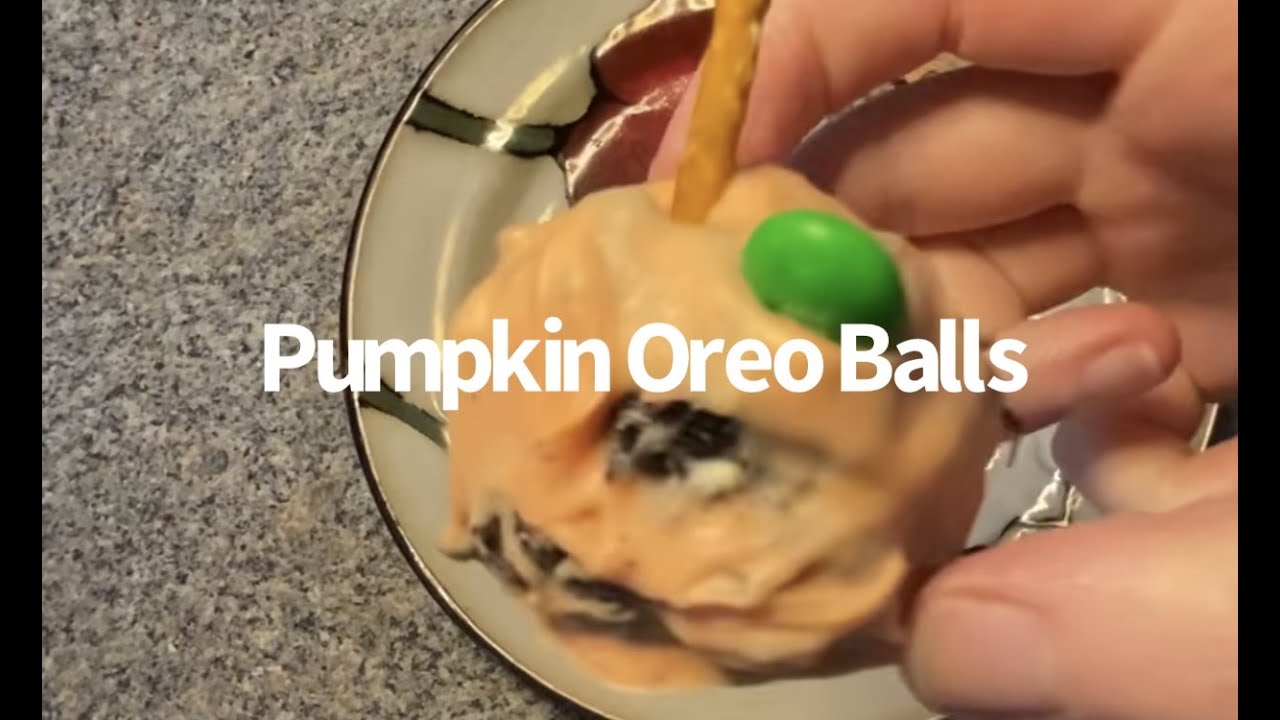
Pumpkin Oreo Balls Recipes
When fall rolls in, I always get the itch to try new, easy treats at home.
Oreo balls are already a staple in my kitchen, but the first time I heard about pumpkin Oreo balls, well, I just had to give them a shot.
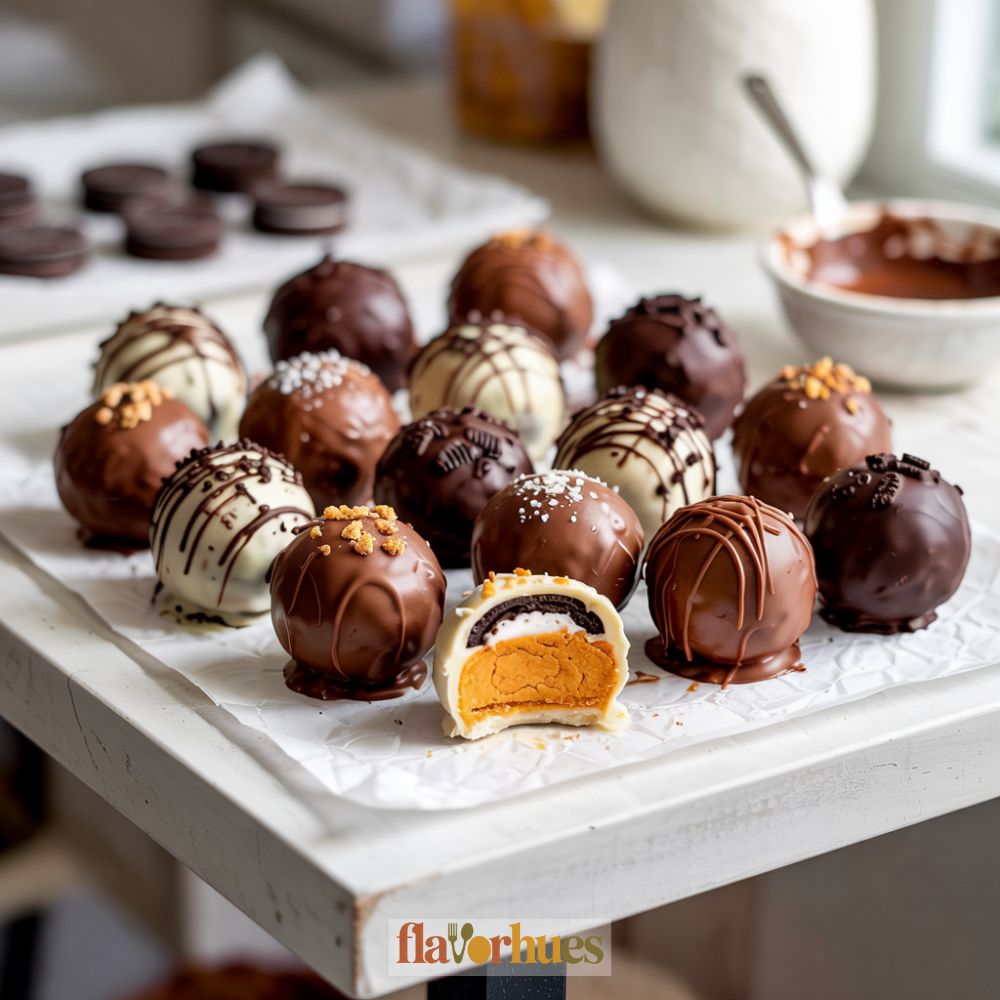
Pumpkin Oreo balls are no-bake treats made with crushed Oreos, cream cheese, and pumpkin flavor, then dipped in chocolate for a delicious bite-sized dessert.
I love how simple Oreo truffles are to make. Adding pumpkin spice just gives them that cozy fall twist that makes me want to eat them with a sweater on.
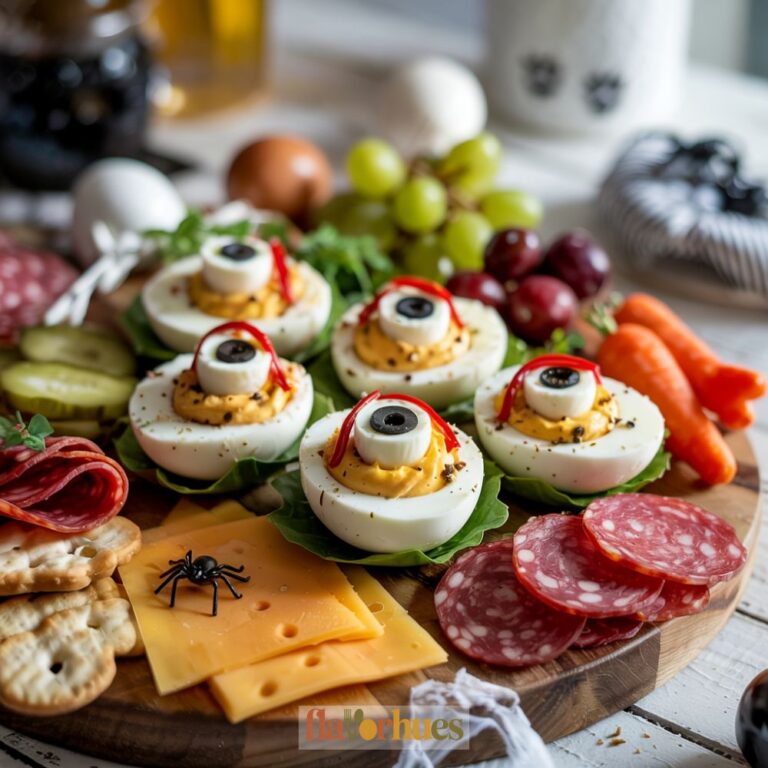
Whether you call them Oreo cookie balls or pumpkin spice Oreo truffles, these little treats are perfect for holiday parties, school events, or just a fun snack at home.
Anyone can make them with only a few ingredients and a little bit of time.
Why I Love Them
I love how easy pumpkin Oreo balls are to make. There’s no baking, and honestly, I don’t need fancy equipment—just mix, roll, dip, and done.
These are perfect no-bake treats for busy days. I can whip up a batch fast for a fall dessert or a last-minute party snack.
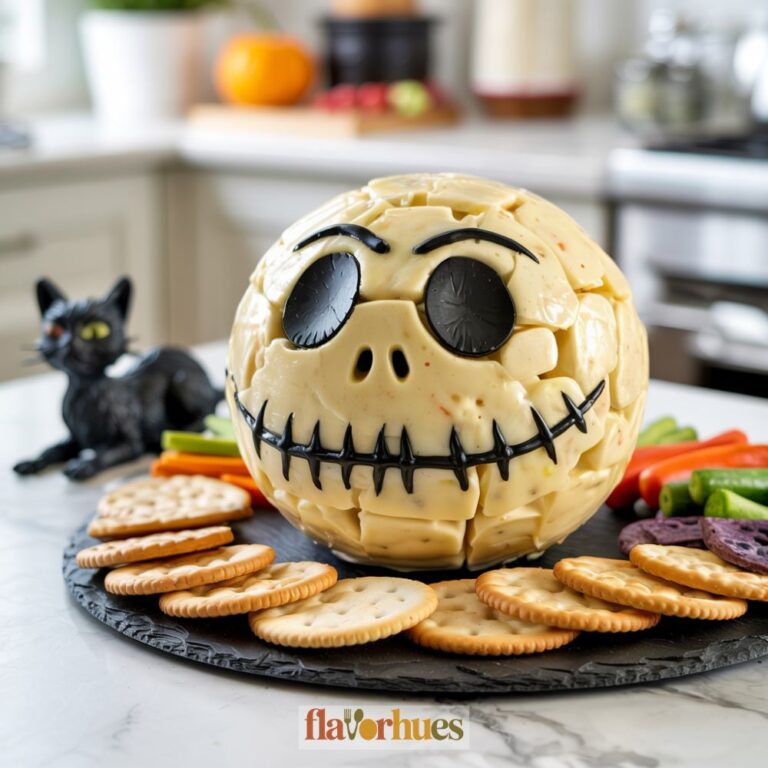
Pumpkin Oreo balls are great for Thanksgiving or any autumn get-together. They just look so cute on a dessert table, too.
Bite-sized desserts make serving simple. People can just grab one and go, which is kind of awesome for family gatherings.
I also enjoy changing up the toppings. Sprinkles or white chocolate can make them look festive for whatever the occasion is.
They taste especially good with a cup of coffee or hot cocoa on a chilly day.
Equipment
Getting the right equipment makes making pumpkin Oreo balls much easier. Here’s what I use in my kitchen:
- Food processor: I use this to crush the Oreos quickly and easily. It also helps mix in the pumpkin and cream cheese until smooth.
- Parchment paper: This keeps the Oreo balls from sticking to the tray or plate. I always line my baking sheet with parchment before I start rolling.
- Cookie scoop: Using a small cookie scoop makes the balls even in size. It saves me time and keeps my hands cleaner.
- Double boiler: I melt the chocolate by putting a heatproof bowl over a pot of simmering water. This melts it gently so the chocolate stays smooth.
With just these few items, I can make neat, delicious pumpkin Oreo balls at home. The right tools definitely make it more fun.
Ingredients
When I make pumpkin Oreo balls, I start with Oreo cookies as the main ingredient. Usually, I reach for regular Oreos, but pumpkin spice Oreos or even Golden Oreos can work if I’m feeling adventurous.
Here’s a simple table of what I usually need:
- 36 cookies Oreo cookies
- 8 oz (1 brick) Cream cheese (softened)
- 2 tbsp Pumpkin puree (optional)
- 1 tsp Pumpkin pie spice
- ½ tsp Cinnamon
- ¼ tsp Nutmeg
- 12 oz White chocolate chips
- 12 oz Orange candy melts
- 12 oz Candy coating (white or dark chocolate)
Pumpkin puree adds a gentle flavor and keeps the mixture soft. Sometimes I throw it in for a little extra pumpkin taste.
Pumpkin pie spice, cinnamon, and nutmeg give the balls that classic fall flavor. I’ll tweak the amounts depending on my mood.
For the coating, I use white chocolate chips, orange candy melts, or almond bark. Sometimes I’ll go with dark chocolate or add a little gel food coloring to make them look pumpkin-y.
To decorate, I use pretzel sticks as stems. I just press them into the top after coating and let them set.
Sometimes I’ll sprinkle crushed Oreos or a bit of pumpkin spice on top for some extra crunch and flavor.
Instructions
First, I place the Oreos into a food processor and pulse until they become fine crumbs. If I don’t have a food processor, I just throw the cookies in a zip-top bag and crush them with a rolling pin. Not fancy, but it works.
Next, I mix the Oreo crumbs, softened cream cheese, and pumpkin puree in a bowl. I usually use a spoon or my hands to get it all blended and smooth.
Here are the main steps:
- Roll the mixture into small balls, about 1 inch wide.
- Place the balls on a lined baking sheet.
- Chill in the fridge for at least 30 minutes so they firm up.
While the balls are chilling, I melt chocolate chips or melting wafers in a microwave-safe bowl. I do it in little bursts—20 seconds at a time—stirring between, until it’s smooth.
Once they’re chilled, I dip each ball into the melted chocolate using a fork or toothpick. I tap off any extra chocolate and set them back on the baking sheet.
Optional: I add sprinkles or cookie crumbs on top before the chocolate sets. Then I let the pumpkin Oreo balls set in the fridge until the chocolate is firm.

Equipment
Ingredients
- 36 Oreo cookies
- 8 oz cream cheese softened
- 2 tbsp pumpkin puree optional
- 1 tsp pumpkin pie spice
- ½ tsp ground cinnamon
- ¼ tsp ground nutmeg
- 12 oz white chocolate chips
- 12 oz orange candy melts or substitute coating chocolate
- Optional: pretzel sticks crushed Oreos, sprinkles, edible glitter for decorating
Instructions
- Add Oreo cookies to a food processor and pulse until finely crushed.
- In a mixing bowl, combine the Oreo crumbs, softened cream cheese, pumpkin puree, pumpkin pie spice, cinnamon, and nutmeg. Mix until well combined and smooth.
- Use a cookie scoop or spoon to portion the mixture into 1-inch balls. Roll them smooth with your hands.
- Place the rolled balls on a parchment-lined baking sheet and refrigerate for at least 30 minutes, until firm.
- While the balls chill, melt white chocolate chips or orange candy melts using a microwave-safe bowl or double boiler, stirring until smooth.
- Remove chilled balls from the fridge. Dip each one into the melted chocolate using a fork or dipping tool, tapping off excess.
- Place dipped balls back on the parchment-lined sheet. Immediately add sprinkles, crushed Oreos, or insert a pretzel stick stem if desired.
- Refrigerate again until the coating is fully set (about 10–15 minutes).
- Store in an airtight container in the fridge for up to 5 days.
Nutrition
Substitute
Sometimes I want to make these pumpkin Oreo balls with different ingredients.
There are a few simple swaps I use when I don’t have everything on hand or need to make them fit certain diets.
If I need a gluten-free treat, I use gluten-free Oreos instead of regular ones.
They taste almost the same and work well for this recipe. This way, more people can enjoy these pumpkin treats.
For people who can’t have dairy, I like to use dairy-free cream cheese.
Brands like Daiya or Kite Hill work well. The texture stays smooth, and the flavor is still sweet and creamy.
If I want to avoid using white chocolate, I swap it for milk chocolate or dark chocolate.
Both choices taste great and melt nicely. I just heat them slow and dip the pumpkin balls as usual.
These changes help me make pumpkin Oreo balls for different needs. I can adjust the recipe so everyone can have a treat, no matter what.
What Can Go Wrong?
Sometimes my pumpkin Oreo balls don’t set right. If the mixture’s too wet, they get soft and lose their shape.
I usually fix this by adding more crushed Oreos or just chilling the mixture a bit longer.
I’ve definitely made the mistake of not sealing leftovers in an airtight container.
They end up absorbing weird fridge smells or drying out—yikes. Now, I always use a clean, tight-sealing container to keep them fresh for a few days.
At Halloween parties and seasonal gatherings, I’ve rushed decorating and, well, the toppings sometimes slide right off.
Sometimes the edible glitter clumps up too. Letting the coating set for a minute before adding decorations helps a lot (trust me, patience pays off here).
My first time, I went all in on fancy presentation ideas without much practice.
Lopsided balls or uneven coatings just don’t look great on a plate. I learned to chill the balls after rolling them and use a fork for dipping to get a smoother look.
Leftovers are tricky. If I don’t store leftovers the right way, the coating can crack or get sticky.
It’s best to put them in a single layer, and if I have to stack, I’ll throw some wax paper in between.