Melting Witch Poke Cake Recipe
I love making fun desserts for Halloween. My favorite has to be my melting witch poke cake recipe.
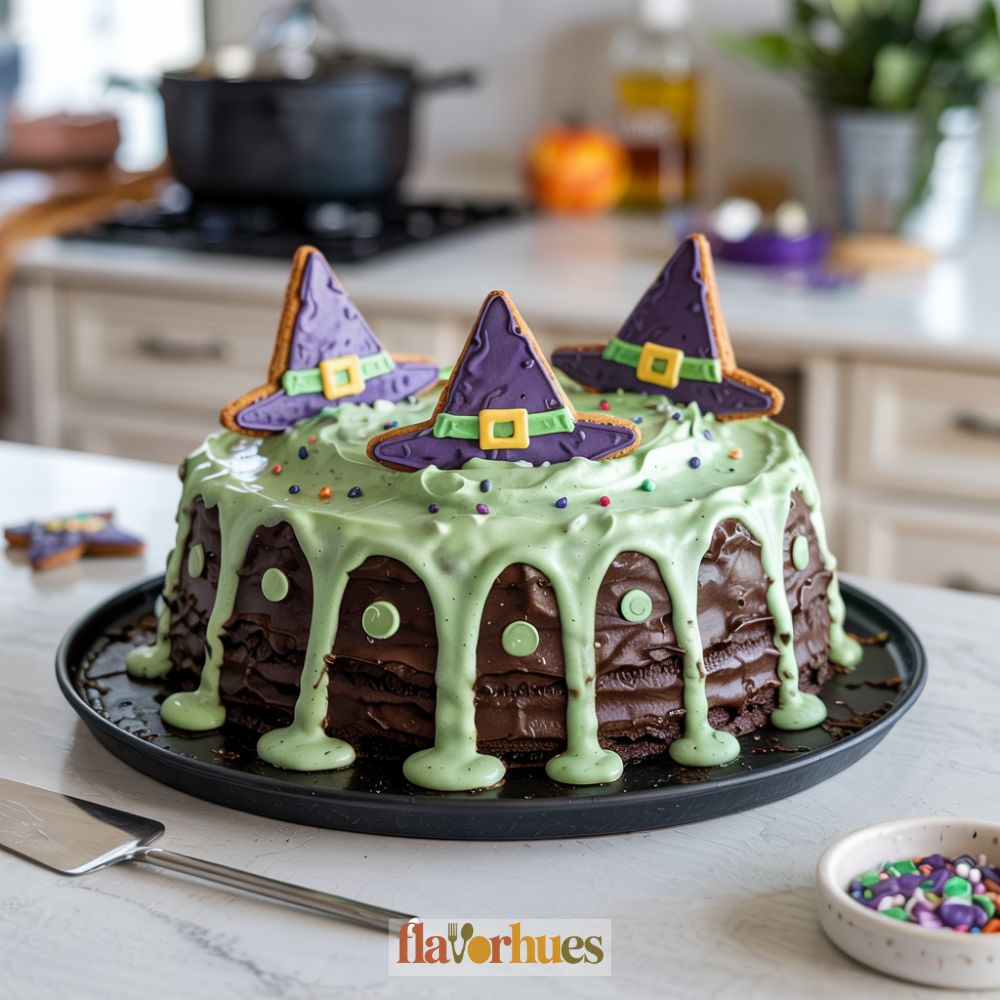
It’s bright, colorful, and looks like a witch is melting right into the cake.
This easy poke cake uses a simple boxed mix, some pudding, green food coloring, and a few candies to make a spooky treat that’s perfect for parties or family nights.
The best part? It doesn’t take a lot of time or fancy baking skills.
Kids and adults both enjoy the gooey pudding and the soft cake layers, with edible witch “hats” and “legs” on top.
If you want a dessert that looks impressive but is actually easy, this melting witch poke cake is a great choice.
Why I Love Them
I love melting witch poke cakes because they are so much fun to make and decorate. The bright colors and candy “witch” hats make them look perfect for Halloween treats.
My friends and family always smile when they see them. It’s great how simple the recipe is.
Anyone can follow the steps, even if they haven’t baked much before. There’s no need for special cooking tools or hard-to-find ingredients.
These cakes are a hit at every Halloween party I bring them to. Kids love the funny melting witch design, and even adults like the whimsical look.
They stand out among other Halloween desserts for their cute and silly style. Here’s what I like best:
- The colorful, spooky decorations
- How easy it is to change the flavors
- They are soft and moist, thanks to the poked filling
- Everyone can help add toppings
Each bite is sweet, soft, and just a little bit spooky.
Equipment
I like to gather all my tools before I start baking. It helps keep things simple and stress-free.
Here’s a list of what I use:
- 9 inch cake pan
- Mixing bowls (at least two)
- Whisk or hand mixer
- Measuring cups and spoons
- Rubber spatula
- Fork or wooden skewer
- Refrigerator space
I use a sturdy metal cake pan for even baking. A glass dish works too, but it may need a few extra minutes in the oven.
A hand mixer makes mixing much faster, but a simple whisk also gets the job done if you don’t mind a little extra effort.
After the cake bakes, I use a fork or skewer to poke holes all over. This helps the pudding or gelatin really soak in.
Keeping these simple tools handy makes the process smooth and helps me have fun with my Melting Witch Poke Cake.
Ingredients
To make my Melting Witch Poke Cake, I gather a mix of classic cake ingredients and fun toppings. I use this table to keep things clear:
| Ingredient | Amount |
|---|---|
| All-purpose flour | 2 cups |
| Dixie Crystals Extra Fine Granulated Sugar | 1 ½ cups |
| Cocoa powder | ¾ cup |
| Baking powder | 1 ½ teaspoons |
| Baking soda | ½ teaspoon |
| Salt | ½ teaspoon |
| Eggs | 2 large |
| Milk | 1 cup |
| Vegetable oil | ½ cup |
| Vanilla extract | 2 teaspoons |
| Instant vanilla pudding mix | 1 box (3.4 oz) |
| Cool Whip or whipped topping | 1 tub (8 oz) |
| Green food coloring | a few drops |
I use unsweetened cocoa powder for a rich, chocolate flavor. Granulated sugar and flour help form the base.
Eggs, milk, and vegetable oil give the cake a soft, moist crumb. Vanilla extract adds a light sweetness.
I always use a bit of salt; it brings out the chocolate taste.
For the pudding layer, I use instant vanilla pudding mix and milk, mixing them until smooth. A poke cake needs a creamy topping, so I spread a layer of whipped topping or Cool Whip over the finished cake.
To make it look like a “melting witch,” I tint some of the whipped topping with green food coloring.
Witch hats and other fun toppings can go on top to finish the look.
These ingredients help me create a playful and tasty dessert that’s fun to eat and decorate.
Instructions
I start by preheating my oven and greasing a large baking pan. I prepare my favorite chocolate cake recipe and pour the batter into the pan.
Next, I carefully add boiling water to the cake mix, which really makes it moist.
I bake the cake according to the package directions and then let it cool completely. When the cake is cool, I use the end of a wooden spoon to poke holes all over the top.
This is the fun part because the cake will soak up the pudding layer. I whisk together instant pudding mix with cold milk until it thickens.
Then, I pour the pudding over the cake, making sure it fills every hole. After chilling the cake in the fridge, I spread a layer of whipped topping.
To decorate, I place witch hat cookies and a few sprinkles on each slice.
I always make sure to wait until the cake is cool before adding the pudding.

Equipment
- 9 inch cake pan
- Whisk or hand mixer
- Fork or wooden skewer
Ingredients
- 2 cups All-purpose flour
- 1½ cups Sugar (Dixie Crystals Extra Fine Granulated)
- ¾ cup Cocoa powder
- 1½ teaspoons Baking powder
- ½ teaspoon Baking soda
- ½ teaspoon Salt
- 2 Eggs
- 1 cup Milk
- ½ cup Vegetable oil
- 2 teaspoons Vanilla extract
- 3.4 oz vanilla pudding mix
- 8 oz whipped topping
- A few drops Green food coloring
- As needed Witch hat cookies
- Optional Sprinkles
Instructions
- Preheat your oven to 350°F (175°C) and grease a 9×13 inch baking pan.
- Combine flour, sugar, cocoa, baking powder, baking soda, and salt in a large bowl.
- In another bowl, combine eggs, milk, vegetable oil, and vanilla extract.
- Gradually add wet ingredients to the dry mixture and blend until smooth.
- Pour batter into prepared pan and bake for 30 minutes or until a toothpick inserted into the center comes out clean.
- Cool completely after baking.
- Once cooled, use a fork or wooden skewer to poke holes evenly across the top of the cake.
- Prepare instant pudding with cold milk according to package instructions.
- Pour pudding evenly over the poked holes, allowing it to seep into the cake.
- Chill in the refrigerator.
- Spread Cool Whip or whipped topping evenly over the chilled pudding layer.
- Tint a portion green with food coloring if you wish for a “melting witch” look.
- Decorate with witch hat cookies and sprinkles.
- Slice and serve chilled.
Nutrition
Substitute
Sometimes, I run out of certain ingredients or want to try something new. You can easily swap things in this Melting Witch Poke Cake recipe.
Here are some ideas I use:
Cake Mix Alternatives:
If I don’t have white cake mix, I use yellow or chocolate. Both work well and give the cake a different flavor.
Jell-O
I sometimes use lime or blueberry Jell-O instead of green apple. This still gives the cake a fun color and fruity taste.
Topping Swaps:
Instead of whipped cream, I have used vanilla pudding or marshmallow fluff as a topping. Each adds a sweet and creamy layer.
Sprinkles and Decorations:
For the witch decorations, I use whatever candy I have. Mini chocolate chips, colored sugar, or even gummy candies work great.
Milk Substitute Table
| If recipe calls for… | I use instead… |
|---|---|
| Whole milk | 2% milk or almond milk |
| Heavy cream | Evaporated milk |
If I need the recipe to be dairy-free, I use non-dairy milk and vegan whipped topping. This keeps the cake safe for friends with allergies.
Trying new substitutes is a great way to make this recipe my own.
What Can Go Wrong?
Sometimes, the cake turns out drier than I like. This usually happens if I bake it too long or set the oven too hot.
I always use a timer and check with a toothpick early.
The gelatin might not soak in right. If I don’t poke enough holes or I make them too shallow, the Jell-O just sits on top.
I try to poke deep, evenly spaced holes all over for best results.
Sometimes, the whipped topping melts or slides off. This can happen if the cake is still hot when I add it or if I use too much.
I always make sure the cake is totally cooled first.
Food coloring and decorations can run or smear. If I use too much liquid dye or handle it too soon, it gets messy.
I let everything set before adding final details. Honestly, patience is key, but I admit I get a little impatient sometimes.
| Problem | Possible Fix |
|---|---|
| Dry cake | Check early, don’t overbake |
| Gelatin won’t soak in | Poke deep, wide holes |
| Topping melts/slips | Cool cake completely before topping |
| Colors run or smear | Use less dye, wait until set |
Even if I mess something up, it still tastes pretty great. Looks aren’t everything, right?