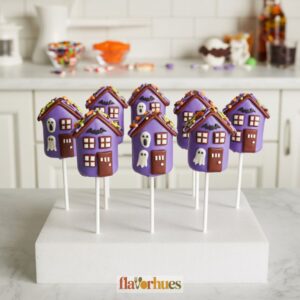
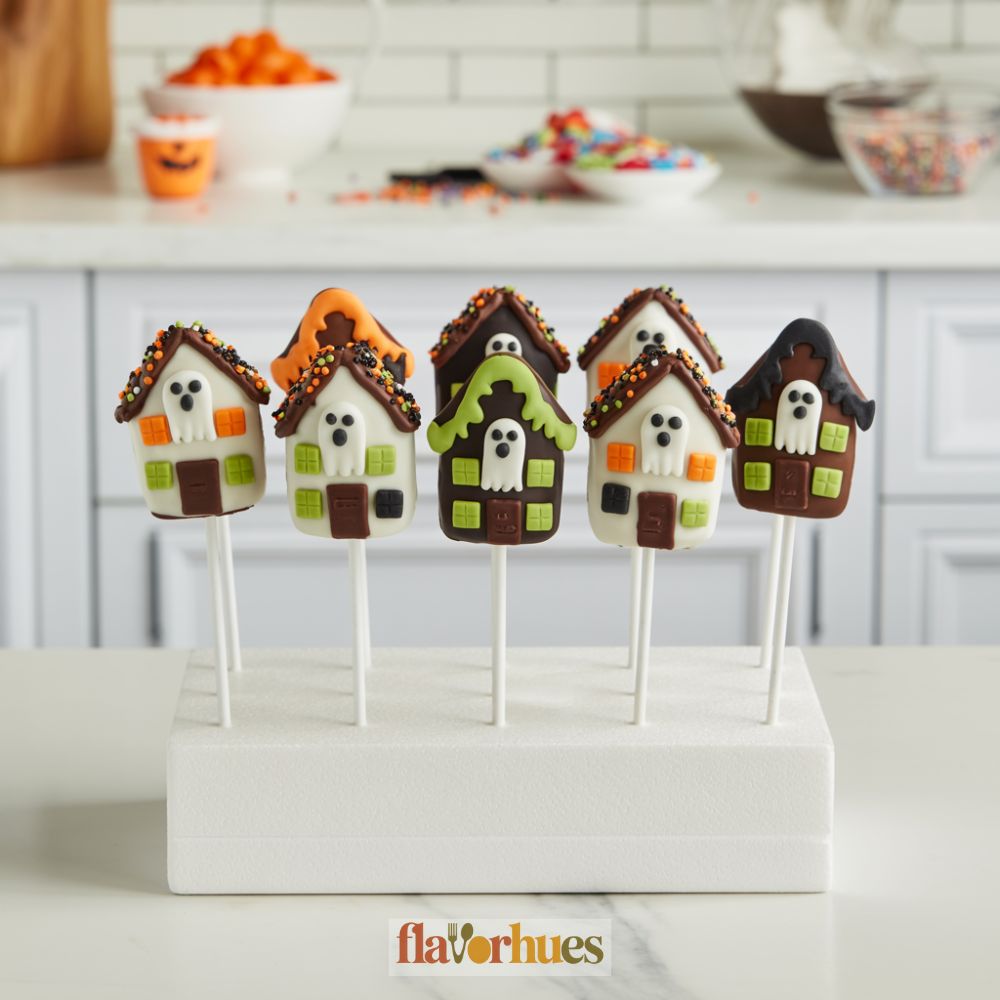
Haunted House Cake Pops Recipe
I love making treats that add a playful twist to parties. Haunted house cake pops are just right for Halloween or any kind of spooky get-together.
They look cute, a bit creepy, and honestly, they’re a tasty dessert that just about everyone seems to enjoy.
I’ll walk you through how I make these cake pops, step by step, so they turn out looking awesome and taste even better.
With just a handful of ingredients—like one box of chocolate cake mix, half a cup of frosting, a bag of candy melts, and colorful sprinkles—I can turn cake into haunted house pops that are actually fun to decorate.
Lollipop sticks and a few small candies help me pull off the haunted vibe.
Making haunted house cake pops is a fun little project, even if you’ve never tried making cake pops before. You don’t need fancy baking skills, just a bit of patience and a willingness to get creative.

Why I Love Them
Haunted house cake pops make me smile every time I see them. They’re small, cute, and just the right amount of spooky, which is honestly what I love most about Halloween treats.
Making them gives me a reason to play with colors and decorations. I can try new ideas every single time.
One thing I really appreciate about these cake pops is how easy it is to share them. Everyone gets their own mini haunted house, which is kind of adorable at a party.
I like to mix and match decorations. Sometimes I’ll toss on extra candies or try new sprinkle colors, just to see what happens.
Decorating calms me down, honestly. There’s something relaxing about dipping, sticking, and adding all those tiny details to each pop.
Also, cake pops are way less messy than regular cake. No plates or forks needed—just hand them out and let everyone snack as they wander around.
Equipment
To make haunted house cake pops, I grab a few kitchen tools that really make things easier.
Here’s a table of what I usually need:
| Equipment | Purpose |
|---|---|
| Mixing bowl | To mix cake and frosting |
| Spoon or spatula | For stirring and shaping |
| Baking sheet | To chill cake balls |
| Parchment paper | To prevent sticking |
| Lollipop sticks | For holding cake pops |
| Microwave-safe bowl | To melt chocolate or candy |
| Stand or foam block | To let cake pops dry upright |
I start with a big mixing bowl for crumbling cake and blending it with frosting. A spoon or spatula is just right for stirring.
I use a baking sheet lined with parchment paper to set the cake balls before adding sticks.
Lollipop sticks make dipping easy. I melt the coating in a microwave-safe bowl, stirring every 30 seconds so it doesn’t burn or get weird.
To finish, I pop the cake pops upright in a foam block or a sturdy cup while they dry. That way, the decorations stay neat and don’t smudge.
If I’m feeling fancy, I’ll use a plastic sandwich bag as a piping bag for faces or other spooky designs. It works in a pinch.
Ingredients
For my Haunted House Cake Pops, I start with basic cake and frosting. Then I grab candies and chocolate for all the spooky details.
Here’s what I use:
| Ingredient | Quantity |
|---|---|
| Baked chocolate cake | 1 box (about 400g) |
| Chocolate frosting | 1/3 cup (about 80g) |
| Candy melts (black or dark brown) | 300g |
| Lollipop sticks | 18–20 sticks |
| White chocolate chips | 1/4 cup (about 40g) |
| Candy eyes | 1 small pack |
| Mini candy corn | 1/3 cup |
| Orange and purple sprinkles | 3 tbsp |
| Mini pretzels (for doors/windows) | 12 pieces |
| Food coloring pens | 2–3 colors |
I usually go with a boxed cake mix to save time. Any flavor works, but chocolate just feels right for haunted houses.
Decorating is where I get creative. Candy melts cover the cake pops, and sprinkles or pretzels turn them into tiny haunted houses.
If I’m missing some candies, I’ll use nuts or even cereal for doors, windows, or even tombstones. The fun is in mixing and matching whatever I have lying around.
Instructions
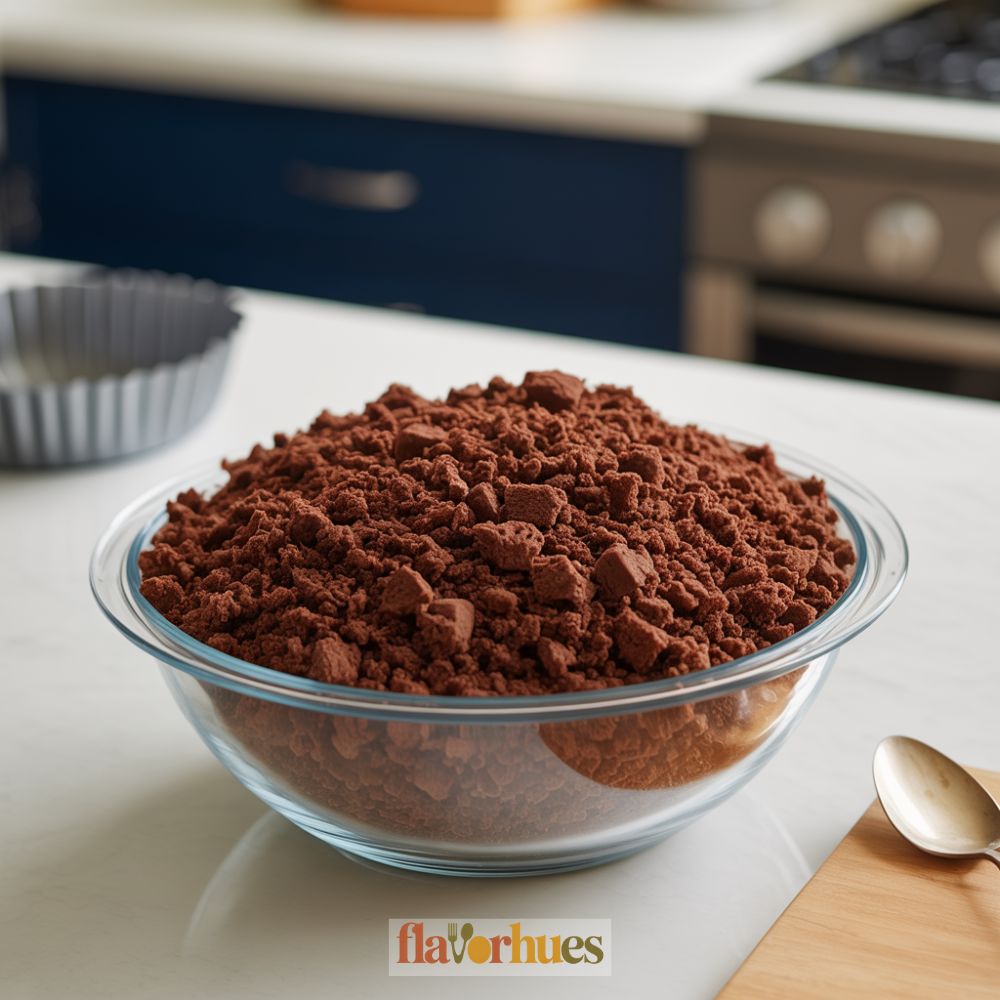
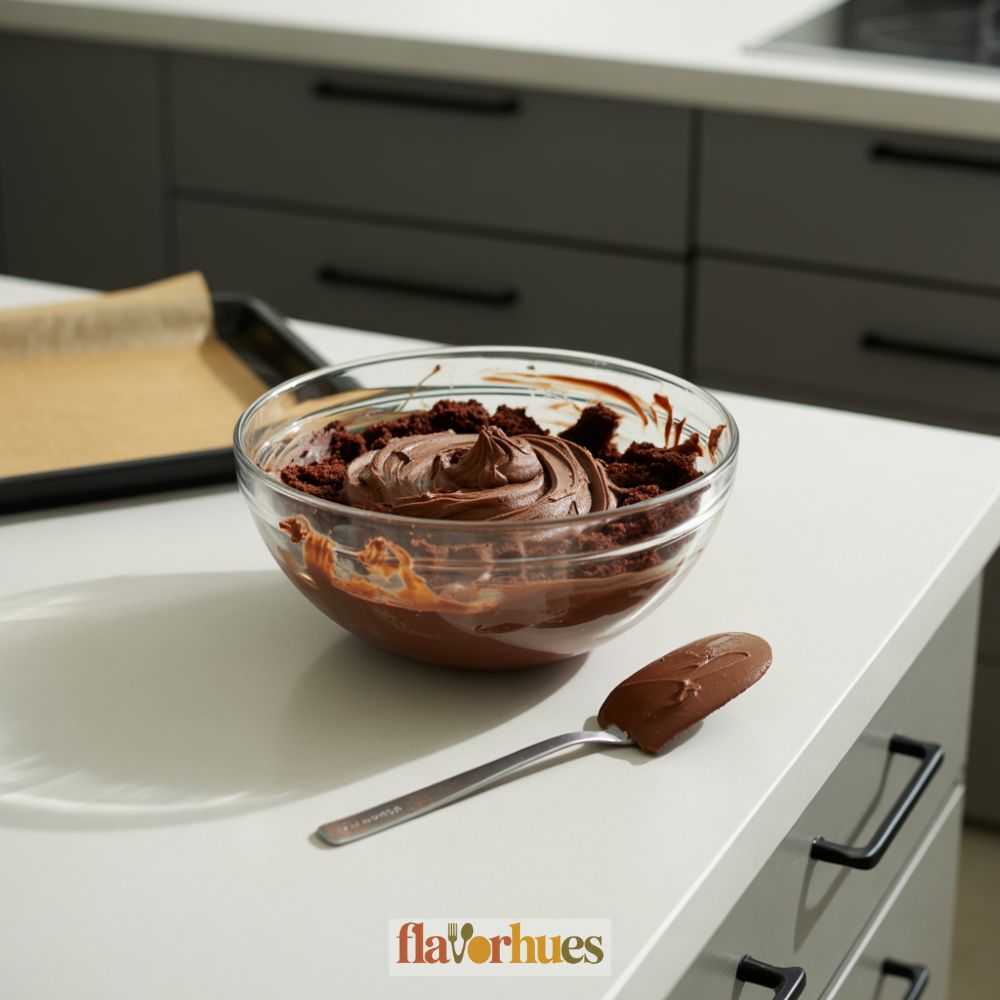
First, I crumble a baked chocolate cake (about 9×13 inches) into a big bowl. I add a cup of chocolate frosting and mix until it feels like thick dough.
Then I roll the mixture into 1-inch balls—usually makes about 24 cake balls.
I melt 12 ounces of candy melts (whatever color I’m in the mood for) in the microwave.
Once it’s smooth, I dip the tip of each lollipop stick into the melted coating and push it halfway into each cake ball.
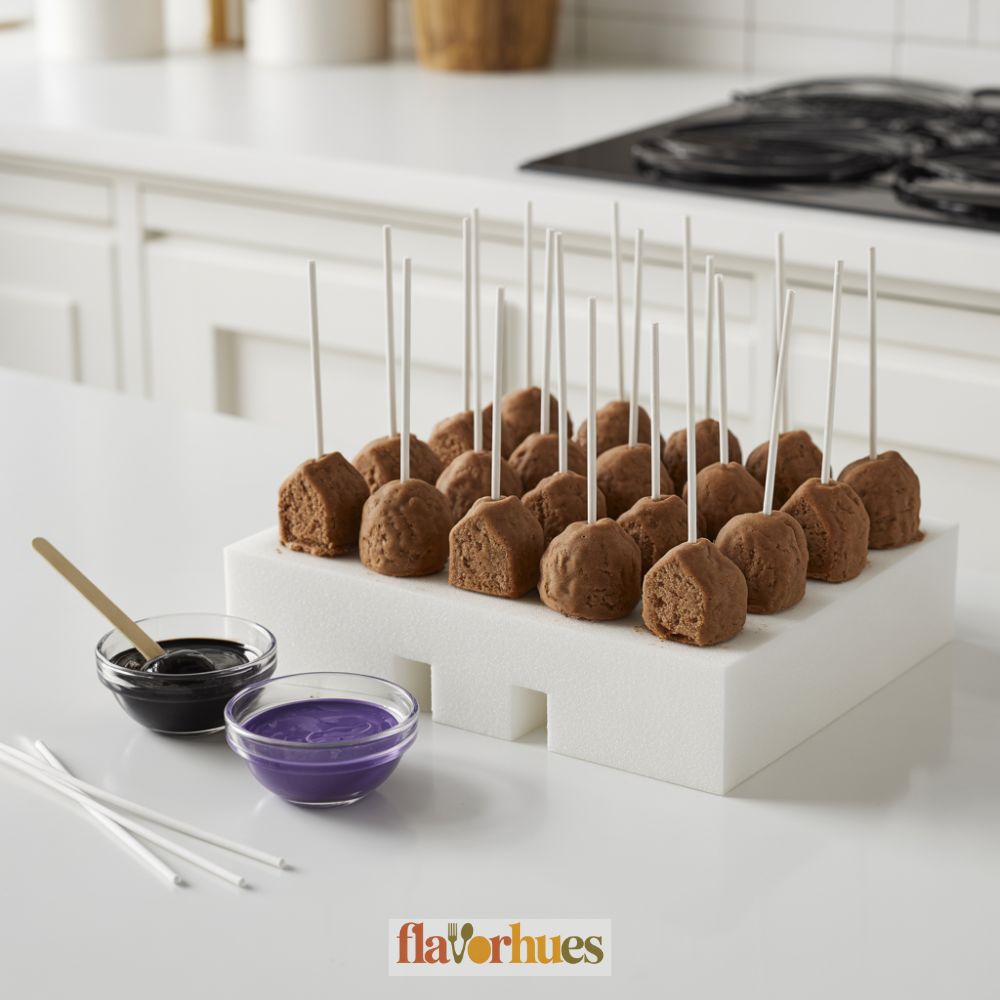
I freeze the cake pops for 20 minutes so they set up nicely.
Next, I dip each cake pop into the melted coating. I let the extra drip off and stand them upright in a foam block to dry.
Here’s what I use for decorating:
| Decoration | Amount |
|---|---|
| Mini candy eyes | 48 |
| Black icing gel | 1 tube |
| Sprinkles (assort. colors) | 2 tbsp |
| Mini fondant doors | 24 pieces |
I stick on the candy eyes and doors while the coating’s still wet. Once they’re dry, I grab black icing gel to draw windows and other haunted house details.
Sprinkles go on last for a pop of color. Once the decorations set, the cake pops are ready to serve.
Equipment
- Spoon or spatula
- Stand or foam block
- Plastic sandwich bag
Ingredients
- 400 g chocolate cake baked and cooled
- 1/3 cup 80g chocolate frosting
- 1 cup 175g black candy melts
- 1/2 cup 85g purple candy melts
- 1/4 cup 40g white chocolate chips
- 1/3 cup mini candy corn
- 24 pieces mini candy eyes
- 12 pieces mini pretzels
- 3 tbsp orange and purple sprinkles
- 2 –3 food coloring pens
- 18 –20 lollipop sticks
Decoration (Optional but Recommended):
- 1 tube black icing gel
- 24 mini fondant doors
- 2 tbsp assorted sprinkles
- 1 –2 edible markers
- 10 mini marshmallows
- 8 strips black licorice
- 1 tbsp orange sprinkles
Instructions
- Crumble Cake: Crumble baked chocolate cake into a large mixing bowl. Add chocolate frosting and mix until it reaches a dough-like consistency.
- Form Balls: Roll the mixture into 1-inch balls. You should get about 24 cake balls.
- Prepare Coating: Melt the black and purple candy melts in a microwave-safe bowl in 30-second intervals, stirring until smooth.
- Insert Sticks: Dip the tip of each lollipop stick into the melted candy coating and insert it halfway into each cake ball.
- Chill: Place cake pops on a parchment-lined baking sheet and chill in the freezer for 20 minutes.
- Dip Cake Pops: Dip each chilled cake pop into the melted candy coating. Let the excess drip off, then stand upright in a foam block or cup to dry.
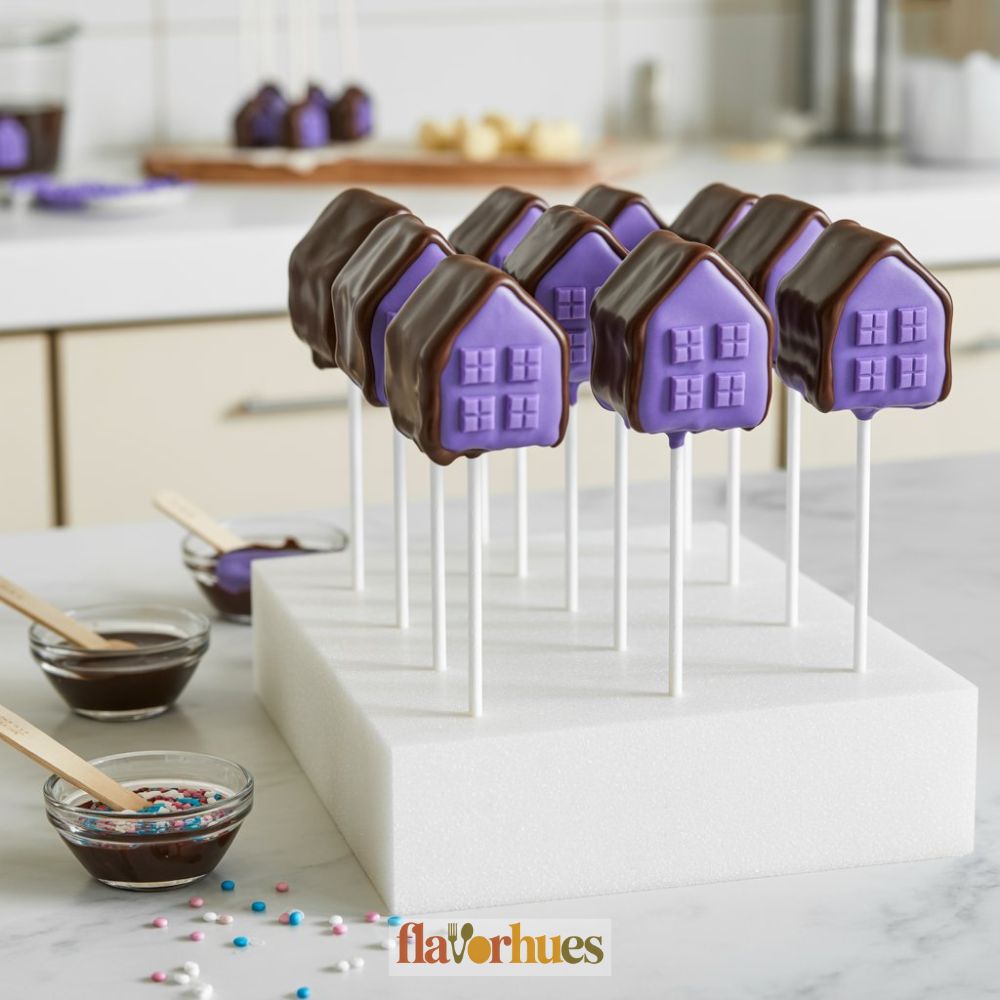
- Decorate: While the coating is still wet, press on candy eyes, mini candy corn, pretzels, and fondant doors.
- Detailing: Once dry, use black icing gel or edible markers to draw windows, doors, and spooky accents. Add sprinkles for extra flair.
- Set: Let cake pops set completely (about 30 minutes) before serving or storing.
Decoration Tips
I like to start with a solid base for haunted house cake pops. First, I dip each pop in black or dark purple candy melts to get that spooky background.
Sometimes, I use an edible marker to draw windows or doors after the coating dries. It’s way easier than messing with piping bags.
For texture, I press on sprinkles or mini candy shapes before the coating sets. My favorites are orange and purple crystals—they just look so festive.
Here’s a quick table of candies I use most:
| Type | Amount Needed |
|---|---|
| Candy melts | 2 cups |
| Edible eyes | 20 pieces |
| Mini marshmallows | 10 (for ghosts) |
| Black licorice | 8 strips |
| Orange sprinkles | 1 tablespoon |
I use a toothpick dipped in white candy melt to dot on ghost eyes and mouths. For a cracked window effect, I drag a thin brush through the still-wet coating.
If I want little bats or pumpkins, I stick on shaped candies with a dab of melted chocolate. A steady hand helps the decorations stay put.
I usually put finished cake pops on wax paper so they don’t stick. After that, I let them set for at least 30 minutes to keep everything looking sharp.
Creative Haunted House Cake Pops Variations
I like to make haunted house cake pops extra fun (and spooky) by switching up decorations and flavors. Here are a few ways I’ve tried that you might want to steal.
Decorating Ideas:
- Mini candy eyes for ghosts or monsters (can’t go wrong).
- Draw windows and doors with edible markers—super easy.
- Top with colored sprinkles for a cute rooftop.
- Dip in black or purple candy melts for that nighttime vibe.
Here’s a table with one of my favorite combos for 12 haunted house cake pops:
| Ingredient | Amount |
|---|---|
| Crumbled cake | 2 cups |
| Cream cheese | 1/4 cup |
| Candy melts | 1 1/2 cups |
| Lollipop sticks | 12 |
| Candy eyes | 24 pieces |
| Sprinkles | 2 tbsp |
| Edible markers | 1-2 |
Sometimes I use red velvet cake for a “bloody” haunted effect or chocolate cake for a darker look. Adding orange food coloring to white chocolate makes a cute pumpkin-style pop, too.
I like experimenting with fillings—sometimes I’ll add a bit of strawberry jam inside for a surprise. Just try out different decorations and flavors until you find your own spooky favorite!
Substitute
Sometimes I run out of ingredients or need to swap things for allergies. For Haunted House Cake Pops, there are a few swaps that actually work pretty well.
Cake Mix Substitute Table
| Original Ingredient | Substitute | Amount |
|---|---|---|
| 1 box chocolate cake mix | 1 box vanilla cake mix | 1 box |
| 3 large eggs | 3/4 cup unsweetened applesauce | 3/4 cup |
| 1/2 cup vegetable oil | 1/2 cup melted butter | 1/2 cup |
If someone in the house has gluten allergies, I just use a gluten-free cake mix instead of regular. Cake pops still come out sweet and soft.
For a non-dairy option, I swap cream cheese frosting with a dairy-free frosting or even a tub of vanilla icing from the store.
To replace candy melts, I’ll use white chocolate chips and melt them in the microwave, adding food coloring to get that spooky look.
If I can’t find lollipop sticks, I use sturdy toothpicks or even paper straws cut in half. The end result? Still a fun, easy treat that anyone can enjoy.
What Can Go Wrong?
Cake pops can get tricky. I’ve had my cake mixture turn out too dry or, frustratingly, too wet.
If it’s too dry, the pops just crumble apart. If it’s too wet, they won’t hold their shape and might slide off the sticks—definitely not ideal.
Melting chocolate is another minefield. Heat it too quickly and it can burn or turn weirdly lumpy.
I usually melt mine in 30-second bursts in the microwave, stirring each time. It’s a bit tedious, but hey, better than starting over.
Sometimes, sticking the pops into the coating makes cracks appear. Dipping the stick in a little melted chocolate before poking it into the cake round seems to help keep things together.
Here’s a quick list of other common issues:
- Cake pops fall off sticks
- Candy coating cracks
- Decorations won’t stick
- Color bleeds or looks dull
| Ingredient | Quantity |
|---|---|
| Cake (any flavor) | 1 box (about 400g) |
| Frosting | 1/3 cup (80g) |
| Candy melts or chocolate | 2 cups (340g) |
| Lollipop sticks | 20 |
| Sprinkles/Decorations | As needed |
Rushing just makes things messier, honestly. I try to give myself time for each step, but if I get stuck, I take a breath and just try again—what else can you do?
Storage And Shelf Life Tips
I like to keep my haunted house cake pops fresh by storing them in an airtight container. When I put them in a single layer, they keep their shape better and don’t get smushed.
Room temperature
Cake pops can last about 3-4 days at room temperature.
I make sure they’re not in direct sunlight or near a heat source. Nobody wants melted ghosts, right?
Refrigerator
If I need to keep them longer, I store them in the fridge.
They should last up to one week. I cover them well to prevent them from drying out, which they tend to do if left uncovered.
Freezer
For longer storage, I freeze my cake pops.
- I wrap each pop in plastic wrap.
- Then, I place them in a zip-top bag or airtight container.
- They can last in the freezer for up to one month. Honestly, I rarely have leftovers that long, but it’s good to know.
Quick Reference Table
| Storage | How Long It Lasts | Tips |
|---|---|---|
| Room Temp | 3-4 days | Keep in airtight container |
| Refrigerator | 1 week | Cover to keep them moist |
| Freezer | 1 month | Wrap and seal tightly |
If the cake pops have decorations made from candy or icing, I try to store them in a cool, dry place so nothing melts or gets sticky.
I always let frozen cake pops thaw in the fridge before serving for best texture. No shortcuts here—patience pays off!