Halloween Pie Recipe
Every year, I get excited to hunt down new Halloween recipes that are fun and actually taste good. This Halloween Pie recipe has become my go-to for a spooky dessert that people genuinely love.
It’s got simple ingredients and comes together quickly, which makes it a lifesaver for parties or just a cozy night in with family.
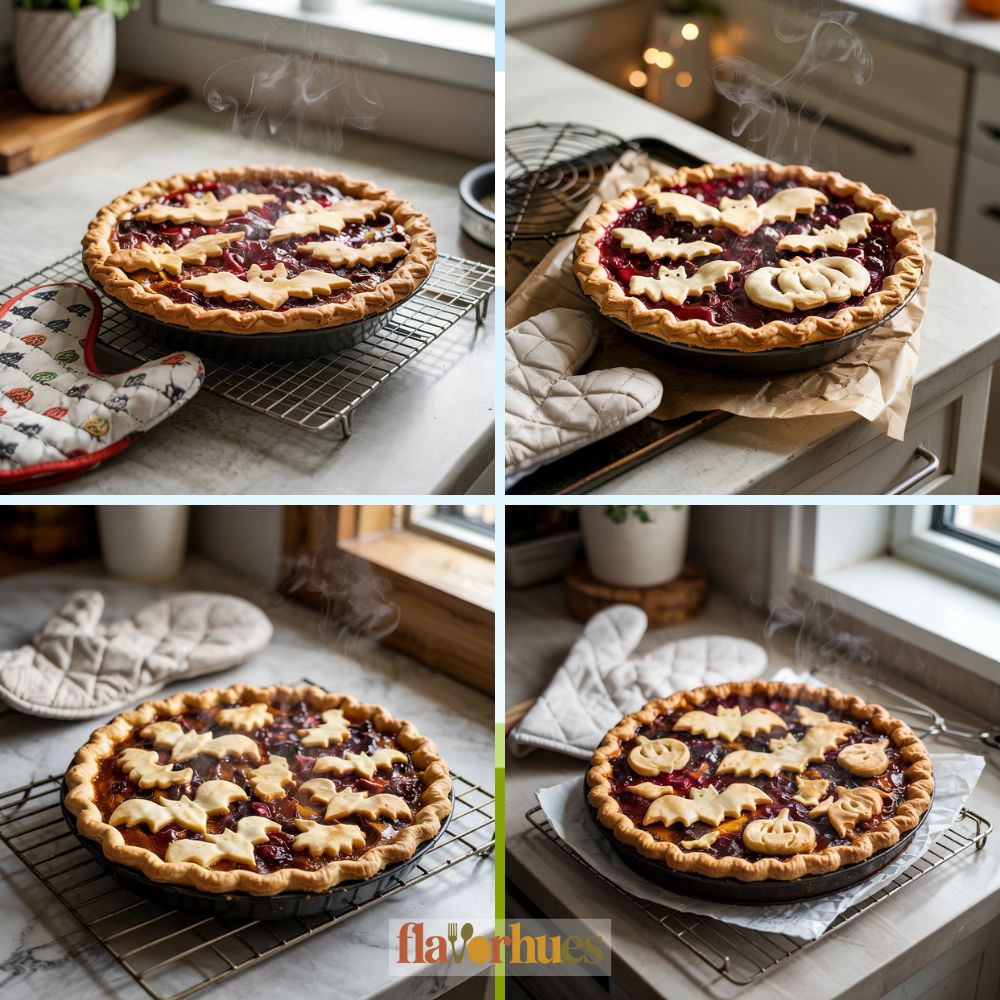
The pie pops with a cherry filling and a flaky crust that I like to cut into little bats or pumpkins—sometimes I get carried away with the shapes.
Whenever I serve this pie, people notice the festive look right away. It really does help set the mood for Halloween.
Why I Love Them
Halloween pies are just fun—making and sharing them always puts me in a good mood. The colors, the goofy decorations, they just make the kitchen feel festive.
Honestly, the pie crust is the best part for me. There’s something about that buttery flakiness, especially when it’s warm.
And when you cut out little ghosts or pumpkins from leftover dough? That’s when it gets really cute.
At any Halloween party, these pies disappear fast. Kids love the look, adults love the taste—it’s a win-win, and you don’t need any fancy gadgets.
I like to play around with the fillings, too. Pumpkin is classic, but apple or even chocolate can be a fun twist. It’s kind of a tradition now to see which flavor wins over my friends each year.
Here’s why I keep making them:
- Super easy to decorate
- Perfect for parties
- Tasty for everyone
- Uses everyday ingredients
Baking one always makes the house smell amazing. And honestly, it brings people together—that’s the real magic.
Equipment
Here’s what I usually grab when I’m making Halloween Pie. No need for anything fancy—just basic kitchen stuff.
- 9-inch pie pan — I like glass so I can peek at the crust, but metal or ceramic does the trick.
- Mixing bowls — At least two. One for the filling, one for the decorative bits.
- Rolling pin — Handy if I’m using store-bought dough that needs rolling out.
- Measuring cups and spoons — For all the little things that actually make a difference.
- Whisk or hand mixer — I go with whatever’s clean to mix the filling smooth.
If I’m in the mood to decorate, I’ll pull out cookie cutters or just a small knife for the shapes. Sometimes I improvise with whatever’s on hand.
I like to set a baking sheet under the pie pan in the oven. It saves me from having to clean up spills later—trust me, it’s worth it.
Ingredients
I like to keep my Halloween pie ingredients simple and festive. Usually, it’s stuff you’d have around if you’ve ever made pumpkin or apple pie.
Here’s my usual list:
- 1 ready-made pie crust
- 1 can cherry pie filling (about 21 ounces)
- 1 tablespoon cornstarch
- 1 cup frozen cherries (thawed)
- 1 tablespoon lemon juice
- 1 teaspoon vanilla extract
If I’m feeling it, I’ll throw in a little cinnamon. Or I’ll swap in homemade cherry filling if I’ve got time (not often, but hey).
Sometimes I mix apple and cherry pie filling together for a twist. It’s a little unexpected, but in a good way.
These ingredients make the pie taste sweet and tart, with just enough Halloween flair. Good pie filling and fresh add-ins make all the difference.
Instructions
First things first, I preheat the oven to 375°F (190°C). I usually put the rack in the middle—just habit at this point.
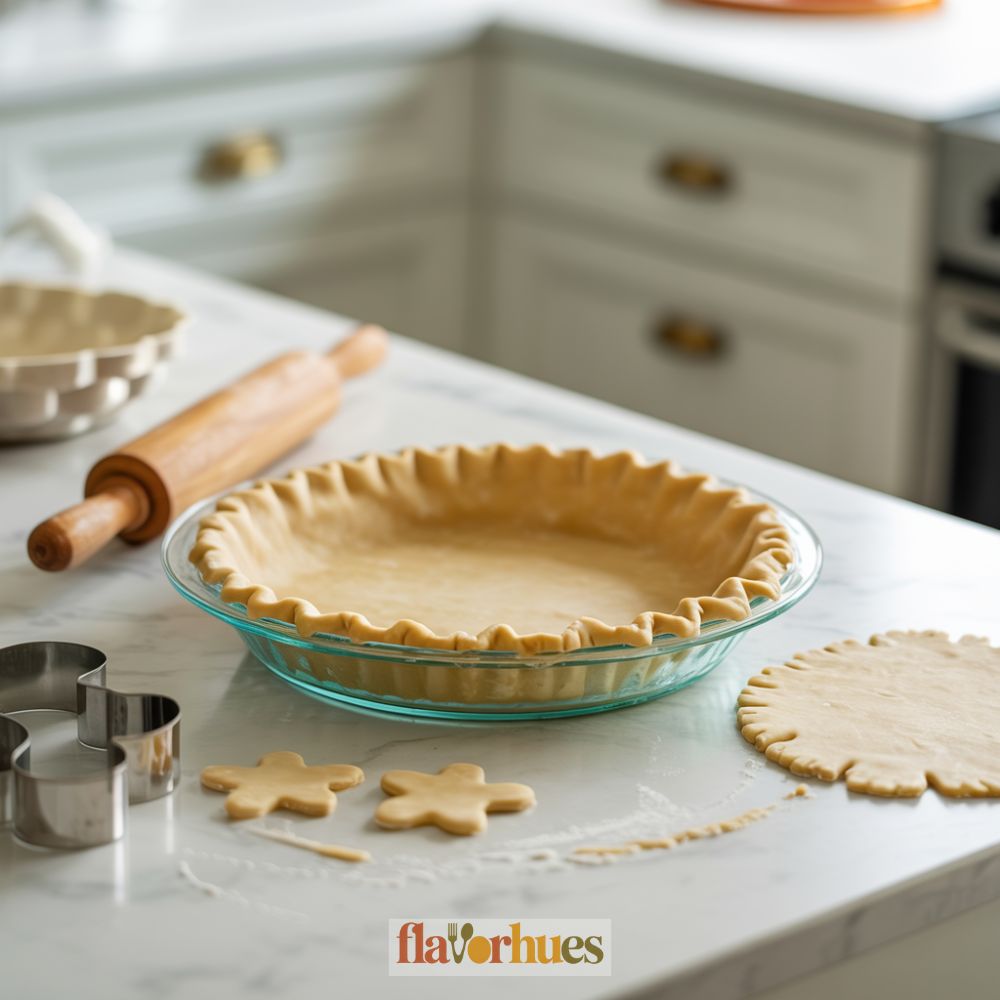
Then I roll out my pie crust and press it gently into a 9-inch pan. Gotta make sure it fits the corners, or you get weird gaps.
If I’m feeling creative, I use cookie cutters to make bats, pumpkins, or whatever spooky shapes from extra dough. Sometimes I just freehand with a knife—it’s not always perfect, but that’s part of the fun.
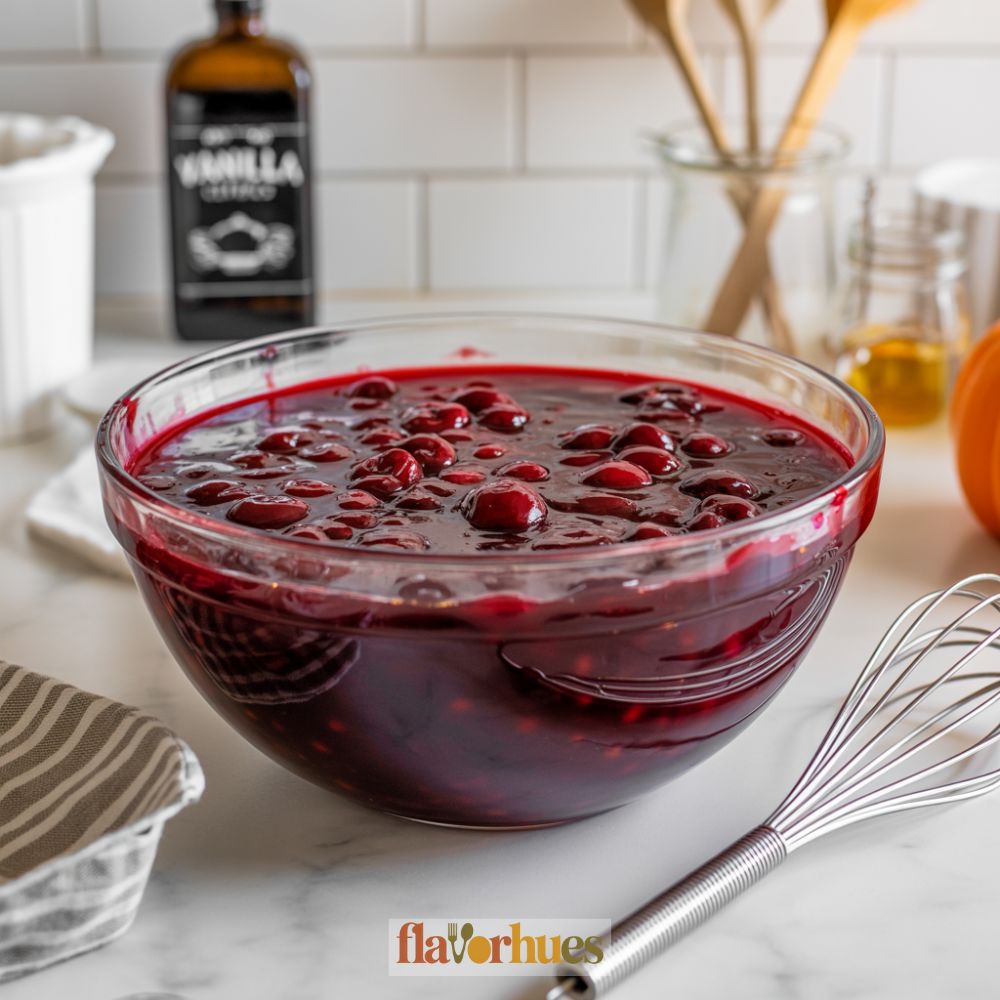
In a big bowl, I mix up all the pie filling stuff. I try to get it as smooth as I can, but if there’s a few lumps, I don’t stress about it.
I pour the filling into the crust. For a nice golden edge, I brush an egg wash (just a beaten egg and a splash of water) over the crust.
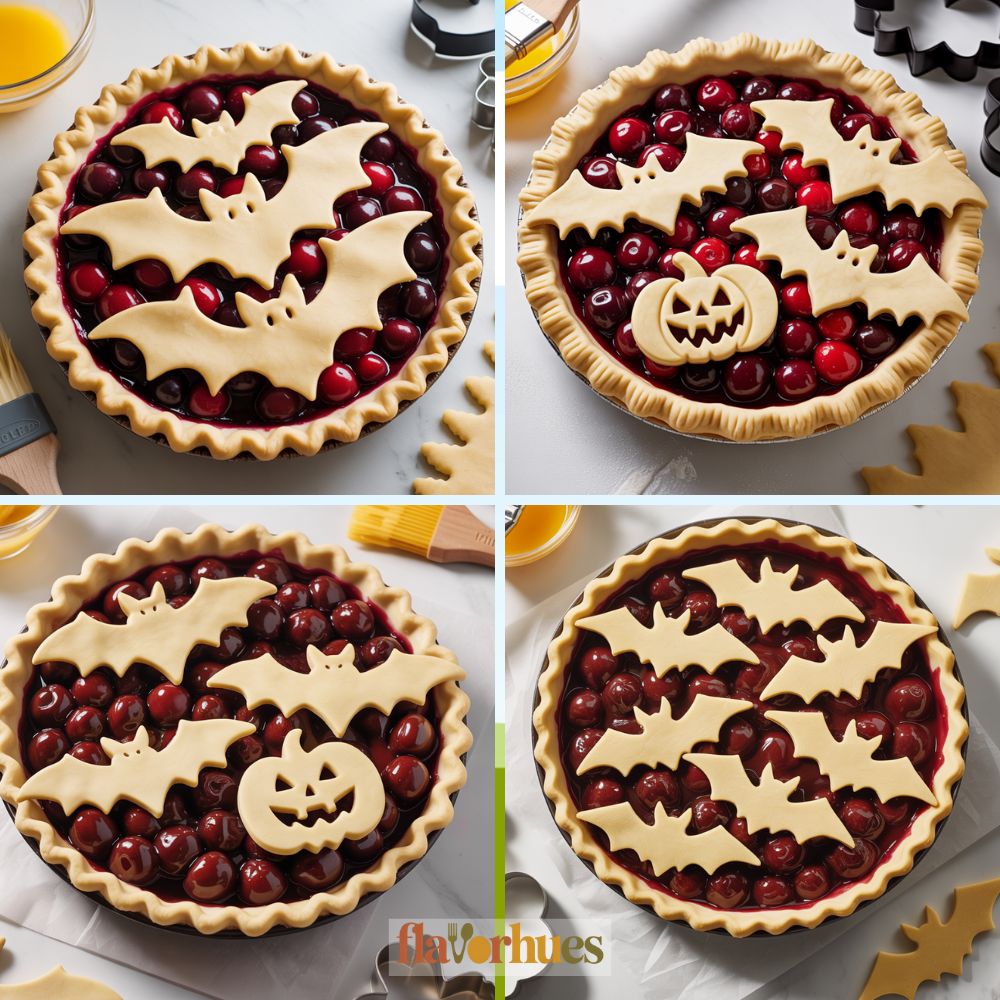
I add my cut-outs on top and give them a quick brush with egg wash, too. It helps them brown up in the oven.
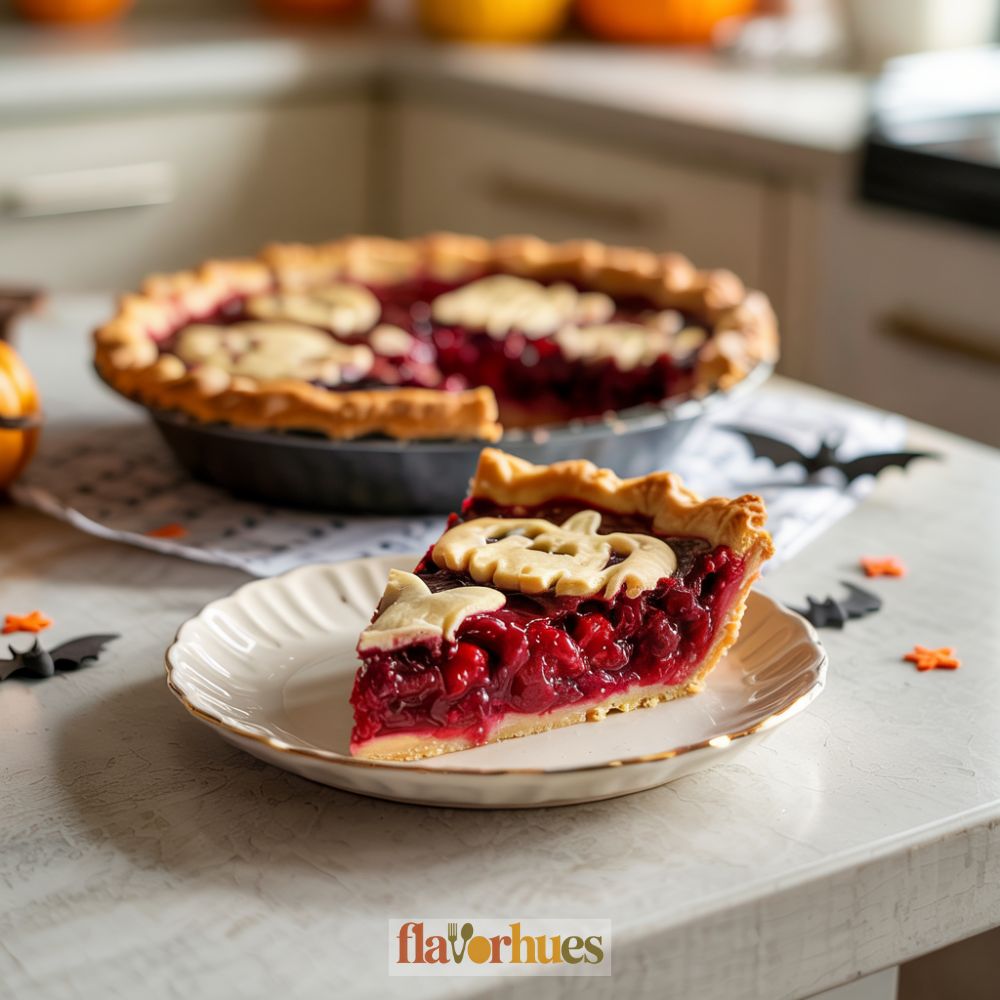
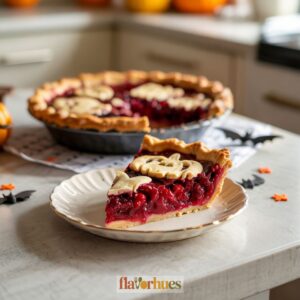
I bake the pie for about 45-55 minutes. When the center looks set and a toothpick comes out mostly clean, it’s good to go.
I let the pie cool on a wire rack before slicing. If I try to cut it hot, it falls apart—learned that the hard way.
Equipment
Ingredients
- 1 Pie crust (ready-made)
- 21 oz cherry pie filling
- 1 tablespoon cornstarch
- 1 cup frozen cherries thawed
- 1 tablespoon lemon juice
- 1 teaspoon vanilla extract
- 1 egg
- 1 tablespoon water
Instructions
- Preheat oven to 375°F (190°C) and position the rack in the middle.
- Roll out the pie crust and gently press it into a 9-inch pie pan. Trim the edges if needed.
- Use extra dough to cut out Halloween shapes like bats, pumpkins, or ghosts using cookie cutters or a small knife. Set aside.
- In a mixing bowl, combine cherry pie filling, cornstarch, thawed cherries, lemon juice, and vanilla extract. Mix until evenly combined.
- Pour the filling into the prepared crust and spread it evenly.
- Beat the egg with 1 tablespoon of water to make an egg wash.
- Brush the crust edge with egg wash. Add decorative cut-outs on top and brush them with egg wash as well.
- Place the pie pan on a baking sheet (optional, to catch any drips) and bake for 45–55 minutes, or until the filling is bubbly and the crust is golden brown.
- Let the pie cool on a wire rack before slicing to help the filling set.
- Serve at room temperature or slightly warm.
Nutrition
Substitute
Sometimes I run out of an ingredient or two, so I’ve figured out some easy swaps for Halloween Pie. Here’s what I use when I’m in a pinch.
No pumpkin puree? Sweet potato or butternut squash puree works, and it’s still got that autumn vibe. The flavor’s a little different, but not in a bad way.
If I’m out of heavy cream, I use evaporated milk or coconut milk. Coconut milk makes it a touch sweeter and extra creamy.
For a gluten-free crust, I just mix almond flour with melted butter and press it in the pan. It holds up pretty well after baking.
To make it dairy-free, I use plant-based butter (or margarine) and swap in non-dairy milk for the filling. Nobody’s complained yet.
Here’s a quick table of the swaps I like:
| Ingredient | Substitute |
|---|---|
| Pumpkin puree | Sweet potato, butternut |
| Heavy cream | Evaporated or coconut milk |
| Pie crust flour | Almond flour |
| Butter | Plant-based butter or oil |
| Eggs | Flax eggs (1 tbsp flax + 3 tbsp water per egg) |
These swaps make it easy to fit different diets or whatever I’ve got in the pantry. I try not to overthink it—Halloween pie is meant to be fun, after all.

What Can Go Wrong?
If you’re like me, you might run into a few hiccups when making Halloween Pie. Sometimes the filling won’t set, or the crust gets a little soggy.
It can be tricky. But you can often catch these problems early on—if you’re paying attention.
Common Problems:
| Problem | What It Looks Like | How I Fix It |
|---|---|---|
| Runny filling | Pie is wet or leaks when cut | Bake a little longer |
| Soggy bottom crust | Crust is soft or wet under pie | Pre-bake the crust |
| Burnt edges | Crust gets too dark | Cover with foil |
| Cracked top | Pie looks split on top | Cool pie slowly |
Sometimes my pie filling cracks while baking. If the oven’s too hot or the filling cooks too fast, you’ll see cracks.
I try baking at a lower temperature and letting the pie cool down slowly. That seems to help.
If the spices taste way too strong, I probably dumped in too much. I always start with less and taste as I go—adding more is easy, but taking it out isn’t.
When I don’t mix the filling well, I end up with weird lumps or uneven flavor. Using a whisk or mixer helps everything blend together better.
Old or expired ingredients can totally mess up the taste and texture. I always double-check dates before starting, just in case.