Ghost Shaped Cake Pops Recipe
I love making treats that are both fun and delicious, especially for parties or special occasions. Ghost shaped cake pops are a cute and easy way to impress your guests, and they taste great too.
With just a few simple ingredients and a little creativity, anyone can make these spooky snacks at home.
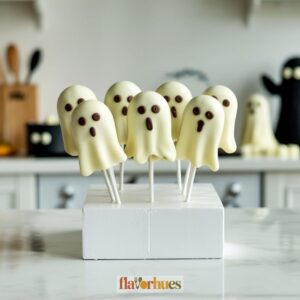
These cake pops look just like friendly little ghosts, making them perfect for Halloween or any themed event.
I’m excited to share my step-by-step process, including everything you need and exactly how much of each ingredient to use.
Why I Love Them
One reason I enjoy making ghost shaped cake pops is that they are fun to decorate. I like using white chocolate for the “ghost” part, which makes them look cute and simple.
Making these treats brings back good memories. I remember sharing them at Halloween parties and seeing everyone smile.
My friends always say they’re surprised by how soft they are inside.
It makes me happy when kids help me add faces. They each give their ghost a different look, and it always makes us laugh.
The best thing for me is how bite-sized they are. I can eat one or two without feeling too full.
This makes them perfect for sharing at parties.
Equipment
Making ghost shaped cake pops is easier with the right tools. Here’s what I like to use:
- Mixing bowl (medium-sized)
- Electric mixer or sturdy spoon
- Baking tray (lined with parchment paper)
- Spoons (for scooping and mixing)
- Cake pop sticks (about 24)
- Microwave-safe bowl (for melting chocolate)
- Styrofoam block or stand (to let cake pops dry upright)
I always use 24 cake pop sticks for a 1-box cake mix recipe. I find a microwave-safe bowl is best for melting candy melts or white chocolate.
If I want faces or extra details, I set out a clean paintbrush and some mini chocolate chips or black decorating gel.
Having everything ready before I start helps me keep things tidy and makes the whole process more fun.
Ingredients
When I make ghost shaped cake pops, I like to gather everything before I start. Here’s my personal list of what I use:
Cake Pops:
- 1 box vanilla cake mix (plus ingredients needed on box)
- 1/2 cup frosting (vanilla works best for ghosts)
- 25 lollipop sticks
Ghost Coating and Decorations:
| Ingredient | Amount |
|---|---|
| White candy melts | 2 cups (about 12 oz) |
| Black gel icing | 1 small tube |
| Mini chocolate chips | 1/4 cup |
I find white candy melts give a smooth, even coating that looks just right for ghosts.
For faces, I like to use black gel icing or mini chocolate chips for the eyes and mouth. Sometimes I use both!
If I don’t have candy melts, I melt 1 1/2 cups of white chocolate chips as a substitute. The finish is a little softer, but it still works.
Instructions
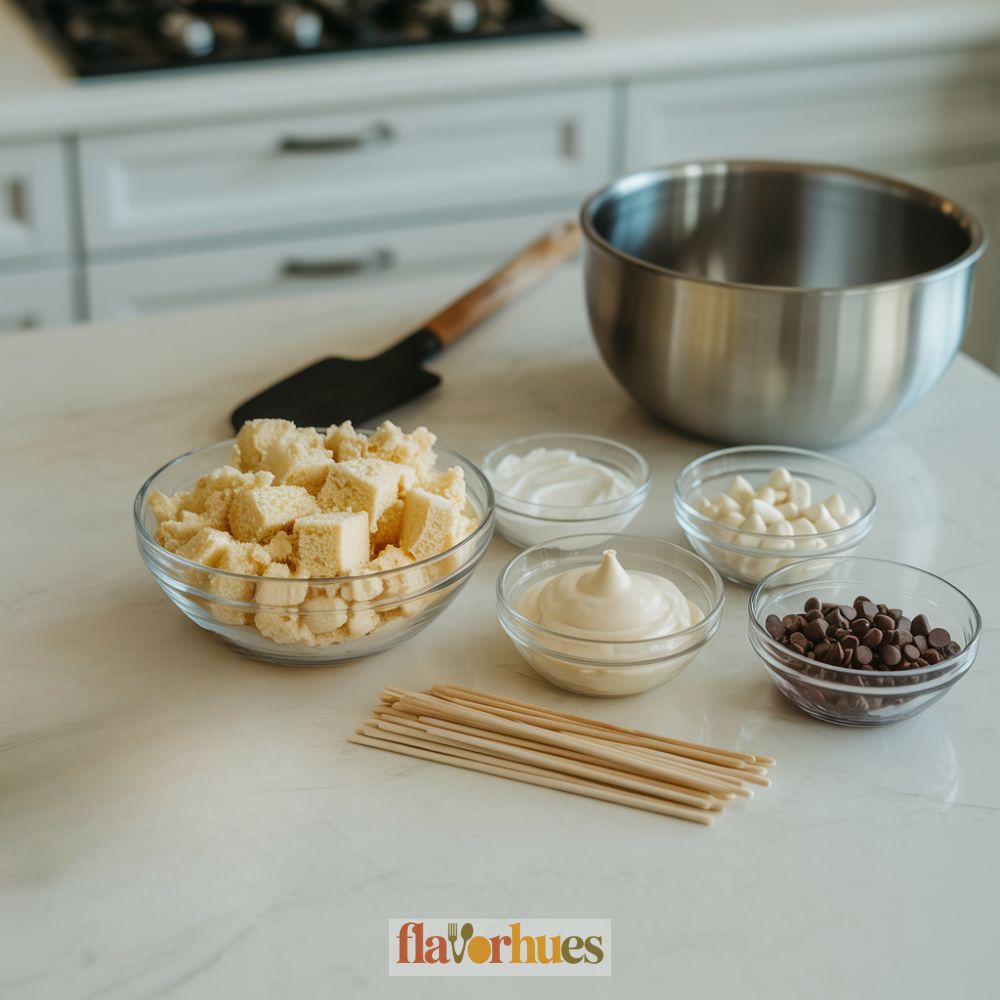
Step 1: Gather Your Ingredients
The first step is to gather all the ingredients in one place so that everything is organised and we are ready to get started with the recipe.
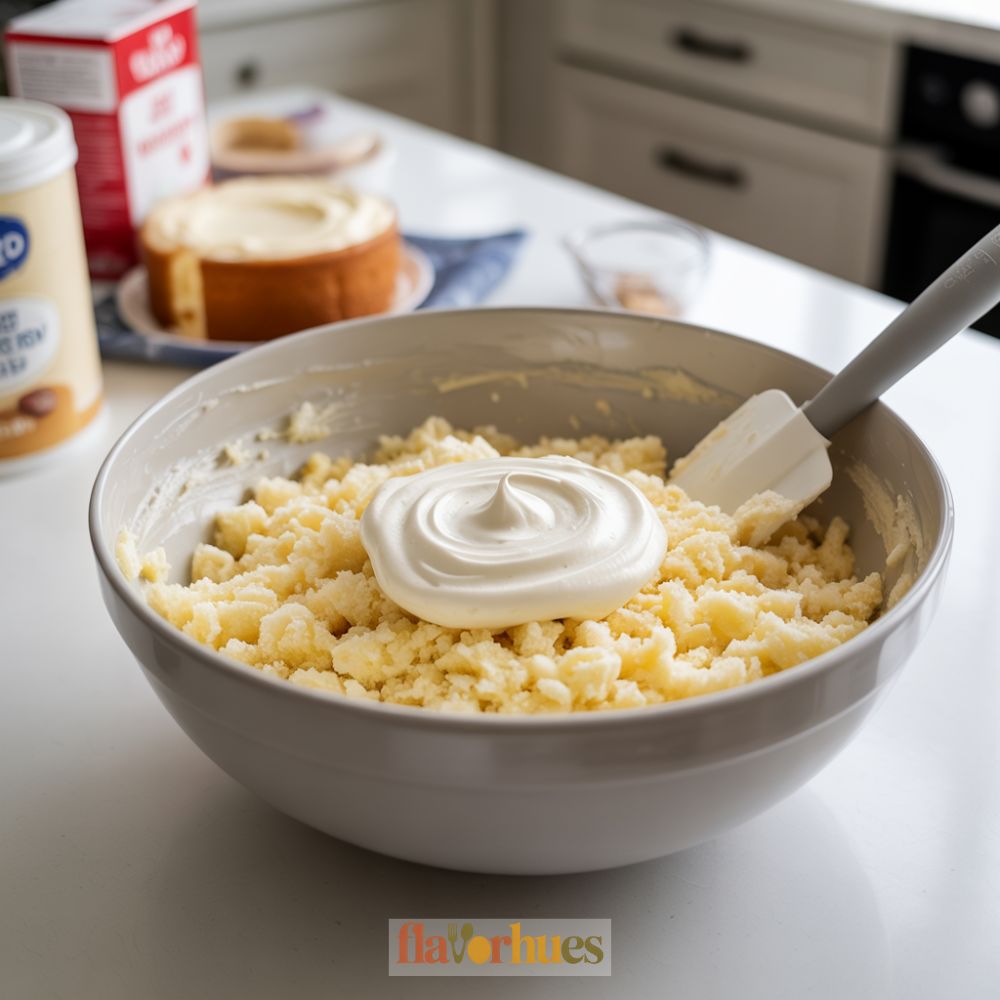
Step 2: Mix and Shape
First, I crumble the cake into a large bowl. Next, I add all the frosting and mix it in by hand until the mixture is soft and sticks together.
Then, I scoop out about 2 tablespoons for each cake pop and roll it into a ball. I pinch one side to make a ghost “tail” and place them on a tray.
Step 3: Add Sticks and Chill
I melt a small amount of white candy melts. I dip one end of each lollipop stick into the melted candy and push it into a cake ball.
After that, I chill the pops in the fridge for 30 minutes so they get firm.
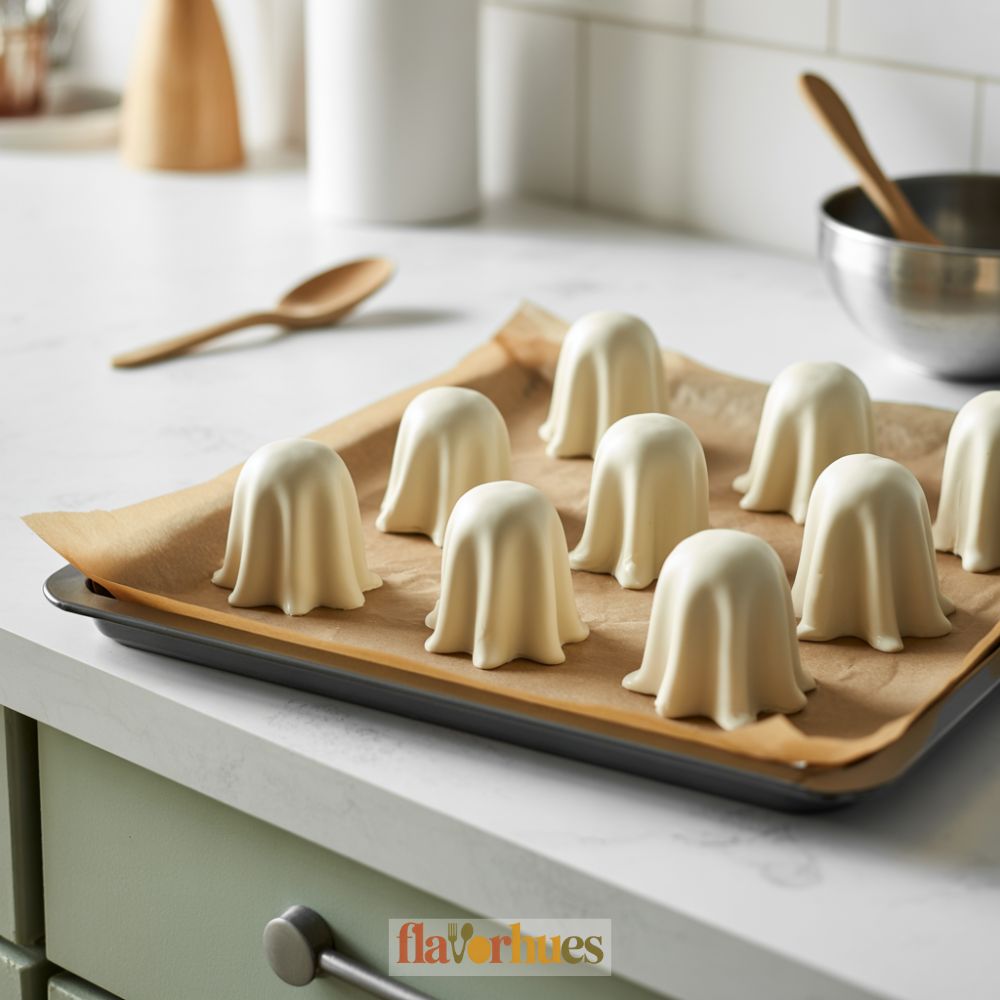
Step 4: Dip and Decorate
I melt the rest of the white candy melts. I dip each cake pop into the melted candy, letting the extra drip off.
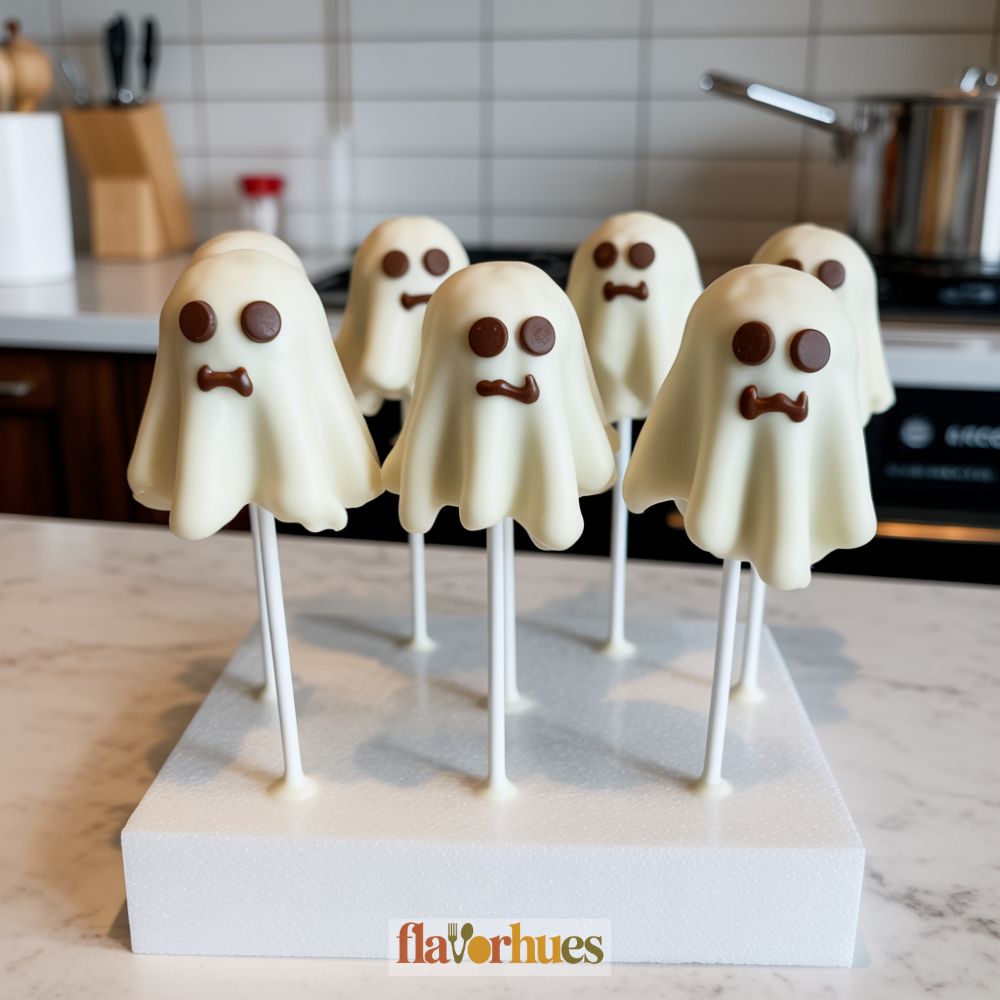
I put two mini chocolate chips on each pop for eyes while the coating is still soft.
That’s how I make ghost shapes!
Decoration Tips

When I decorate ghost shaped cake pops, I start by making sure the base icing is smooth and white. I use about 8 ounces of white chocolate melts for dipping.
This amount covers around 12 cake pops.
To give the ghosts faces, I use 24 mini chocolate chips for eyes and 12 mini M&M’s for mouths. I find it easier to attach the faces before the chocolate hardens.
Here’s a quick list of the ingredients I use for decoration:
| Ingredient | Amount |
|---|---|
| White Chocolate Melts | 8 oz (227 grams) |
| Mini Chocolate Chips | 24 pieces |
| Mini M&M’s | 12 pieces |
| Black Gel Icing | 1 tube (22 grams) |
| Sprinkles (optional) | 1 tbsp |
For extra detail, I use my black gel icing to draw little eyebrows or spooky mouths. I let the pops sit upright in a Styrofoam block until the chocolate sets.
Sometimes I add a touch of white shimmer dust to make the ghosts shine. This step is just for fun and is not needed.
If I want the ghosts to look like they’re floating, I don’t push the sticks all the way through. This gives a nice rounded “tail” at the bottom.
Equipment
- 1 baking tray lined with parchment paper
- 2 spoons (for scooping and mixing)
- 1 Styrofoam block or cake pop stand
- 1 clean paintbrush (optional, for gel icing detail)
Ingredients
Cake Pops:
- 2 cups crumbled baked cake any flavor
- 1/3 cup frosting vanilla or cream cheese
- 12 lollipop sticks
Ghost Coating & Decoration:
- 1 1/2 cups white candy melts or 12 oz white chocolate chips
- 24 mini chocolate chips for eyes
- 12 mini M&M’s for optional mouths
- 1 tube black gel icing 22 grams
- 1 tablespoon white or Halloween-themed sprinkles optional
Instructions
- Crumble the cake into a mixing bowl. Add frosting and mix until the texture resembles soft dough that holds together.
- Roll about 2 tablespoons of the mixture into balls. Pinch one end to form a ghost “tail.” Place on parchment-lined tray.
- Melt a small amount of candy melts. Dip the end of each stick into the melt, then insert into the base of each cake pop. Chill for 30 minutes to firm.
- Melt remaining white candy melts in a microwave-safe bowl, stirring until smooth. Dip each pop to coat completely. Gently tap off excess.
- Before coating sets, press in two mini chocolate chips for eyes. Add mini M&M for the mouth if desired. Optional: use black gel icing or edible markers for detail.
- Stand the cake pops in a Styrofoam block to dry completely, about 15 minutes. Add optional sprinkles or shimmer dust for extra effect.
Creative Ghost Shaped Cake Pops Variations
I like to get creative with my ghost cake pops by trying out different looks and flavors. Here are some fun ways I change things up.
Different Ghost Faces:
I use mini chocolate chips, candy eyes, or even a food-safe marker to give each ghost a unique expression.
Some look surprised, while others have a cute smile.
Flavorful Coatings:
Sometimes I coat the cake pops in white chocolate, but other times I use vanilla-flavored candy melts or yogurt coating.
This gives each batch a little twist in taste.
Decorations List:
- Sprinkles for a fun pop of color
- Edible glitter for a sparkly ghost
- Tiny bows made from licorice or fondant
Here’s an example of what I use for one batch of cake pops:
| Ingredient | Quantity |
|---|---|
| Baked cake (any flavor) | 2 cups crumbled |
| Cream cheese frosting | 1/3 cup |
| White chocolate melts | 12 oz (340 grams) |
| Lollipop sticks | 12 |
| Mini chocolate chips (faces) | 24 |
| Candy eyes | 24 |
| Black food marker | 1 |
I also dip half of my ghosts in white chocolate and the other half in yogurt coating to see which I like better.
These small changes make every set of ghosts a little different and a lot of fun to make.
Substitute
Sometimes I need to switch things up if I don’t have all the original ingredients for ghost shaped cake pops.
Here are some swaps that have worked for me.
Cake Substitute Ideas
- Crumbled brownies for a fudgy center
- Crushed vanilla wafers (about 2 cups) with 1/4 cup cream cheese
- Pre-made pound cake (about 1 loaf), crumbled
Frosting Alternatives
- Store-bought frosting: About 1/3 cup per batch
- Nut butter: Smooth peanut butter or almond butter (use 1/4 cup for binding)
- Greek yogurt: 1/4 cup for a lighter taste
Candy Coating
When I don’t have white chocolate melts, I use:
| Substitute | Amount | Notes |
|---|---|---|
| Almond bark | 8 oz | Easy to melt |
| White candy chips | 8 oz | Add 1 tsp oil if thick |
| Vanilla frosting | 1/2 cup | Microwave to thin |
For the ghost faces, mini chocolate chips or a black food marker both work well.
If I run out of lollipop sticks, I use:
- Party straws
- Toothpicks
- Pretzel sticks
What Can Go Wrong?
I’ve made ghost cake pops many times, and things don’t always go as planned.
Sometimes, the cake pops can fall off the sticks if I make them too big or the mixture is too soft.
The coating can be tricky.
If the candy melts are too thick, I find it hard to get a smooth, even layer. If I overheat the melts, they might seize up and get lumpy.
Here’s a list of common problems I’ve run into:
- Cake pops sliding off sticks
- Cracked coating after drying
- Uneven or spotty candy melts
- Ghost faces smudging
Let me show a few more examples and what I do:
| Problem | Solution |
|---|---|
| Cake too crumbly | Add less frosting next time |
| Coating too thick | Stir in 1 tsp vegetable oil |
| Faces not sticking well | Wait until coating sets before drawing |
It can also be easy to use too much frosting in the mix.
I always measure my ingredients carefully: 2 cups crumbled cake, 3 tablespoons frosting, and 1 cup candy melts help me get better results every time.
Sometimes, the ghosts look lopsided or the shapes melt before I finish decorating.
That usually happens if the pops weren’t chilled long enough, so now I always freeze mine for 15 minutes before dipping.
Storage And Shelf Life Tips
I always try to keep my ghost shaped cake pops fresh. There are a few steps I usually stick to, nothing fancy.
I put the cake pops in an airtight container. Between layers, I lay down some parchment paper so they don’t end up glued together.
If I’m planning to eat them within a couple days—maybe two or three—I just leave them out at room temperature. I make sure they’re nowhere near sunlight or any heat source, because that’s just asking for trouble.
But if I need them to last longer, into the fridge they go. That way, they can hang around for up to a week and still taste pretty decent.
Sometimes, though, I want to keep them even longer. I’ll wrap each one in plastic wrap, toss them all in a zip-top freezer bag, and freeze them.
Honestly, frozen cake pops are good for about a month, in my experience.
Here’s a quick reference table:
| Storage Method | Shelf Life | Special Tips |
|---|---|---|
| Room Temperature | 2-3 days | Store in airtight container |
| Refrigerator | Up to 1 week | Use parchment between layers |
| Freezer | Up to 1 month | Wrap tightly before freezing |
Before eating frozen cake pops, I always thaw them in the fridge overnight. I never do it at room temperature, since that just makes them weirdly soggy.