Frankenstein Monster Cake Pops Recipe
I love making treats that are both fun and delicious. Frankenstein Monster Cake Pops are always a hit around Halloween.
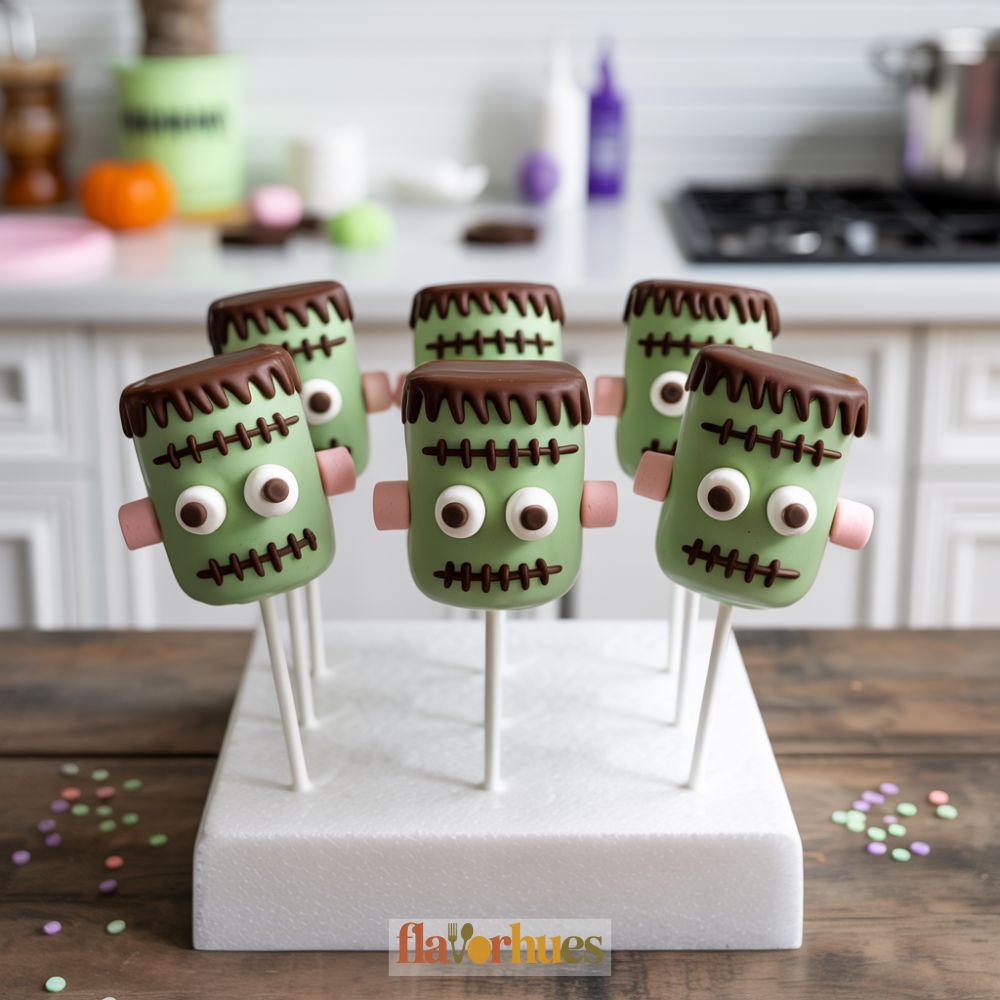
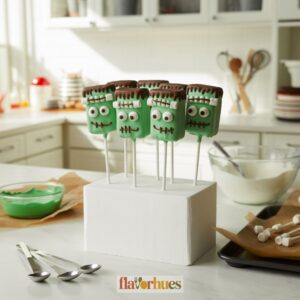
These cute little desserts look just like Frankenstein’s monster, with bright green faces, candy eyes, and chocolate hair.
Kids find them funny. Adults love the taste.
I enjoy how these cake pops make any party table look a little bit spooky and a lot more fun. If you’re looking for a simple treat to impress your friends or liven up a class party, you’ll want to keep reading.

Why I Love Them
One thing I really enjoy about Frankenstein Monster Cake Pops is how fun they are to make. The decorating part lets me be creative and a little messy.
It’s always interesting to see how each face turns out a bit different. They’re also the perfect size for sharing.
I can bring a batch to a party or family get-together, and everyone can just grab one. No plates or forks needed.
Making these cake pops gets me into the Halloween spirit. The green candy coating and silly faces always make me smile.
I also love that kids can help with making them. Letting them stick on the eyes or paint on hair makes the whole process more special.
It’s a fun activity that brings everyone together in the kitchen.
Equipment
To make Frankenstein Monster Cake Pops, I need a few basic tools. Here’s the equipment I use every time:
Mixing Bowls: I use two medium mixing bowls—one for crumbling the cake, and another for mixing.
Fork or Spoon: I use a standard fork or spoon to break the cake into crumbs.
Measuring Cups and Spoons: These help me get the right amounts of cake and frosting.
Hands or Small Scoop: Sometimes I shape the cake pops by hand, but a small cookie scoop makes even balls.
Baking Sheet: I line a baking sheet with parchment paper to place the shaped pops on before dipping.
Microwave-Safe Bowl: I melt candy melts in a microwave-safe bowl so I can dip the cake pops easily.
Stands or Styrofoam Block: Once dipped, I use a styrofoam block to keep the cake pops upright as they dry.
Optional: Toothpicks or extra sticks are helpful for adding details or fixing small mistakes.
Ingredients
To make Frankenstein Monster Cake Pops, I use some basic cake pop ingredients and a few things for decorating. Here’s what I gather before getting started:
Cake and Frosting:
- 1 box of chocolate cake mix (and ingredients called for on the box: eggs, oil, water)
- 1/2 cup of chocolate frosting
For the Pops:
- 24 lollipop sticks
Decorating:
- 14 ounces green candy melts
- 1/2 cup chocolate chips or black candy melts
- 48 candy eyes (about 2 per pop)
- 1/4 cup white candy melts (optional, for mouth details)
- 24 mini marshmallows (for “bolts” on the side of the head)
I like to line up all my items first. It helps me stay organized.
Here’s a table to show the main amounts I use:
| Ingredient | Amount |
|---|---|
| Chocolate cake mix | 1 box |
| Chocolate frosting | 1/2 cup |
| Lollipop sticks | 24 |
| Green candy melts | 14 ounces |
| Chocolate chips/black candy melts | 1/2 cup |
| Candy eyes | 48 |
| White candy melts (optional) | 1/4 cup |
| Mini marshmallows | 24 |
I find that these quantities work well for about 24 cake pops. If I make fewer, I just cut the ingredients in half.
Instructions
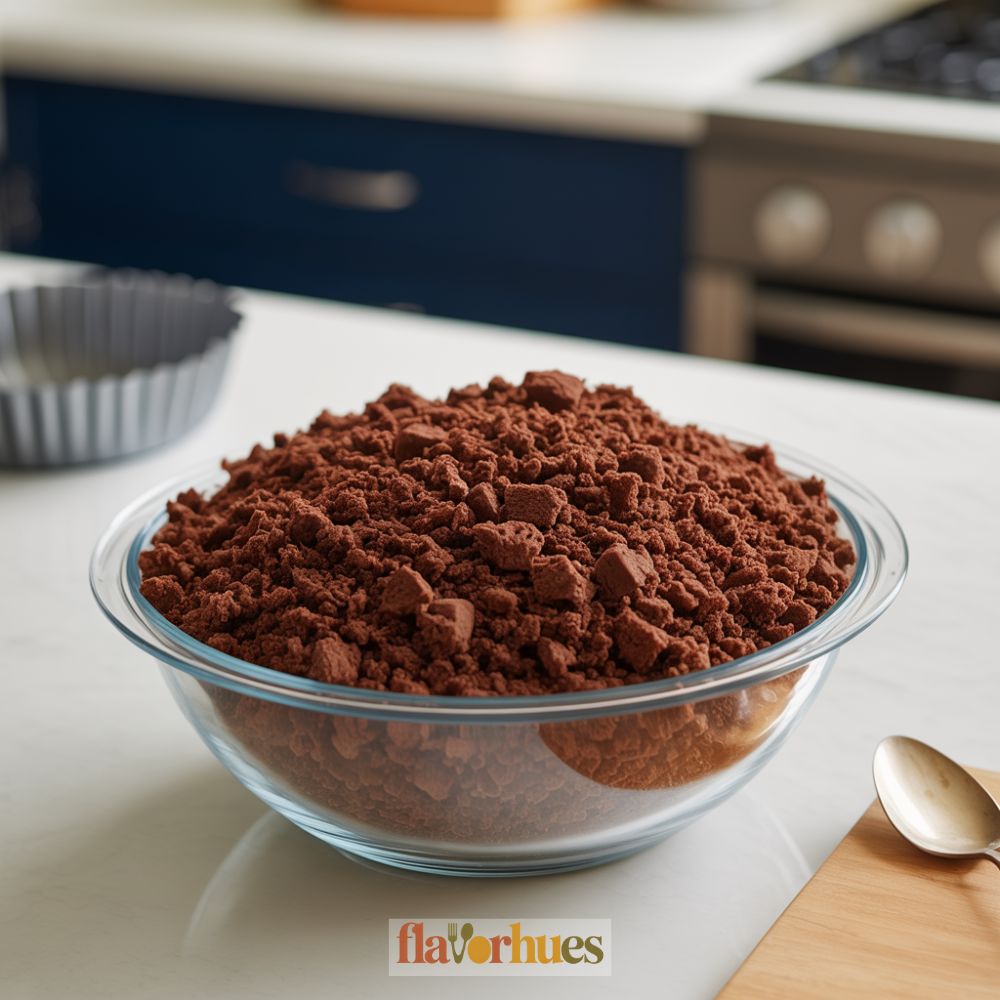
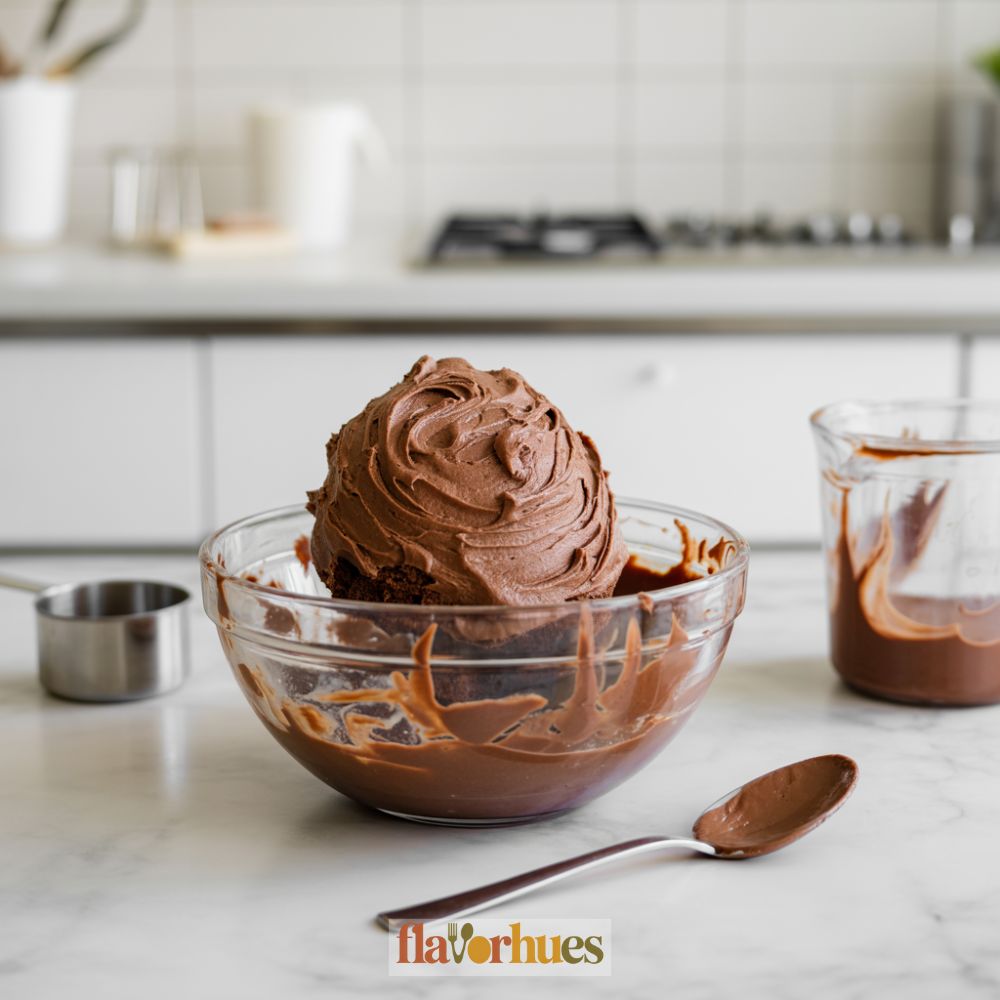
I crumble the baked cake into a large bowl, then add my frosting. I mix them together with my hands until it feels like bright, sticky dough.
I roll the mixture into 10 to 12 balls and shape them into little rectangles for the Frankenstein heads. I put each rectangle on a lollipop stick.
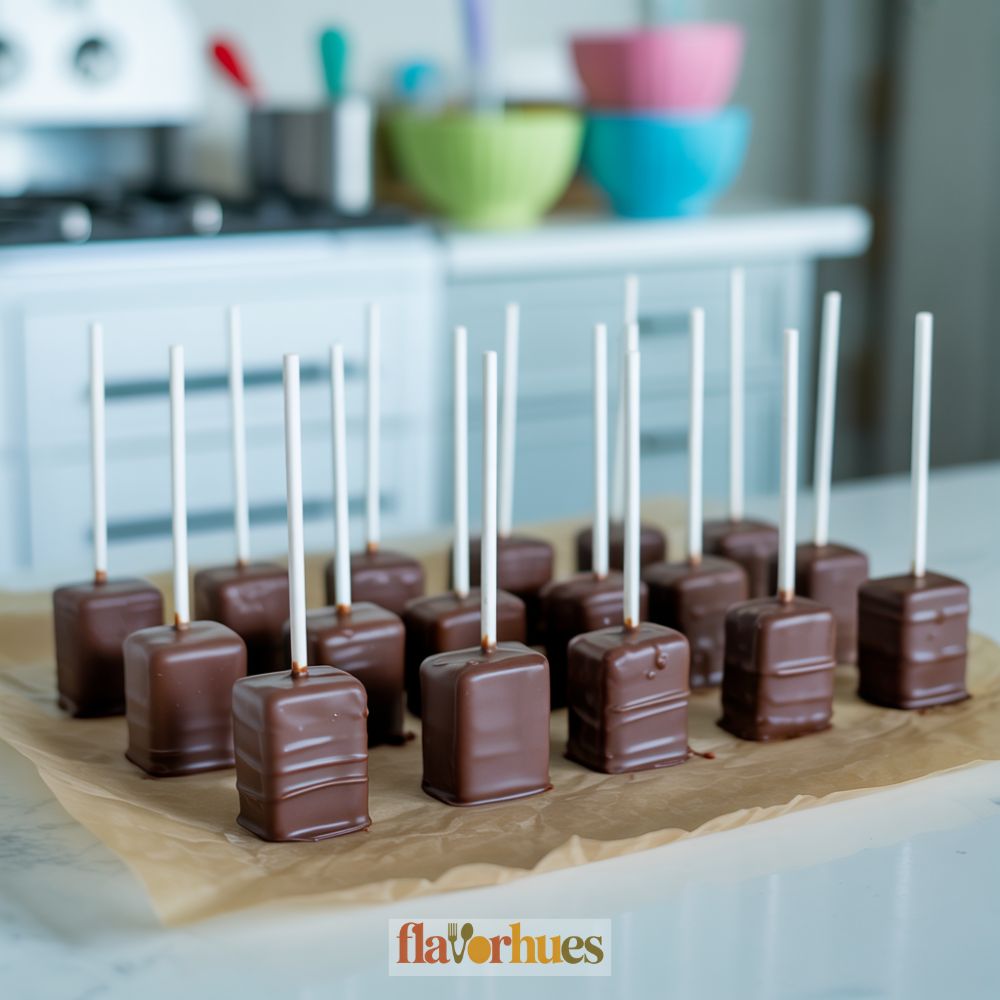
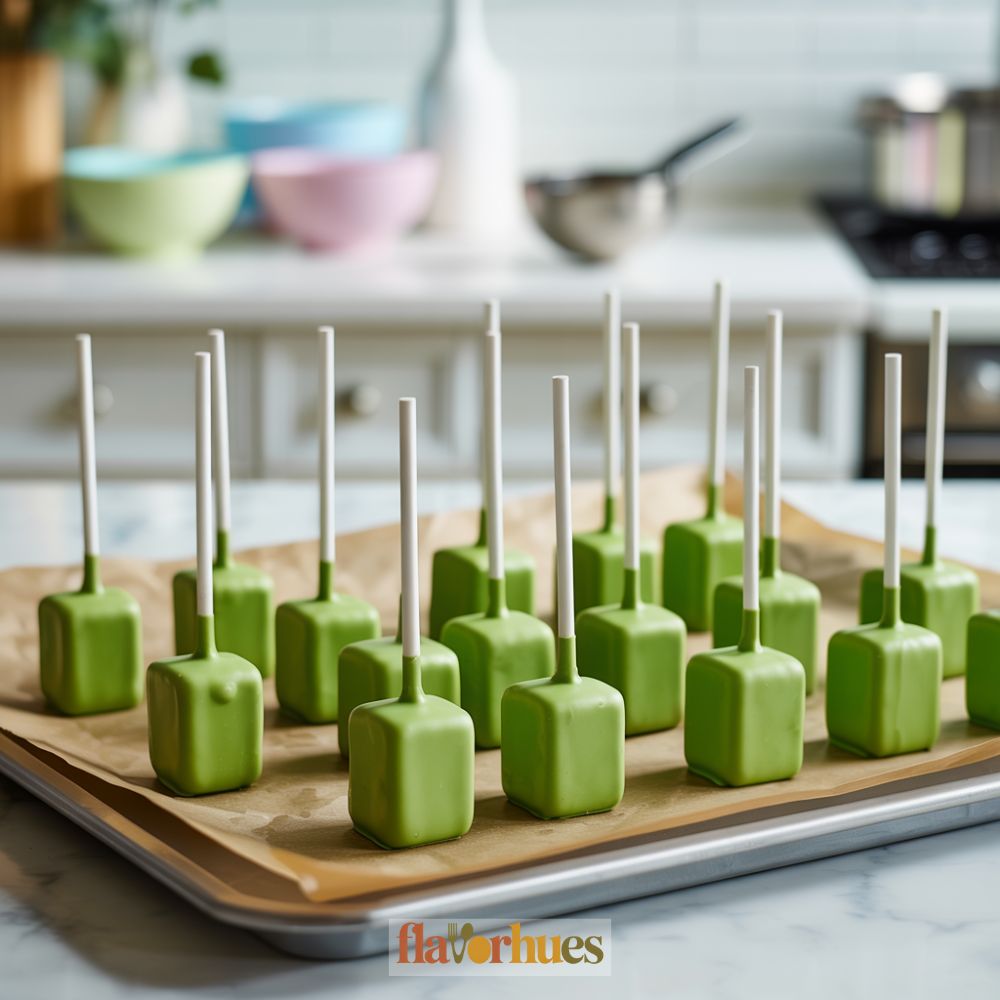
I melt my green candy melts in a microwave-safe bowl, heating in 30-second bursts and stirring until smooth. I dip each cake pop in the green coating and tap off the extra.
Once the coating is set, I melt the black candy melts. I dip the top of each pop in the black coating to make Frankenstein’s hair.
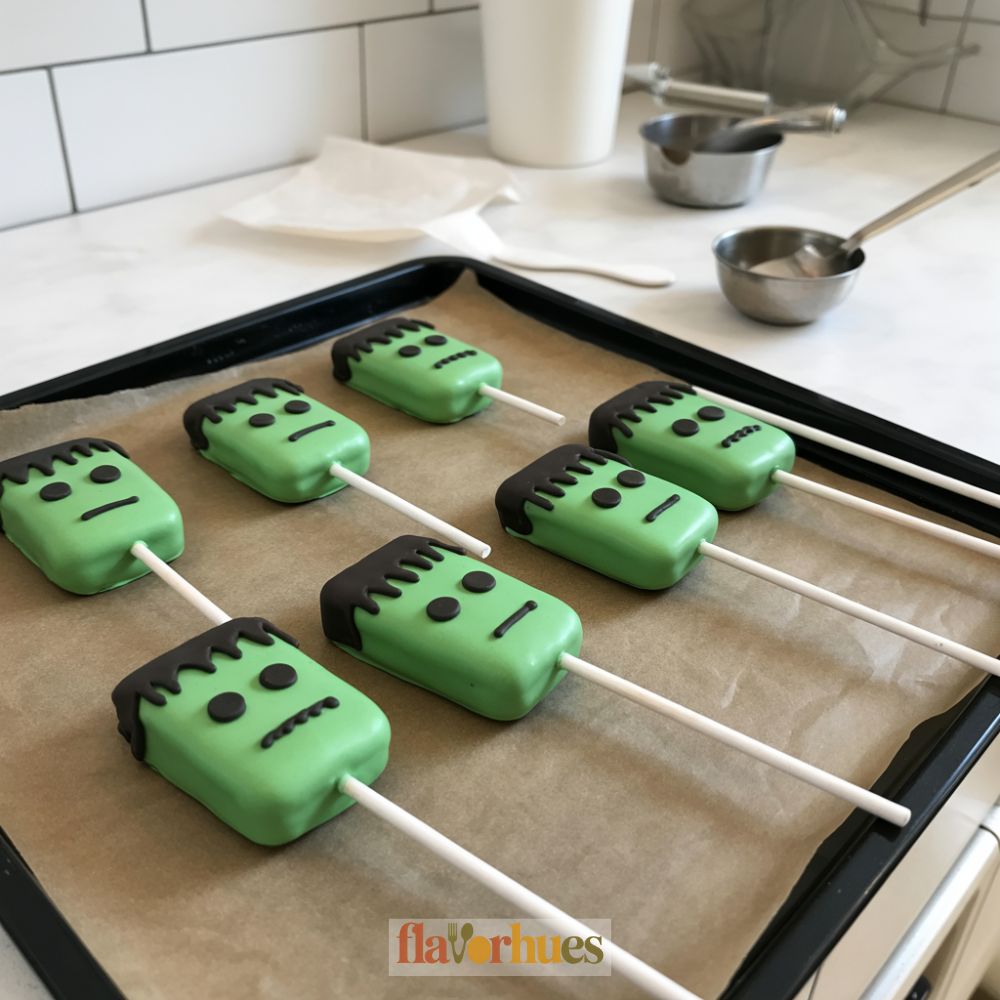
I attach two candy eyes and use a toothpick dipped in black coating to draw a mouth and stitches. I cut mini marshmallows in half and press them into the sides to make bolts for his neck.
I place the cake pops upright in a foam block or a heavy cup and let them set until the coating is firm.
Decoration Tips
I like to start with a smooth coat of green candy melts. This gives the cake pops that classic Frankenstein look.
For extra detail, I use black candy melts to make the hair and mouth. I dip just the top of each cake pop in the black coating for the hair, then draw on a zigzag shape with a toothpick.
To make the face, I use store-bought candy eyes. I stick them on while the green coating is still wet, so they really stay in place.
Here’s a quick list of what I use for decorating each dozen cake pops:
| Ingredient | Quantity |
|---|---|
| Green candy melts | 1 cup |
| Black candy melts | 1/2 cup |
| Candy eyes | 24 pieces |
| Mini marshmallows (ears) | 12 pieces |
| Toothpicks | 2-3 pieces |
| Edible marker (optional) | 1 marker |
For Frankenstein’s “bolts,” I push half a mini marshmallow into each side of the head. Sometimes, I use a toothpick to gently make a small hole first to keep the shape neat.
If I want to add more detail, I take an edible marker and draw stitches or scars across the forehead. It’s an easy way to make each monster unique without much extra work.
I let the cake pops set on a parchment-lined tray so they stay round and don’t get any flat spots. That helps them look their best when it’s time to share.
Equipment
- Fork or spoon (to crumble cake)
- Baking sheet with parchment paper
- – Toothpicks (for decorating)
- Optional: Edible marker for drawing stitches
Ingredients
Cake Base:
- 1 box chocolate cake mix plus ingredients on box: usually eggs, oil, and water
- 1/2 cup chocolate frosting
Decorating:
- 14 ounces green candy melts
- 1/2 cup black candy melts or chocolate chips
- 48 candy eyes
- 24 mini marshmallows for bolts
- 1/4 cup white candy melts optional, for mouth details
Assembly:
- 24 lollipop sticks
Instructions
- Prepare and bake the chocolate cake according to the box instructions. Let it cool completely.
- Crumble the baked cake into a mixing bowl using a fork or your hands. Add 1/2 cup of frosting and mix until the texture is like moldable dough.
- Scoop about 1 tablespoon of the mixture and shape into rectangles (Frankenstein head shape). Place each one on a parchment-lined baking sheet.
- Insert a lollipop stick into each cake pop. Chill in the refrigerator for 30 minutes to firm up.
- Melt green candy melts in a microwave-safe bowl (30-second bursts, stirring in between). Dip each cake pop, coating completely. Gently tap off excess. Stand upright in a Styrofoam block to dry.
- Melt black candy melts and dip just the tops of the cake pops to create “hair.” While still wet, press on two candy eyes. Use a toothpick dipped in black melt or an edible marker to draw on a mouth and stitches.
- Cut mini marshmallows in half and press one half into each side of the head for “neck bolts.” Optional: use white candy melts to add mouth lines or scars.
- Let all pops stand upright in a Styrofoam block until fully set, about 20–30 minutes.
Creative Frankenstein Monster Cake Pops Variations
I love trying new ways to make my Frankenstein Monster cake pops stand out. Here are a few fun ideas I use to change things up:
- Classic Green Monster:
Ingredients:- 1 box chocolate cake mix
- 1/2 cup frosting
- 2 cups green candy melts
- 1/4 cup black candy melts
- 24 candy eyes
- 12 popsicle sticks
- Purple Frankenstein:
I swap out green candy melts with purple ones. This gives my monsters a new and spooky twist. - Sprinkle Hair:
For hair, I sometimes use chocolate sprinkles instead of candy melts. After dipping the pops, I add sprinkles right away so they stick. - Different Facial Expressions:
I use a black food marker or melted chocolate to draw different faces. Some look surprised, while others are grinning. - Mini Frankenstein Bites:
I make smaller cake balls, about 1 inch wide, and use small lollipop sticks. They’re easy to share at parties.
Mixing and matching these ideas lets me get creative every time I make cake pops.
Substitute
Sometimes I can’t find every single ingredient, or I just need to swap things out for allergies. Here are a few swaps that’ve worked out for Frankenstein Monster Cake Pops:
Cake Substitutes
- Boxed cake mix (15.25 oz) instead of homemade cake
- 1 cup applesauce instead of 2 eggs for a vegan option
Binding Ingredient
| Original | Substitute |
|---|---|
| 1/2 cup frosting | 1/2 cup cream cheese |
Some days, I just use 1/2 cup Greek yogurt if I’m after a lighter flavor. Not everyone likes it, but I do.
Chocolate Coating
If I’m out of green candy melts (12 oz), I’ll use:
- White chocolate chips (12 oz) with a couple drops of green food coloring
- Or sometimes, matcha powder (1 tbsp) mixed into white chocolate for a more natural green
Decorations
For the faces, I reach for:
- Mini chocolate chips (1/4 cup) instead of candy eyes
- Black gel icing (1 tube) instead of melted chocolate for little details
If I run out of pretzel sticks (10), I just break up wafer cookies for the “bolts.” Not perfect, but they work in a pinch.
What Can Go Wrong?
Sometimes my cake pops just refuse to stay on the sticks. If the mixture is too moist or too dry, it falls apart. Super annoying.
I always try to stick with 2 cups of crumbled chocolate cake and 1/2 cup of frosting for the right texture, but sometimes I mess up the ratio anyway.
The candy coating can also crack or just slide right off. Usually happens when I dip cold cake pops into hot candy melts—learned that the hard way.
So now I let the pops warm up to nearly room temp before I dip them. It’s a little extra waiting, but it helps.
Common Problems and Easy Fixes:
| Problem | Why It Happens | How I Fix It |
|---|---|---|
| Cake pops fall off sticks | Mix too moist/dry | Adjust frosting amount |
| Coating cracks | Cake pops too cold | Let them warm up a little |
| Lumpy coating | Melts too thick | Add 1/2 tsp vegetable oil |
| Faces smudge | Coating not set yet | Wait until coating is dry |
Sometimes, the Frankenstein faces just end up crooked or uneven. If I pile on too much icing or start drawing when the coating isn’t set, the designs smear everywhere.
I try to let the pops sit for about 20 minutes before adding the faces, though sometimes I get impatient.
If my sprinkles or mini chocolate chips aren’t sticking, it’s probably because the surface dried out. I’ve learned to add them right after dipping, while the coating’s still soft and a bit sticky.
Storage And Shelf Life Tips
After finishing my Frankenstein Monster Cake Pops, I always let the chocolate coating harden up all the way. Otherwise, they’ll stick together or just get weirdly squished.
I usually keep my cake pops in an airtight container. If I went a little wild with decorations, I’ll line the bottom with wax paper so nothing smudges or falls off.
Fridge Storage:
- Time: 1 week
- How: Airtight container, right in the fridge.
Room Temperature Storage:
- Time: Up to 2 days
- How: Cool, dry spot—definitely not in the sun or near anything hot. Airtight container, of course.
If I’m trying to keep them even longer, I’ll freeze the cake pops before adding any decorations. Here’s what works for me:
- Wrap each one tightly in plastic wrap. Don’t skip this step, or they’ll get freezer burn.
- Toss them in a freezer-safe bag or container.
- They’re good in the freezer for up to 6 weeks.
When I’m ready to eat them, I just move them to the fridge overnight. After that, I let them come to room temp. That usually keeps them pretty moist and delicious.
Quick Tip:
Don’t ever store cake pops somewhere humid or hot. The chocolate will melt or crack, and nobody wants that.