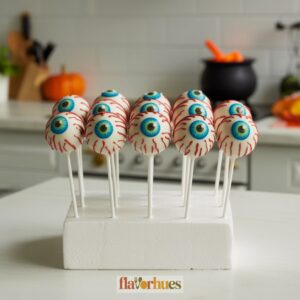
Eyeball Cake Pops with Red Veins Recipe
Ever wanted to surprise everyone at a party with a treat that’s both fun and just the right amount of creepy?
Eyeball cake pops with red veins are easy to whip up, look surprisingly realistic, and always grab attention at any Halloween bash or themed birthday.
Personally, I think these little desserts turn a basic snack into something everyone wants to see—and, honestly, eat! I’ll walk you through my simple steps, the exact ingredients you need (like a box of cake mix, 1/2 cup of frosting, white candy melts, and red food gel), and a few tips for keeping them extra spooky.
If you’ve never made cake pops before, don’t stress. I’ll guide you through each part so your treats come out looking awesome.

Why I Love Them
Eyeball Cake Pops with Red Veins are just so much fun to make. They’re a little bit creepy, sure, but that’s half the charm.
People always smile—or sometimes squirm—when they see them. The decorating part? That’s where I get to play, drawing squiggly veins with red gel. It’s almost like making tiny edible art.
The cake inside stays soft and moist, while the candy shell gives a satisfying crunch. I love that mix of textures.
What I like most about them:
- Easy to hold and eat
- Great for Halloween and parties
- Kids and adults both enjoy them
Here’s what I use for roughly a dozen cake pops:
| Ingredient | Amount |
|---|---|
| Cooked cake | 1 cup, crumbled |
| Frosting | 2 tablespoons |
| White candy melts | 1 cup |
| Red gel icing | as needed |
| Blue or green icing | as needed |
| Cake pop sticks | 12 |
Switching up the look is easy. Sometimes I go with blue eyes, sometimes green. No two pops ever look exactly the same, and I kind of love that.
Equipment
Before I start, I gather my tools. For cake pops, a few basic things make the process way smoother.
I grab a big mixing bowl and usually an electric hand mixer to blend the cake and frosting. Measuring cups and spoons help me get things right, though honestly, I eyeball it sometimes.
For shaping, I use a cookie scoop or just my hands to roll out small, even balls. For decorating, here’s what I like to have ready:
- Lollipop sticks (at least 20, just in case)
- Styrofoam block or cake pop stand (for drying)
- Microwave-safe bowl (for melting about 12 oz of white candy melts)
- Piping bag or zip-top bag (for the red veins)
- Toothpicks (for fixing details or mistakes)
A damp paper towel nearby is a lifesaver for sticky fingers and quick cleanups.
Here’s a quick rundown of the gear I use most:
| Equipment | Purpose |
|---|---|
| Large mixing bowl | Mixing cake and frosting |
| Hand mixer | Combining ingredients smoothly |
| Cookie scoop | Evenly shaping cake balls |
| Lollipop sticks | Holding each cake pop |
| Styrofoam block | Drying and displaying cake pops |
| Piping bag | Adding red veins |
Getting everything ready before starting just makes life easier. Trust me on that one.
Ingredients
Before anything else, I pull together all my ingredients. Having the right amounts makes the whole process smoother.
Here’s what I use:
- 1 box (about 15.25 ounces) vanilla cake mix
- Whatever the cake mix calls for (usually eggs, oil, water)
- 1 cup vanilla frosting
- 12 ounces white candy melts
- 24 lollipop sticks
- 1 tube red gel food coloring
- 24 candy eyeballs
- Blue or green gel icing (for iris details)
- Wax paper or parchment paper
Honestly, I stick with a boxed vanilla cake mix most times—it’s quick and nobody notices. Candy melts make the pops look smooth and round; they’re kind of a must.
Red gel food coloring is my go-to for veins. Drawing lines with it is just easier than anything else I’ve tried.
I try to find candy eyeballs that match the size of my pops. Sometimes I’ll add blue or green gel icing for a little extra flair.
Instructions
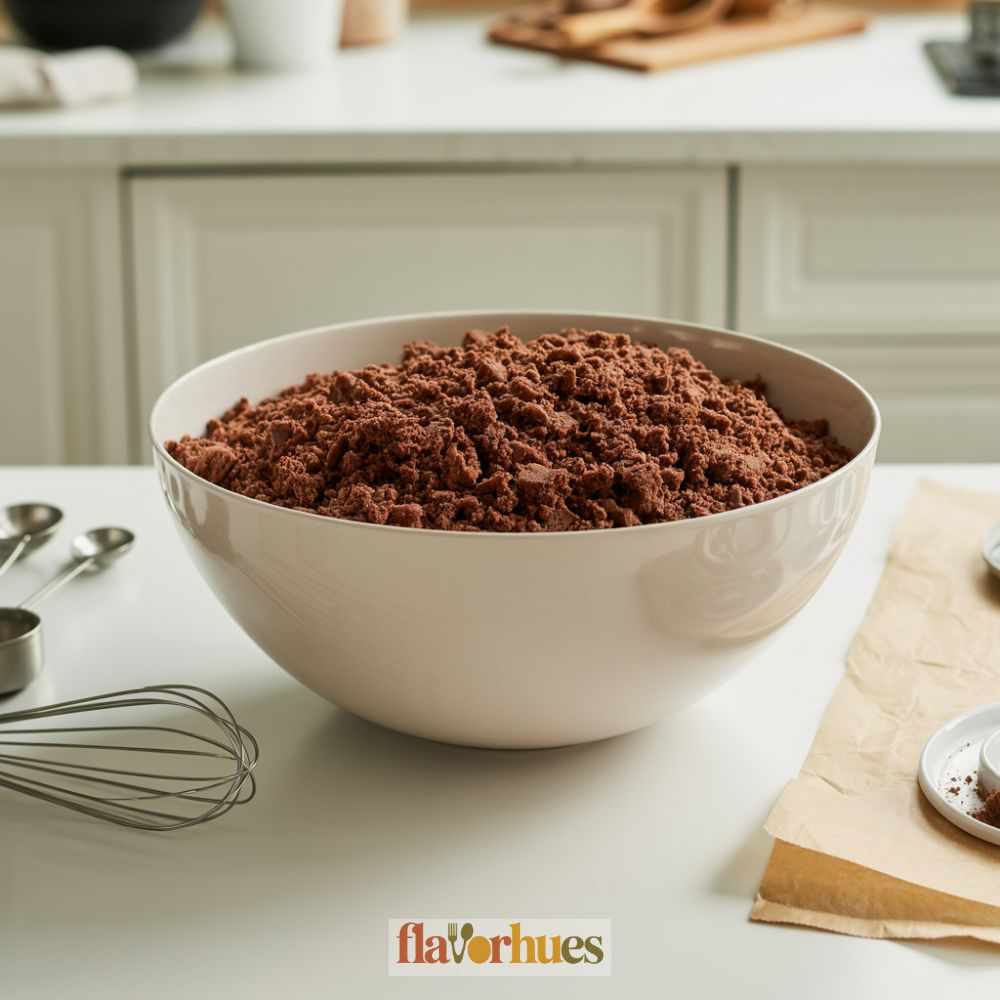
I start by crumbling up a box (about 500 grams) of chocolate cake into a big bowl.
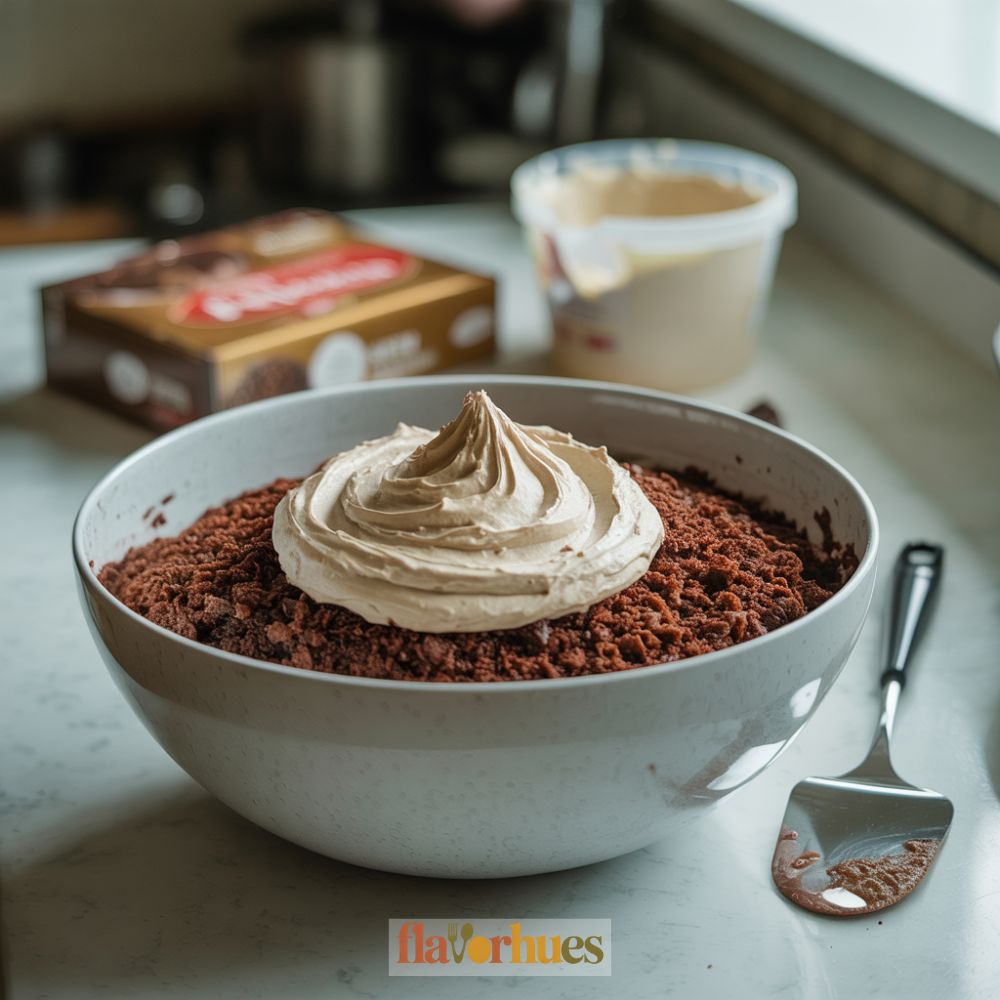
Then I add 1/2 cup (120 grams) of cream cheese frosting and mix until it holds together like dough.
Next, I roll the mixture into 1-inch balls and set them on a baking sheet lined with parchment. Into the fridge they go for an hour to firm up.

I melt 2 cups (300 grams) of white candy melts in a microwave-safe bowl, stirring every 30 seconds until smooth. Then, I dip the end of a lollipop stick into the melted candy and push it halfway into a cake ball.
Each cake pop gets a full dip in the white candy. I let the extra drip off, then stick a blue or green candy melt in the center for the iris.

For the veins, I grab a toothpick, dip it in red food coloring gel, and drag thin lines from the iris to the edge. It looks surprisingly realistic.
Once done, I stand the pops up in a foam block or cup until the coating hardens. That’s it—creepy little eyeballs ready to serve!
Decoration Tips
Before I start decorating, I gather everything and keep it close. Working fast is important since the coating sets up pretty quickly.
Here’s my basic decorating toolkit:
| Item | Use |
|---|---|
| 1 tube black gel | Draw the pupil |
| 1 tube red gel | Draw veins |
| 1 pack edible eyes | Add a fun finishing touch |
| Toothpicks | Make thin red lines |
| Small paintbrush | Spread colored candy melts |
White candy melts are my base. After dipping, I let them set until they’re just tacky—if you wait too long, things get tricky.
I use black gel or a chocolate chip for the pupil, pressing it gently in the center. For veins, red gel or melted red candy both work. I dip a toothpick in and draw wiggly lines outward from the pupil. Short, light strokes seem to look best.
If I’m feeling fancy, I’ll use fondant circles in blue, green, or brown under the pupil for colored irises. It’s a small detail, but it really pops.
Ingredients List (for 12 cake pops):
- 12 cake balls
- 1 cup white candy melts
- 12 cake pop sticks
- 1 tube black decorating gel
- 1 tube red decorating gel
- 12 edible sugar eyes (optional)
- Small piece of colored fondant (optional)
Equipment
- Cookie scoop (for shaping)
- Lollipop sticks (plus extras)
- Piping bag or zip-top bag (for veins)
- Damp paper towel (for cleanups)
Ingredients
- 15.25 oz vanilla cake mix
- Ingredients as called for on the cake mix box usually eggs, oil, and water
- 1 cup vanilla frosting
- 12 oz white candy melts
- 24 lollipop sticks
- 1 tube red gel food coloring
- 24 candy eyeballs
- Blue or green gel icing as needed (for iris detail)
- Wax or parchment paper
Instructions
- Prepare and bake the vanilla cake according to the box instructions. Allow it to cool completely.
- Crumble the baked cake into a large mixing bowl. Add 1 cup of frosting and mix with a hand mixer or hands until the texture resembles dough.
- Roll the mixture into 1-inch balls and place them on a wax paper-lined baking sheet. Chill in the refrigerator for at least 1 hour.
- Melt a small amount of candy melts. Dip the tip of a lollipop stick into the melted candy, then insert it halfway into each cake ball. This helps secure the stick.
- Melt the remaining white candy melts in a microwave-safe bowl, stirring every 30 seconds until smooth. Dip each cake pop into the melted coating, allowing excess to drip off.
- Before the coating hardens, add a small dot of blue or green gel icing in the center. Gently press a candy eyeball on top to create the pupil.
- Once the coating is set but still slightly tacky, use a piping bag, toothpick, or fine-tipped paintbrush dipped in red gel to draw squiggly veins outward from the pupil.
- Stand the cake pops upright in a styrofoam block or cake pop stand to let the coating harden completely.
- Serve immediately, or store in an airtight container at room temperature for up to 2 days, in the refrigerator for up to 1 week, or in the freezer (individually wrapped) for up to 1 month.
Creative Eyeball Cake Pops With Red Veins Variations
Whenever I make eyeball cake pops, I like to mix things up. Changing the iris color is an easy twist—blue, green, or hazel candies in the center work great.
Here’s an ingredient list for my favorite version:
| Ingredient | Amount |
|---|---|
| Baked cake (crumbled) | 2 cups |
| Cream cheese frosting | 1/4 cup |
| White candy melts | 1 cup |
| Red gel icing | 2 tablespoons |
| Assorted colored candies | 12 pieces |
| Lollipop sticks | 12 sticks |
Edible glitter on the irises? It sounds a little extra, but it adds a shiny, spooky effect I can’t resist.
Sometimes I’ll dip the pops in white chocolate, then use red candy melts instead of gel for the veins. The thicker veins look wild.
If I’m making monster or zombie eyeballs, I go with pale green or gray candy melts instead of white. It gives them a weird, undead vibe.
For vampire eyeballs, I add a tiny dot of black gel for the pupil and a ring of red candy for a bloodshot look. Decorating is honestly the best part—no two pops ever come out the same!
Substitute
If I run out of something, I just swap in what I have. Here are some easy substitutes I’ve tried for Eyeball Cake Pops:
Ingredients List for Basic Cake Pops Substitute:
| Ingredient | Substitute Example | Amount (per 12 pops) |
|---|---|---|
| Cake mix | Brownie mix | 1 box |
| Frosting | Cream cheese | 1/2 cup |
| White candy melts | White chocolate chips | 2 cups |
| Red food coloring | Strawberry syrup | 2 tablespoons |
| Lollipop sticks | Pretzel sticks | 12 |
| Candy eyes | Mini chocolate chips | 12 |
Out of white candy melts? Melt white chocolate chips instead. They work just as well and taste great.
No red food coloring? Strawberry syrup is a quick fix for the red veins, and it even adds a little flavor.
Brownie mix is a solid swap for cake mix if you want a fudgier base. It holds together just as well with frosting or cream cheese.
Pretzel sticks instead of lollipop sticks? Why not. They’re crunchy and kids get a kick out of them. No candy eyes? Mini chocolate chips do the trick. These little swaps keep things easy and help me finish up, even if I’m low on supplies.
What Can Go Wrong?
Sometimes, my cake pops just fall right off the sticks. It’s usually when I haven’t chilled them enough or I go a little wild with the frosting.
There are days when the candy melts refuse to be smooth, no matter what I try. If I overheat the melts or—oops—add water, the coating turns all lumpy, which totally ruins that clean look I want.
Common Problems I See:
- Cake pops crack: Cake balls too cold or coating too hot
- Veins smear: I don’t let the coating set fully
- Colors bleed: I add liquid color to candy melts (use oil-based colors)
Here’s a quick reference table of issues and possible fixes:
| Problem | Possible Cause | Quick Fix |
|---|---|---|
| Falling off stick | Cake too soft | Chill longer |
| Bumpy coating | Overheated candy melts | Melt slowly |
| Messy veins | Didn’t set coating | Wait before piping |
Tiny details can make a surprisingly big difference. I’ve learned to work in a cool room and use a gentle touch when drawing those red veins.
It keeps my eyeball cake pops looking spooky and neat—well, most of the time, anyway.
Storage And Shelf Life Tips
I always let my eyeball cake pops set all the way before putting them away. If you rush it, the decorations might smudge, and nobody wants that.
An airtight container is my go-to for freshness. I like to stick some wax paper between the layers—otherwise, they tend to glue themselves together.
Here’s a table I keep handy for storage:
| Storage Method | Shelf Life | Notes |
|---|---|---|
| Room Temperature | Up to 2 days | Keep in a cool, dry place |
| Refrigerator | Up to 1 week | Use airtight container |
| Freezer | Up to 1 month | Wrap each pop in plastic wrap |
I keep my cake pops out of the sun and away from heat. The candy coating and those red veins really do stay brighter that way—trust me, I’ve learned the hard way.
If I’m not serving them soon, I’ll pop the finished cake pops in the freezer. When it’s time, I let them thaw in the fridge so they don’t lose their shape or get weirdly sweaty.
Quick tip: Seriously, don’t store eyeball cake pops with fruit or anything super moist. That moisture just makes the coating go sticky and sad.