Classic Pumpkin Cake Pops Recipe
Pumpkin cake pops are honestly one of my favorite fall treats. They’re fun to make, easy to share, and taste like pumpkin spice cake in a bite-sized pop.
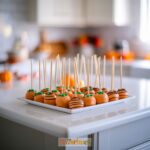
If you want a dessert that looks adorable and tastes great, classic pumpkin cake pops are the way to go. I love making these for parties, school events, or even just as a sweet snack.
People always get excited to see them on the table. Making cake pops at home means I can add my favorite toppings or decorations, too.

Essential Ingredients for Pumpkin Cake Pops
I pay close attention to picking the right ingredients because they make the cake pops tasty and easy to work with. Each part—the cake, the frosting, and the decorating—needs its own special stuff for the best flavor and texture.
For the Cake
To make moist pumpkin cake, I stick with simple ingredients and real pumpkin puree for real flavor. Here’s what I grab:
- All-purpose flour: For soft structure.
- Baking powder & baking soda: To help the cake rise.
- Salt: Just a pinch brings out the other flavors.
- Pumpkin pie spice: Adds cinnamon, ginger, and nutmeg.
- Granulated sugar & brown sugar: For sweetness and moisture.
- Vegetable oil: Keeps it soft.
- Eggs: For holding everything together.
- Pure pumpkin puree (not pumpkin pie filling): This is the star for flavor and texture.
- Vanilla extract: For extra warmth.
I always use real pumpkin puree, not the pie filling—it’s way less sweet and lets me control the taste. Using both brown and white sugar helps the cake stay soft and full of flavor.
For the Frosting:
The frosting is important because it helps the cake hold together. I use a classic cream cheese frosting for that tangy, smooth texture.
- Cream cheese (softened): Makes the frosting rich and creamy.
- Butter (softened): Adds flavor and smoothness.
- Powdered sugar: Sweetens and thickens the frosting.
- Vanilla extract: For extra depth.
I blend the cream cheese and butter until smooth, then gradually add powdered sugar. That helps avoid lumps.
I like cream cheese frosting because it’s not too sweet and balances the pumpkin cake. The frosting helps the cake crumbs stick so I can shape them into balls without much trouble.
For Decorating:
Decorating cake pops is the best part, honestly. The right ingredients make them look bright and taste good. Here’s what I use:
- Orange candy melts: For a smooth pumpkin coating and bright color.
- Green candy melts or green icing: To make tiny pumpkin stems and leaves.
- Cake pop sticks: For easy dipping and eating.
- Sprinkles (optional): For extra detail.
- Vegetable shortening or coconut oil: Mixed with candy melts for a shiny, thin coat.
I gently melt the candy melts. If they’re too thick, I add a bit of shortening. This makes dipping easier and keeps the coating from cracking.
I let the pops set before adding decorations, so nothing slides off. The green candy melts or icing make cute little stems on each pumpkin pop.
Step-by-Step Guide to Making Classic Pumpkin Cake Pops
I bake pumpkin cake, crumble it, mix it with frosting, and shape the mixture. Sticks get added for easy eating, and I finish by dipping and decorating each cake pop.
Baking the Pumpkin Cake
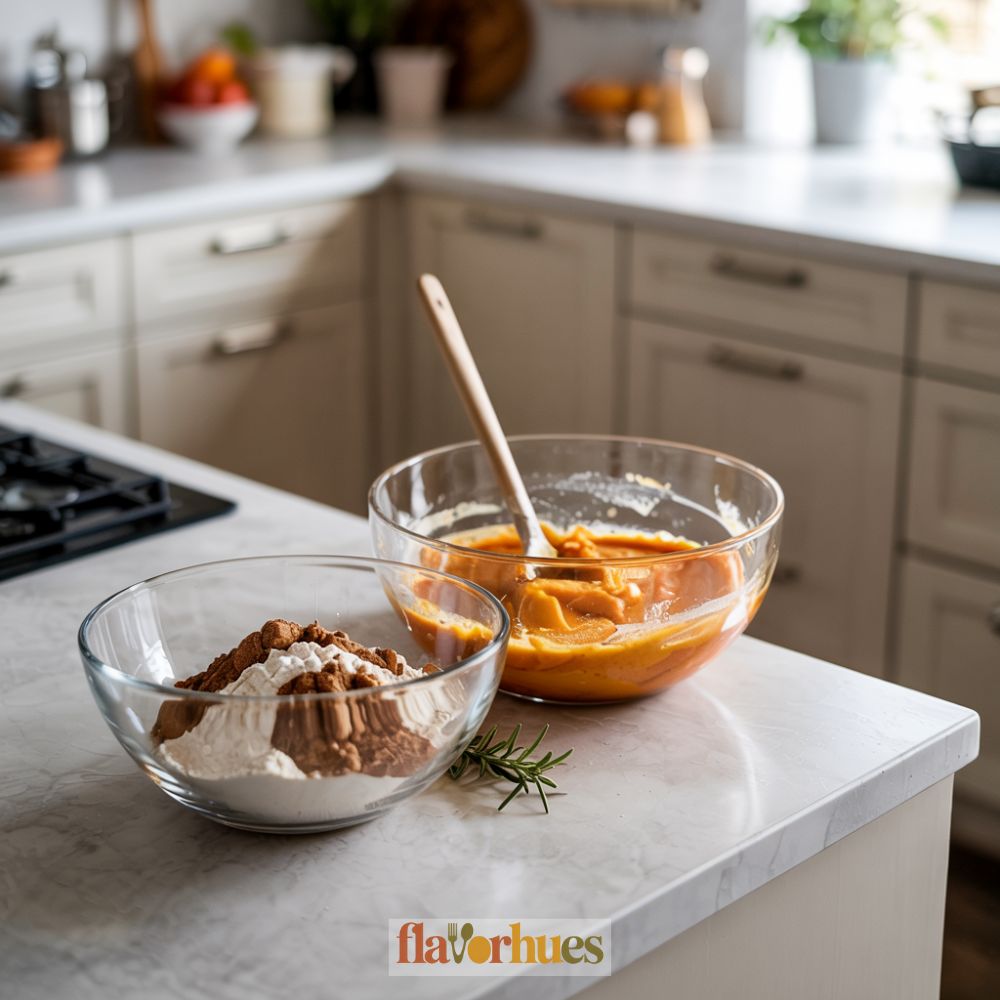
First, I preheat my oven to 350°F (175°C) and grease a 9×13 or 9×9 inch baking pan. I mix together the dry ingredients: 2 cups of flour, 2 teaspoons baking powder, 1 teaspoon baking soda, 2 teaspoons pumpkin pie spice, and 1/2 teaspoon of salt.
In another bowl, I whisk 1 cup sugar, 1 cup brown sugar, 1 cup vegetable oil, 4 large eggs, and 1 can (15 ounces) of pumpkin puree. I add the dry mix to the wet and stir until smooth.
I pour the batter into the pan and bake for about 30-35 minutes. Once it’s done, I stick a toothpick in the center—if it comes out clean, I let the cake cool all the way before moving on.
Creating the Cake Pop Mixture

I crumble the cooled cake into a large bowl, making the crumbs as fine as I can. For this, I use my hands or a fork—whatever works.
Next, I add about 3/4 cup of cream cheese frosting. I start with half, mix, and add more if needed until the mixture holds together but isn’t too wet. The right texture is like soft dough.
With store-bought frosting, I use less at first since it can be softer than homemade. I knead the mix gently so it combines evenly, but I try not to make it mushy.
Shaping and Inserting the Sticks

I scoop out tablespoon-sized portions from the mixture and roll each into a ball with my hands. I try to keep the cake balls all about the same size so they look neat.
I place them on a baking sheet lined with wax paper. Then, I melt a small amount of candy melts or chocolate and dip the tip of each lollipop stick about half an inch into the melted coating.
I push the stick about halfway into each ball. This helps keep the stick secure. I chill the cake pops in the fridge for about 1 hour so they get firm and ready for dipping.
Tips for Dipping and Decorating
For smooth dipping, I melt candy melts or white chocolate in a microwave-safe bowl. I stir every 30 seconds so it doesn’t burn. If the coating’s too thick, I add a little shortening until it’s dippable.
I gently dip each chilled cake pop straight into the coating. I don’t swirl it around so the ball doesn’t fall off the stick. I tap off extra coating by lightly tapping my wrist.
While the coating is still wet, I decorate with colored sprinkles, mini chocolate chips, or a drizzle of colored icing. I let the pops dry upright by placing them in a foam block or a tall cup until they harden up.
Decorating Ideas for Pumpkin Cake Pops
I love making pumpkin cake pops because there are so many ways to make them look special. Even simple designs can give them a fun, fall touch.
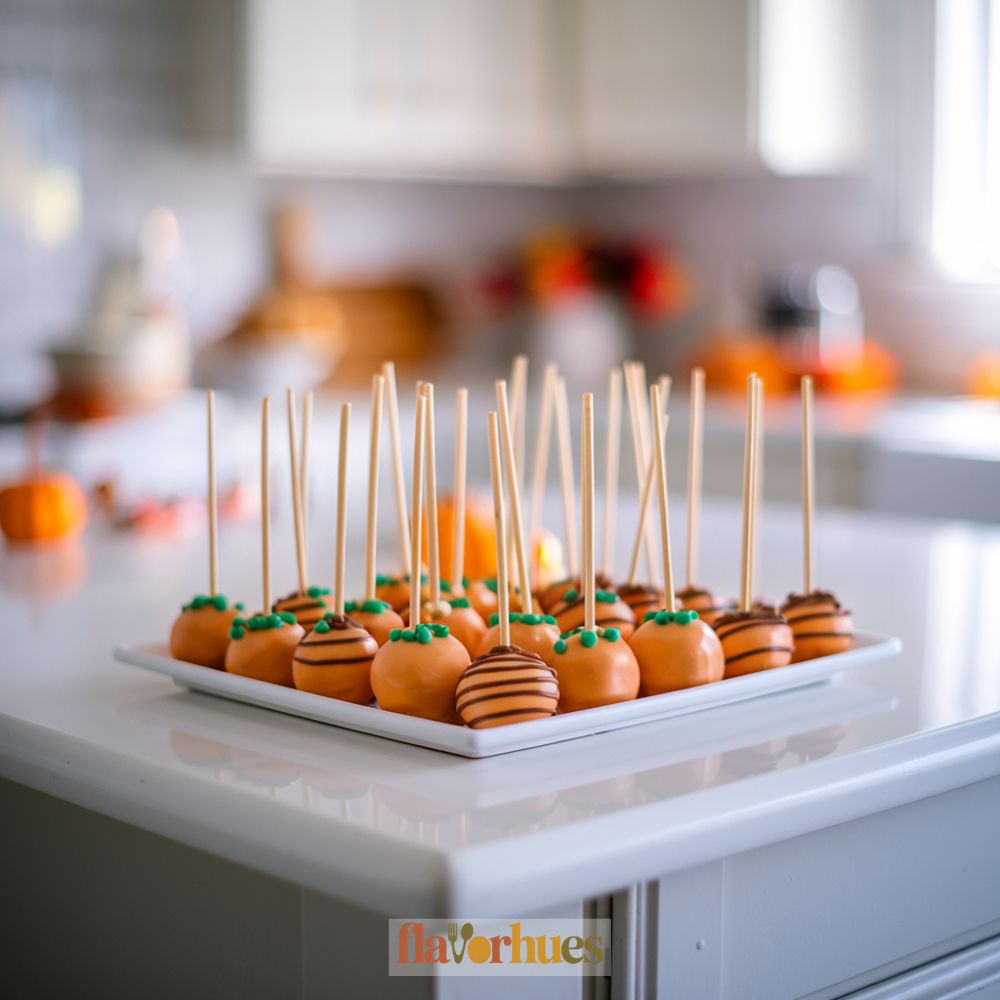
It’s easy to get creative with colors and decorations. When I want the cake pops to really look like pumpkins, I usually coat each pop in orange candy melts.
I swirl the coating to cover the whole ball and let it dry before I add details. To make the stems, I use green candy or pretzel sticks and place a small piece at the top.
I draw the lines on each cake pop with a toothpick and a little extra orange or brown melted chocolate. Sometimes, I add a curly green vine using green icing or melted candy melt.
For an even more classic look, I use mini chocolate chips or green fondant for extra details.
Here’s a quick list of materials I use for classic pumpkins:
- Orange candy melts or white chocolate dyed orange
- Pretzel sticks or green candy for stems
- Toothpicks for drawing lines
- Green icing or fondant for vines
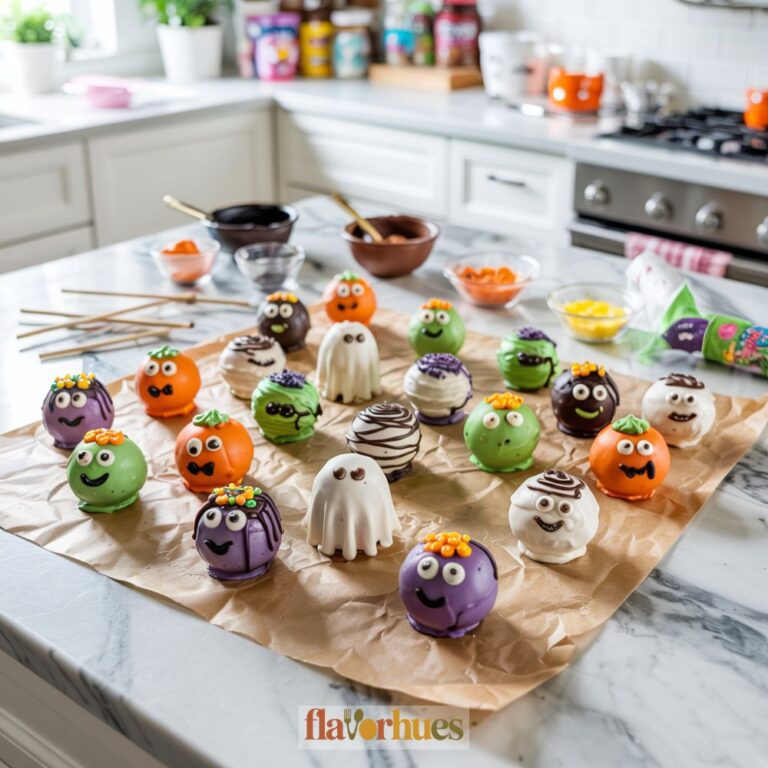
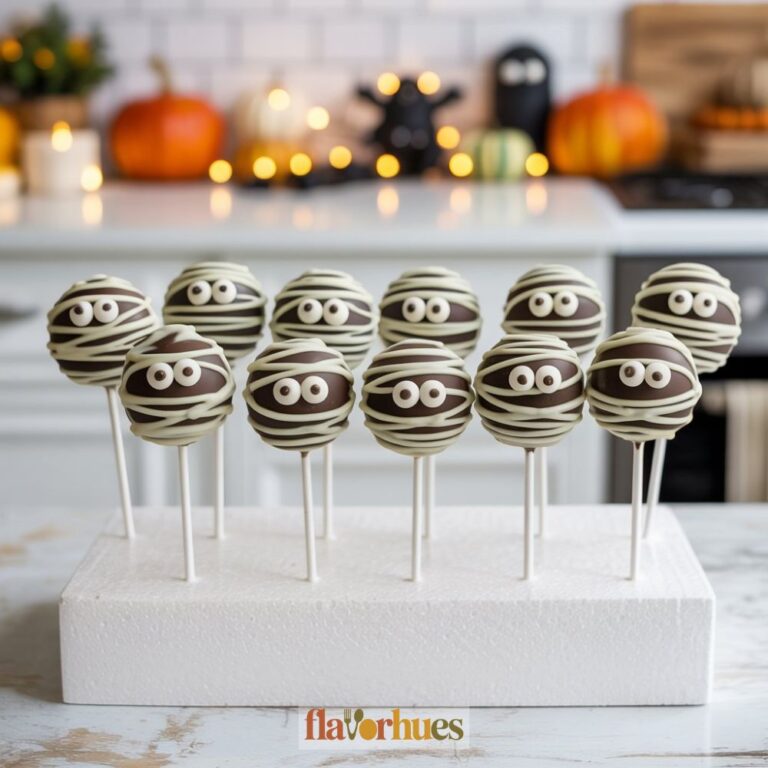
Sometimes, I want my pumpkin cake pops to stand out a little more. I decorate them with faces, patterns, and other autumn details.
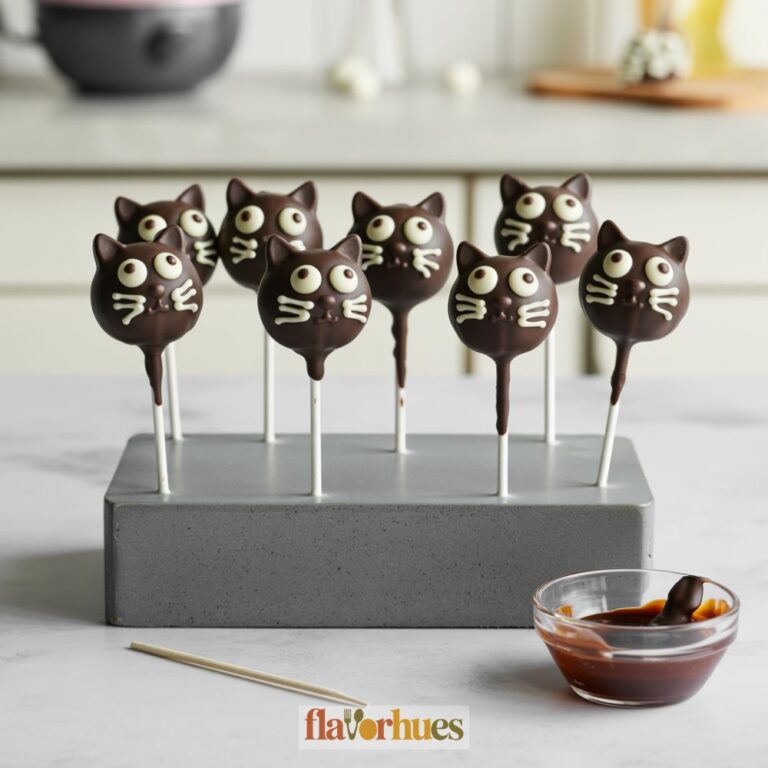
I add tiny chocolate chips or black icing to make jack-o’-lantern faces for Halloween. For a harvest look, I sprinkle the tops with gold or bronze sprinkles.
I also press edible leaves or small acorn candies onto the sides for a festive touch. Using a mix of orange, yellow, and brown icing, I pipe simple dots, swirls, or stripes to match the rest of my fall treats.
These ideas make my cake pops fun and different every time I decorate. Mixing decorations lets me match the cake pops to the rest of my autumn table.
I like to see which ideas my friends love the most!
What can go wrong?
Sometimes my cake pops don’t hold their shape. This can happen when I add too much frosting to the cake crumbs.
If the mix seems too wet or soft, I chill it longer or add more cake crumbs. The candy coating might crack as it dries, which usually happens if the cake balls are too cold and the melted coating is too hot.
I try to let the cake balls sit at room temperature for a few minutes before dipping. Occasionally, the sticks might fall out.
I fix this by dipping the end of each stick in melted candy before I insert it. This helps the stick stay in place and keeps the pop together.
Sometimes, the coating turns lumpy or doesn’t cover smoothly. I’ve found that stirring the melted coating often and using a deep, narrow bowl can help.
Quick Troubleshooting Table
| Problem | Possible Cause | What I Do |
|---|---|---|
| Cake pops fall off | Not enough binding | Add more frosting |
| Cracking coating | Temp. difference | Let cake pops warm up |
| Lumpy coating | Thick or old coating | Gently reheat and stir |
Equipment
- – Foam block or tall cup
Ingredients
- 2 cups All-purpose flour
- 2 tsp Baking powder
- 1 tsp Baking soda
- ½ tsp Salt
- 2 tsp Pumpkin pie spice
- 1 cup Granulated sugar
- 1 cup Brown sugar
- 1 cup Vegetable oil
- 4 pieces Eggs
- 15 oz Pure pumpkin puree
- 1 tsp Vanilla extract
- 8 oz Cream cheese softened
- ¼ cup Butter softened
- 2-2½ cups Powdered sugar
- 1 tsp Vanilla extract for frosting
- 12 oz Orange candy melts
- ¼ cup Green candy melts
- 1 tbsp Coconut oil
- 40 pieces – Cake pop sticks
- – Optional: sprinkles mini chocolate chips, pretzel sticks, green fondant, edible leaves, black icing
Instructions
- Bake the Pumpkin Cake

- Preheat oven to 350°F (175°C) and grease a 9×13 inch baking pan. In one bowl, combine flour, baking powder, baking soda, salt, and pumpkin pie spice. In another bowl, mix sugar, brown sugar, oil, eggs, pumpkin puree, and vanilla. Combine wet and dry ingredients and stir until smooth. Pour into pan and bake for 30–35 minutes. Cool completely.
- Make the Cake Pop Mixture

- Crumble the cooled cake into fine crumbs in a large bowl. Add ¾ cup of cream cheese frosting gradually, mixing until the texture resembles soft dough. Avoid making it too wet.
- Shape and Insert Sticks

- Scoop 1 tablespoon of the mixture and roll into balls. Place on a wax paper–lined baking sheet. Dip cake pop sticks into melted candy, then insert halfway into each ball. Chill in the fridge for at least 1 hour.
- Dip and Decorate
- Melt orange candy melts with shortening if needed. Dip chilled cake pops straight in. Tap gently to remove excess. Decorate while coating is wet. Let set upright in foam or a tall cup. Add stems, vines, or other details after the coating hardens.
Notes
- Use pretzel sticks or green candy for pumpkin stems.
- Pipe green icing or use fondant for vines.
- Create jack-o’-lantern faces with black icing for Halloween.
- Add gold, bronze, or autumn-colored sprinkles for a harvest look.
- Press on edible leaves or candies for a festive finish.
Nutrition
Storage and Make-Ahead Tips
I always make sure my cake pops stay fresh and tasty by storing them the right way. For busy days, I like to make cake pops ahead and freeze them, so I have treats ready when I need them.
Storing Cake Pops for Freshness
When I finish my pumpkin cake pops, I let them cool completely before storing. If the coating is fully set, I put the cake pops in an airtight container and separate layers with wax paper so they don’t stick together.
At room temperature, they last for up to 2 days. If I need to keep them longer, I store them in the fridge for up to 1 week.
| Storage Location | How Long They Last |
|---|---|
| Room Temperature | Up to 2 days |
| Refrigerator | Up to 1 week |
I keep them away from heat and moisture. If the pops have cream cheese frosting, I always store them in the fridge for safety.
Freezing and Defrosting for Later
To save time, I sometimes freeze cake pops. I wrap each pop in plastic wrap or foil, then place them all in a freezer bag or container.
I press out extra air to help prevent freezer burn. Cake pops can be frozen for up to 1 month.
When I’m ready to eat them, I move them to the fridge and let them thaw overnight. After they defrost in the fridge, I let them sit at room temperature for about 30 minutes before serving.
I never refreeze thawed cake pops. That helps keep their texture and taste just right.
Serving Suggestions and Presentation
I like to make my classic pumpkin cake pops look inviting and fit for any fall event. The way I serve them often catches people’s attention and can add a festive touch to the table.
Arranging Cake Pops for Parties
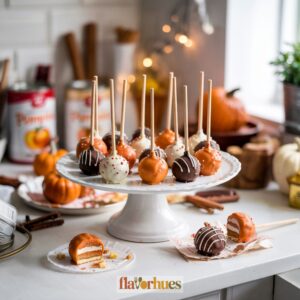
When I’m setting up cake pops for a party, I usually go for foam blocks or cake pop stands to keep them standing upright. It’s just easier—guests can grab one without accidentally touching the rest.
I like to group the pops in tidy rows or arrange them in circles. It just looks so much neater that way.
Sometimes, I’ll wrap some colored tissue paper around the base. It’s a simple trick, but it really makes the whole display pop.
If there’s a theme, I’ll match the sticks or maybe tie on some ribbons that go with the party colors. Orange and brown ribbons? Perfect for pumpkin season.
And if I’m handing them out as favors, I’ll slip each pop into a clear cellophane bag and tie it off with a little string. It’s cute, right?
Arrangement Tips:
| Display Item | Why I Use It |
|---|---|
| Foam Block | Holds pops upright |
| Cake Pop Stand | Prevents tipping |
| Ribbons | Adds color and style |
| Tissue Paper | Finishes the look |
Pairing with Seasonal Treats
I like to set out pumpkin cake pops with other fall treats on the dessert table. Mini apple pies, spiced cookies, or caramel corn are all solid matches.
That way, guests get choices, and it just feels like autumn in dessert form. There’s something about those flavors together—cozy, familiar, a little nostalgic.
A hot drink, maybe cider or cocoa, always fits with these sweet snacks. Sometimes I’ll grab plates and napkins with leaf prints, just to keep the autumn vibe rolling.
To finish up the setup, I’ll scatter some candy corn or roasted pumpkin seeds around the tray. It’s simple, but it works.
Mixing in a handful of fall-colored candies or dried fruit gives it a pop of color, too. It doesn’t have to be fancy—just a little effort goes a long way.
Some of my favorite pairings?
- Apple cider donuts
- Cinnamon sugar pretzels
- Maple fudge