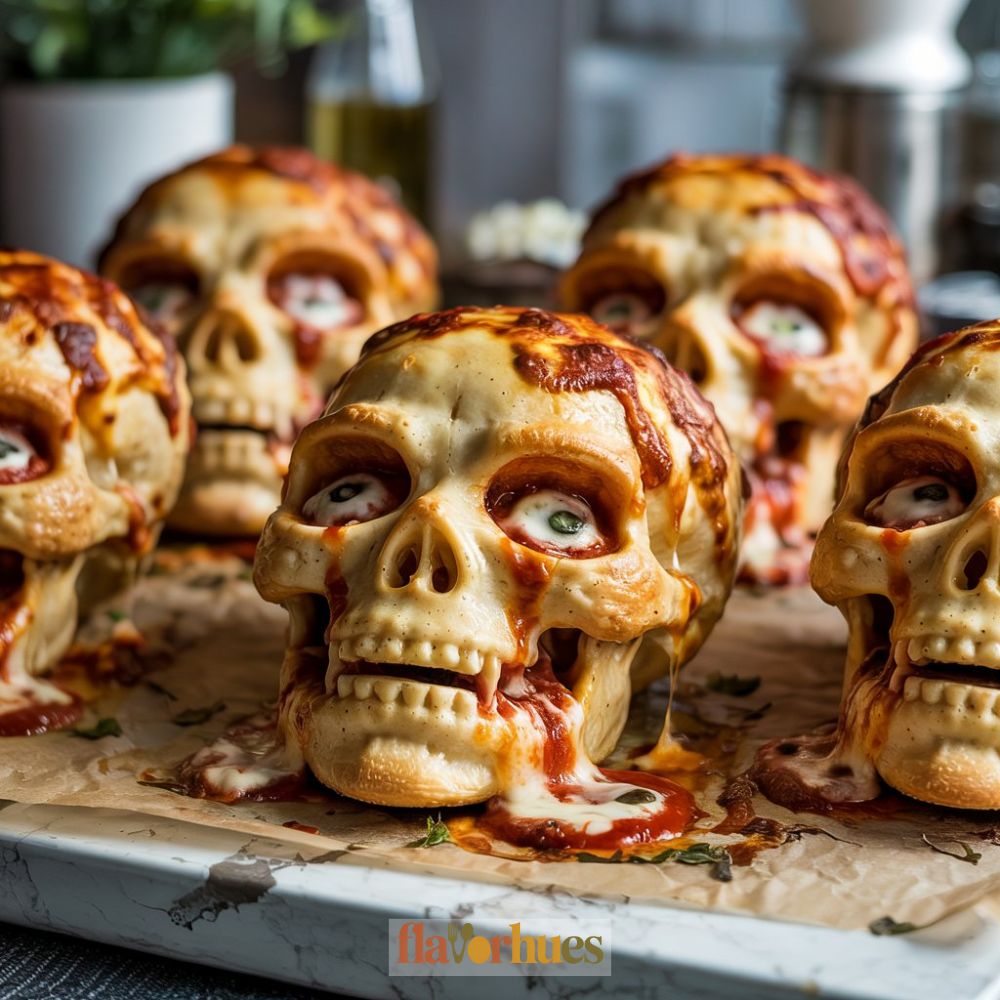
Cheesy Pizza Skulls Recipe
I’m always on the hunt for playful ways to make pizza, and pizza skulls? They’re a huge hit at my place.
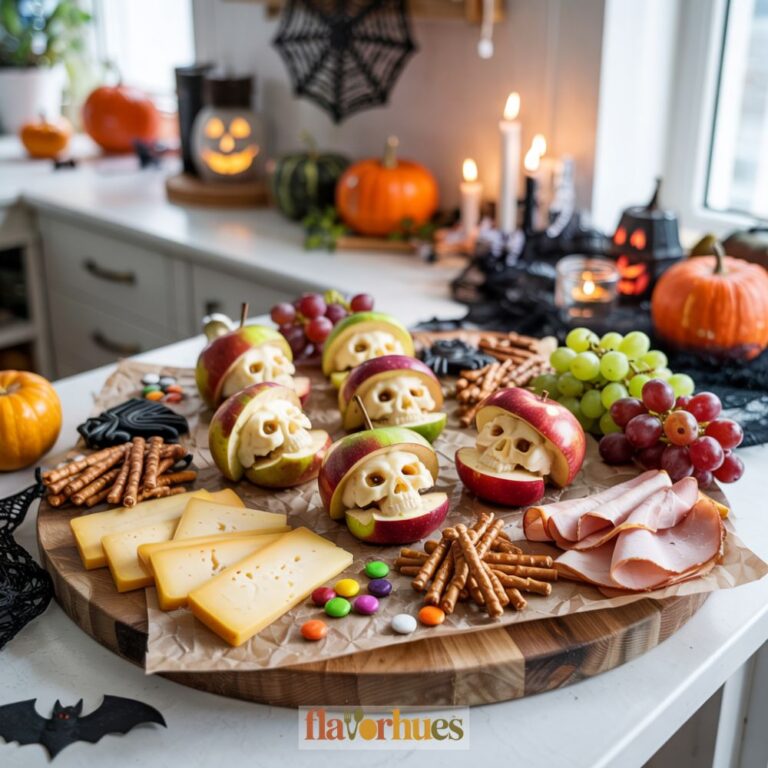
These cheesy pizza skulls are super easy and perfect for parties, family dinners, or even as a quirky Halloween treat.
They’ve got all the classic pizza flavors, just with a twist that makes people grin.
Stuffed with gooey cheese and whatever toppings you’re craving, pizza skulls are easy to play around with.
I like tossing in pepperoni and extra mozzarella, but honestly, you can fill them with whatever’s left in your fridge.
Kids love them. Adults do too.
They look awesome on any table, and you don’t even need a pizza cutter—just grab and eat.
Why I Love Them
Honestly, I love how little effort these cheesy pizza skulls take.
I just stuff dough with cheese and toppings, and it’s only a couple of steps.
They’re fun to eat, too.
The cheese melts and stretches when you bite in, and the skull shape makes them stand out.
Why I keep making them:
- They taste like pizza in every bite
- Kids always ask for seconds
- Super easy to hold and eat
When I need a quick snack or something small for dinner, these do the trick.
I can swap fillings depending on what’s around—sometimes it’s pepperoni, sometimes just more cheese.
I like pulling these out when friends show up. People always think they’re cool.
Plus, they’re just the right size, so you don’t end up stuffed.
My favorite part: That golden, crispy outside with the soft, cheesy center. It’s just so good.
Equipment
For cheesy pizza skulls, you’ll need a skull baking pan or skull mold.
These pans have deep skull-shaped cavities, giving the pizza skulls their fun look.
You can find skull baking tins in silicone or metal.
I’ve found silicone molds pop the pizza out easier, but metal works if that’s what you have.
Here’s what I usually grab:
- Skull mold or skull baking pan
- Mixing bowls
- Spoons and spatula
- Measuring cups and spoons
- Baking sheet (for supporting silicone molds)
- Pastry brush (for oil or butter)
If you don’t have a skull-shaped pan, check online or at kitchen stores.
I found mine around Halloween, but sometimes they’re out there year-round.
Before I use the mold, I spray it with non-stick or brush on some oil.
This makes sure the pizza skulls pop out clean and keeps the details sharp.
A baking tray under the silicone mold makes moving it in and out of the oven way easier.
It keeps things steady and saves me from awkward spills.
Measuring ingredients is easier with a decent set of spoons and cups.
I like having everything out before I start, so I’m not scrambling mid-recipe.
Ingredients
When I make Cheesy Pizza Skulls, I stick to ingredients that are easy to find and swap out.
Here’s what I reach for most:
Dough Options:
You can use store-bought pizza dough or homemade pizza dough.
Cheese:
- Shredded mozzarella
- Parmesan cheese (for extra flavor)
Sauce:
- Pizza sauce
- Marinara sauce
Meats (Pick any):
- Mini pepperoni
- Sliced ham
- Cooked sausage
- Crumbled crispy bacon
- Mini Italian meatballs
Veggies and Extras:
- Black olives (sliced)
- Bell pepper (diced)
- Mushrooms (chopped)
- Corn kernels (cooked)
- Baby spinach or fresh basil
For seasoning, I toss in a little Italian seasoning for extra pizza flavor.
I like mixing toppings—spinach with mushrooms, or ham with corn, just to keep things interesting.
Extra cheese and sauce are always on standby, just in case I want them a bit messier or cheesier.
Instructions
First, I preheat the oven to 375°F (190°C) so it’s ready to go.
Then, I spray my skull molds with nonstick spray, so nothing sticks.
I roll out the pizza dough and cut it into pieces just big enough to fit each skull mold.
Each piece goes into a mold, pressed gently to cover the inside.
Spoon in some sauce, pile on your favorite toppings, and add plenty of cheese.
If I’m feeling wild, I sprinkle a bit more cheese on top.
Fold the dough edges over the filling to close up each skull.
I pinch or press the seams to seal them—sometimes I get lazy and just tuck them in.
The molds go on a baking sheet, then into the oven for 20–25 minutes, until they’re golden brown.
Let them cool a little before popping them out of the molds, or you risk a cheese explosion.
I always serve them hot so the cheese is still gooey inside.
They’re a blast for Halloween parties, but honestly, I make them year-round.
Tip: Use oven mitts for the molds—those things get hot fast.

Equipment
Ingredients
- 1 can pizza dough or homemade dough
- 12 tablespoons pizza sauce or marinara sauce 1–2 tbsp per skull
- ¾ to 1 cup shredded mozzarella cheese 2–3 tbsp per skull
- ¼ cup grated Parmesan cheese optional
- ½ cup pepperoni slices diced ham, cooked sausage, or toppings of choice
- ¼ cup chopped vegetables e.g., black olives, bell pepper, mushrooms
- 1 teaspoon Italian seasoning
- 1 tablespoon olive oil or melted butter for brushing
- Non-stick spray or additional oil for greasing the molds
Instructions
- Preheat the oven to 375°F (190°C).
- Spray the skull molds with non-stick spray or brush with oil.
- Roll out the pizza dough and cut it into 6 pieces large enough to line each mold cavity.
- Press dough into each skull mold, shaping to fit the cavity and leaving some dough overhanging the edges.
- Spoon 1–2 tablespoons of pizza sauce into each cavity.
- Add 2–3 tablespoons of shredded mozzarella and your favorite toppings (pepperoni, sausage, veggies, etc.).
- Sprinkle with Parmesan cheese and a dash of Italian seasoning.
- Fold the excess dough over the fillings and pinch or tuck to seal.
- Place the skull mold on a baking sheet for stability and bake for 20–25 minutes, or until golden brown.
- Let cool for 5 minutes before carefully removing the pizza skulls from the mold.
- Serve warm and enjoy!
Substitute
Sometimes I run out of ingredients, so I keep backup options in mind for my Cheesy Pizza Skulls.
If I’m out of mozzarella cheese or shredded mozzarella, I’ll use cheddar, Monterey Jack, or even provolone.
For sauce, if marinara isn’t around, I go with pizza sauce, spaghetti sauce, or, if I’m desperate, tomato soup.
Here’s a little table with easy swaps:
| Ingredient | Easy Substitute |
|---|---|
| Mozzarella Cheese | Cheddar, Monterey Jack |
| Shredded Mozzarella | Provolone, Colby Jack |
| Marinara Sauce | Pizza, Spaghetti Sauce |
| Parmesan Cheese | Romano, Asiago, or skip |
If I’m out of parmesan, I swap in Romano or Asiago, or just leave it out.
Most cheeses mix and match fine, so I’m not afraid to experiment with whatever’s left in the fridge.
It keeps things fun and a little unpredictable, which, honestly, is half the charm.
What Can Go Wrong?
Sometimes my dough sticks to the skull mold. I usually remember to use non-stick spray, but if I forget, getting the pizza skulls out without breaking them is a pain.
If I stuff in too much—like extra Italian sausage or cheese—the dough can split open. When that happens, melted cheese oozes out and the skull loses its spooky shape.
Undercooking is another headache. If the stuffed dough ends up too thick, the outside browns up fast but the inside stays doughy.
Here’s a quick list of possible issues and how I try to dodge them:
| Problem | How I Fix It |
|---|---|
| Dough sticks | Use non-stick spray well |
| Dough breaks | Don’t overfill with sausage |
| Cheese leaks out | Pinch dough edges closed |
| Inside is doughy | Bake longer or lower temp |
Precooked Italian sausage makes life easier, honestly. It helps make sure everything inside is cooked through.
Every now and then, my pizza skulls puff up and lose their creepy detail. I’ve learned not to stretch the dough too thin, or it just puffs up and loses that skull vibe.
I always let the stuffed skulls cool for a few minutes before trying to pop them out. If I rush it, they tear or stick—even if I remembered the spray.