Candy Corn Cake Pops Recipe
I love making Candy Corn Cake Pops because they’re colorful, sweet, and perfect for fall parties or Halloween.
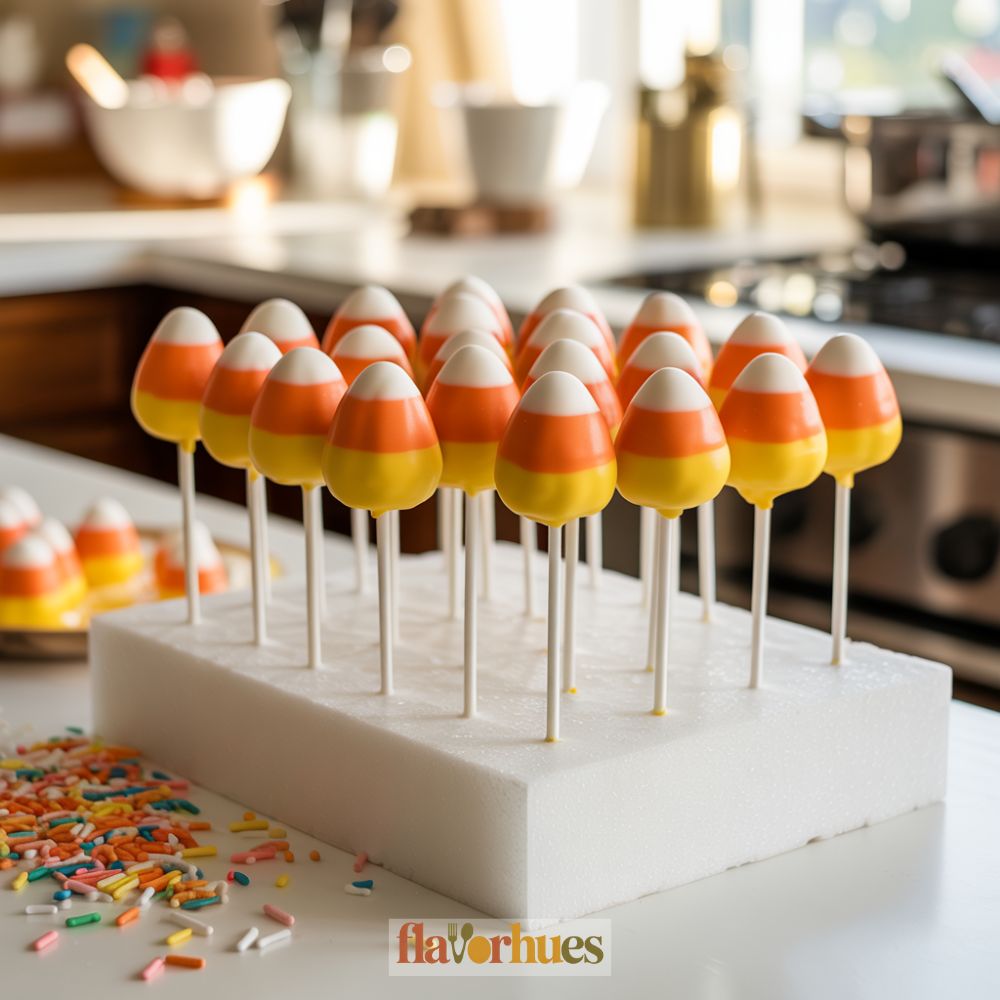
Candy Corn Cake Pops are easy to make using yellow, orange, and white candy melts to match the classic candy corn look.
They turn ordinary cake into a fun treat on a stick that’s easy to eat and share.
If you want a tasty snack that stands out at your next gathering, these cake pops are a good choice. I’ll show you step-by-step how I make them, so you can try, too.
Why I Love Them
Candy Corn Cake Pops are so fun to make at home. I like how bright and cheerful they look, especially with their yellow, orange, and white colors.
They remind me of Halloween and autumn.
One reason I enjoy making these cake pops is because they are easy to share. I can wrap them up and give them to friends or family.
It makes me happy to see people smile when they get one.
The cake pops taste sweet and creamy. The colorful candy melts add a little crunch that I like.
They don’t melt in my hands quickly, so I have time to enjoy every bite.
Making them is a nice way for me to relax. I can listen to music and decorate each one to look just how I want.
Each cake pop feels special.
I always feel proud when I finish a batch. They look cute lined up on a plate or in a jar, ready to eat or give away to someone I care about.
Equipment
To make candy corn cake pops, I use some basic kitchen tools. Here’s a quick list of what I need:
- Mixing bowls (at least 2, medium size)
- Hand mixer or stand mixer
- Measuring cups and spoons
- Baking sheet
- Parchment paper
- Large spoon or cookie scoop
- Microwave-safe bowl for melting chocolate
I also use a few special items:
- Lollipop sticks (about 24 sticks for this recipe)
- Styrofoam block or cake pop stand (to hold the pops while they dry)
Here’s a table showing what I use and what it’s for:
| Equipment | Purpose |
|---|---|
| Mixing bowls | For cake and frosting |
| Mixer | Mixing and whipping |
| Baking sheet | Forming and chilling cake balls |
| Parchment paper | Keeping cake balls from sticking |
| Microwave-safe bowl | Melting candy coating |
| Lollipop sticks | Holding and dipping pops |
| Styrofoam block/stand | Letting pops dry standing up |
Having these things ready helps me work faster and keeps things less messy. Each tool makes a step of the process simpler.
Ingredients
When I make candy corn cake pops, I like to keep my kitchen organized by setting out everything I need ahead of time. Here’s what I use for about 24 cake pops.
Cake:
- 1 box (15.25 oz) yellow cake mix
- 3 large eggs
- 1/2 cup vegetable oil
- 1 cup water
Frosting:
- 1/3 cup vanilla frosting (store-bought or homemade)
Coating and Decoration:
- 8 oz white candy melts
- 8 oz yellow candy melts
- 8 oz orange candy melts
- 24 lollipop sticks
- (Optional) Sprinkles or colored sugar for decoration
| Ingredient | Amount | Notes |
|---|---|---|
| Yellow cake mix | 1 box (15.25 oz) | Any brand works |
| Large eggs | 3 | Room temp works best |
| Vegetable oil | 1/2 cup | |
| Water | 1 cup | |
| Vanilla frosting | 1/3 cup | For mixing with cake |
| Candy melts (White) | 8 oz | For coating |
| Candy melts (Yellow) | 8 oz | For coating |
| Candy melts (Orange) | 8 oz | For coating |
| Lollipop sticks | 24 | |
| Sprinkles | As needed | (Optional) |
If I want to flavor the cake or frosting, I use a little almond or vanilla extract. I make sure all my ingredients are close by before I start.
Instructions
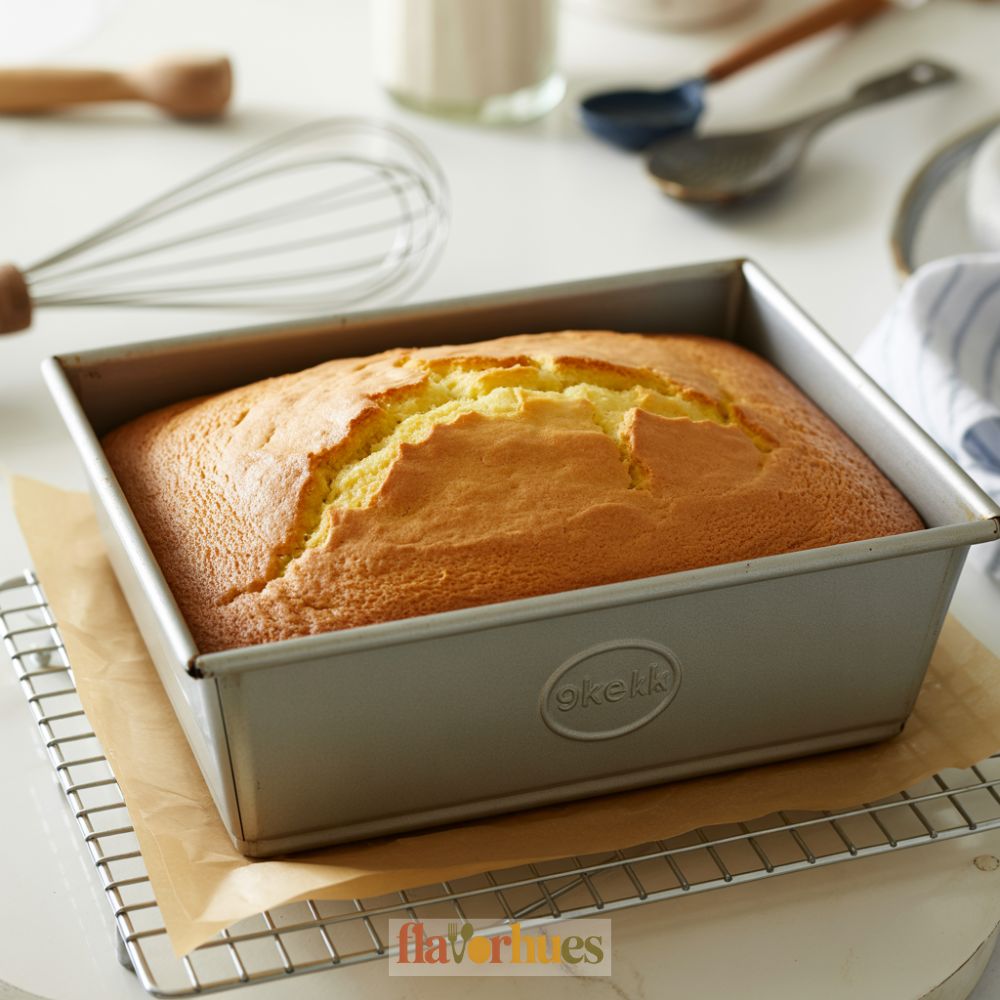
First, I bake a yellow cake in a 9×13-inch pan. I let it cool completely.
Then, I crumble the cake into a large bowl using my hands.
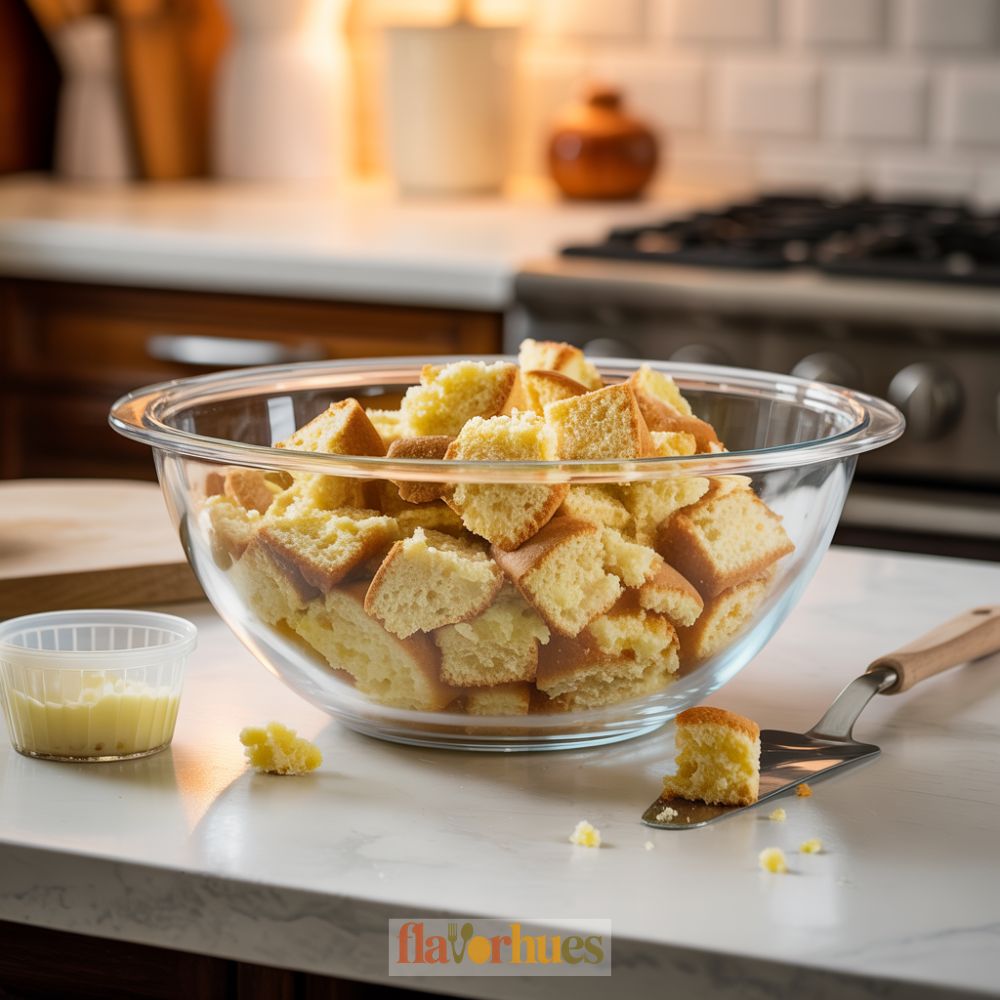
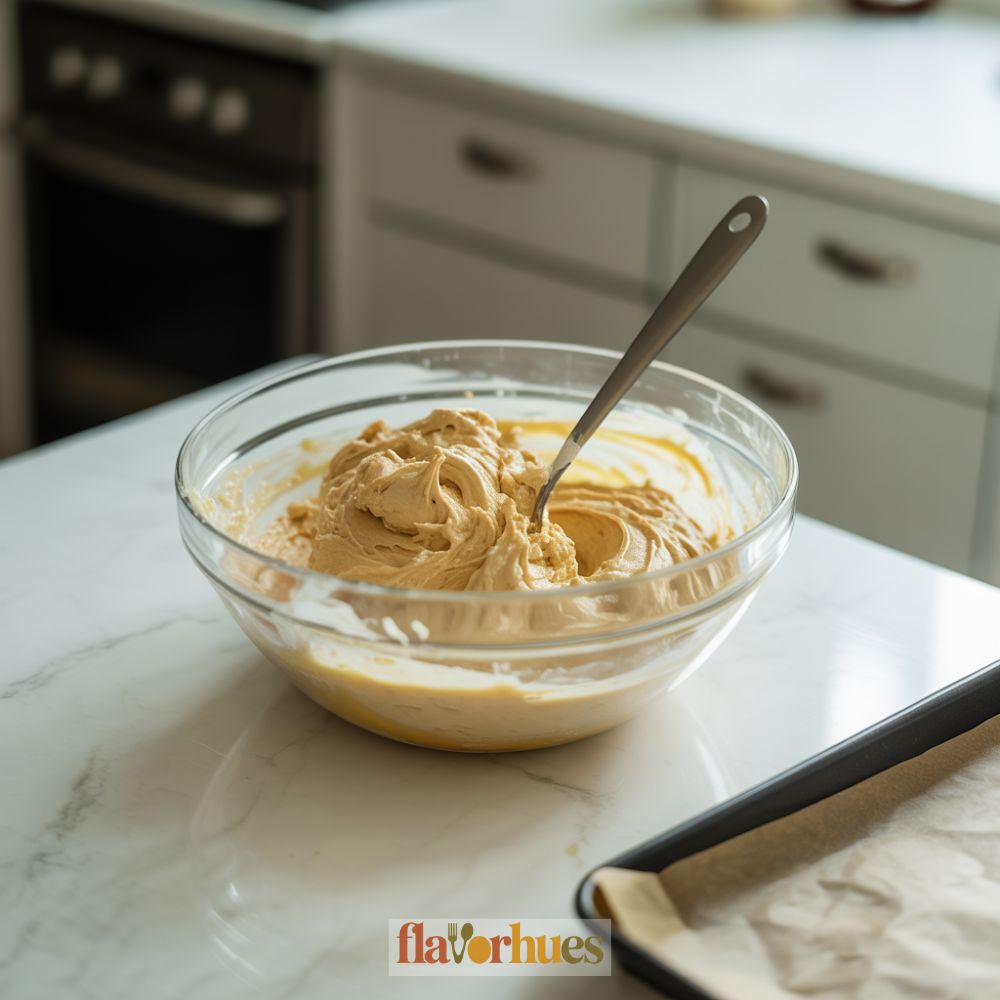
I add 1/2 cup of vanilla frosting to the crumbled cake. I mix until the texture feels like soft dough.
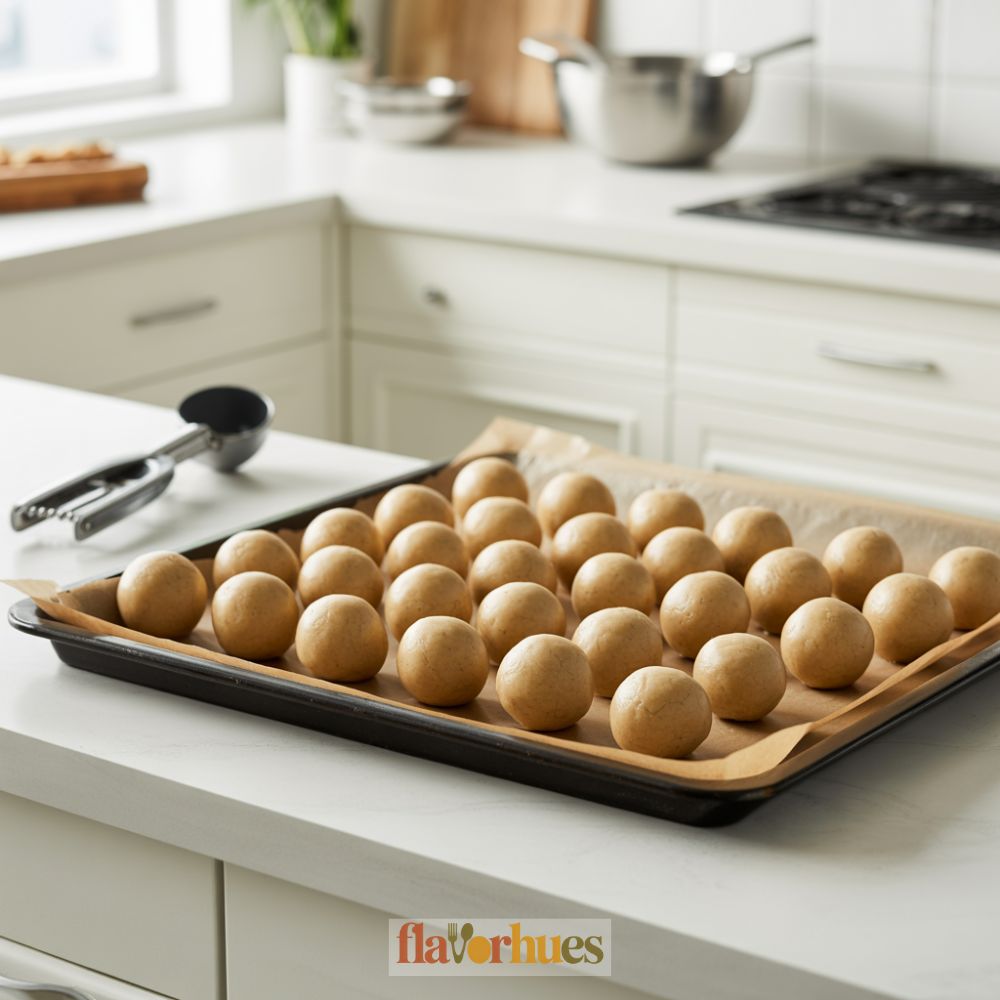
I roll the mixture into small balls, about 1 inch wide.
Next, I melt 1 cup of white candy melts in the microwave. I dip the tip of each cake pop stick in the melted candy, then push it halfway into a cake ball.
This helps hold the stick in place.
I place the cake pops on a tray lined with parchment paper. I freeze them for 15 minutes.
This makes dipping easier.

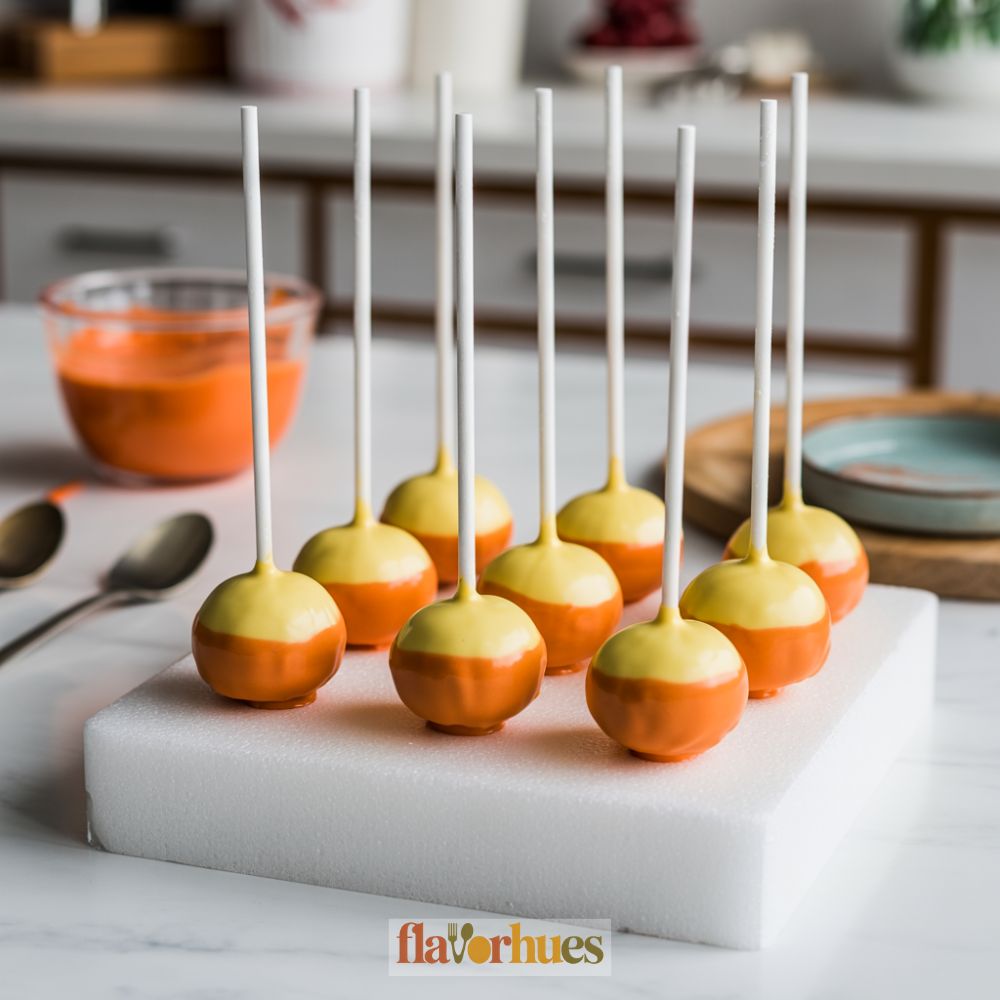
For the candy corn look, I melt 1 cup of yellow candy melts and 1 cup of orange candy melts in separate bowls. I dip each cake pop first in yellow, covering two-thirds of the ball.
Once set, I dip the bottom third in orange.
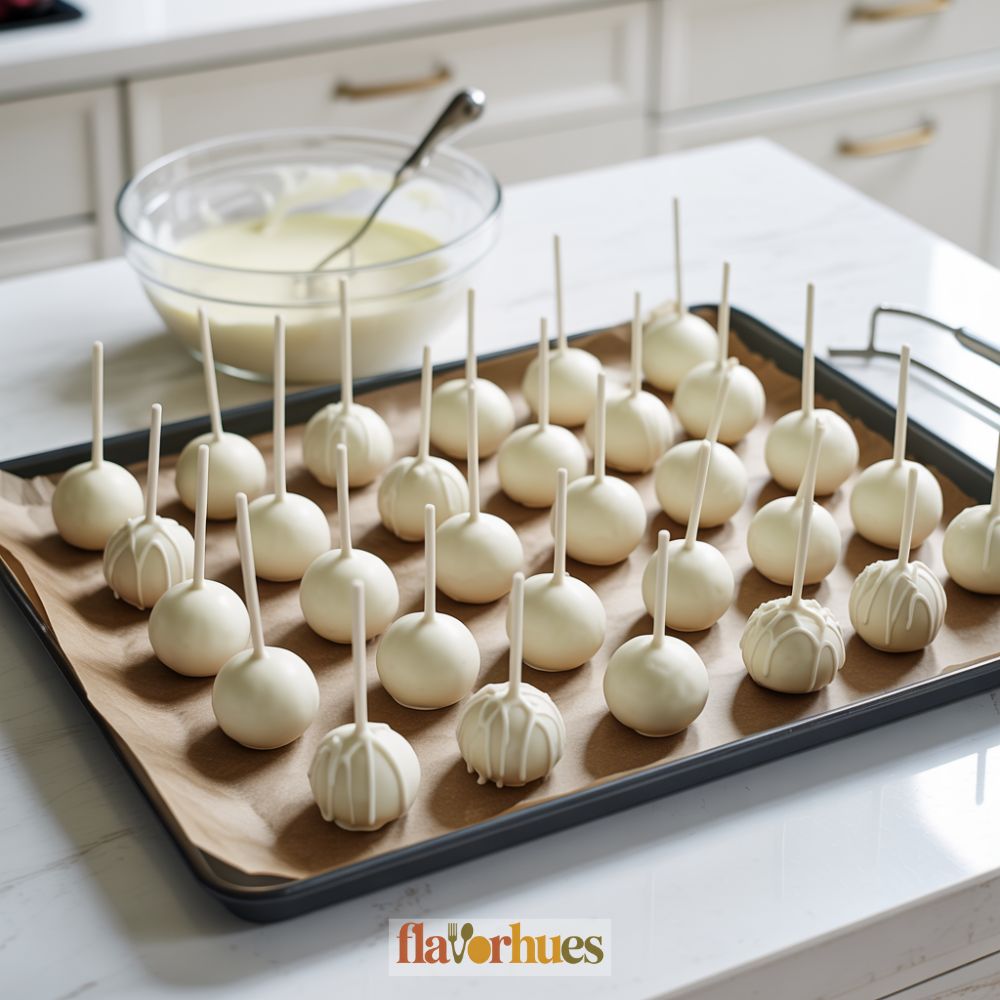
While still wet, I sprinkle on some white sanding sugar or attach small candy decorations if I like. I stand the pops upright in a foam block to dry completely.
Now the cake pops are ready to enjoy or wrap as gifts!
Decoration Tips
When I decorate my candy corn cake pops, I like to use bright colored candy melts. I usually pick yellow, orange, and white to create the classic candy corn look.
Each layer only takes a few minutes to set.
Here’s how I layer the colors:
- Dip the cake pop bottoms into yellow melts.
- Once dry, dip the middle into orange.
- Finish with white melts on top.
I sometimes like to add fun touches like tiny sprinkles or edible glitter. I do this when the last layer is still a little wet so they will stick.
Here’s a quick look at the exact amounts I use for one batch (makes about 12 pops):
| Ingredient | Quantity |
|---|---|
| Cake crumbs | 2 cups |
| Frosting | 1/2 cup |
| Yellow candy melts | 1/2 cup |
| Orange candy melts | 1/2 cup |
| White candy melts | 1/2 cup |
| Lollipop sticks | 12 |
| Sprinkles (optional) | 2 tbsp |
I always let each color set before moving to the next, so the layers stay even and tidy. For clean lines, I try not to shake the pop after dipping.
For an easy, neat look, I use a small spoon or squeeze bottle for the top white layer. This helps me control the shape, so each pop looks just right.
Equipment
Ingredients
For Cake:
- 15.25 oz yellow cake mix
- 3 eggs
- 1/2 cup vegetable oil
- 1 cup water
Frosting
- 1/3 cup vanilla frosting
Candy Coating & Decoration
- 8 oz white candy melts
- 8 oz orange candy melts
- 8 oz yellow candy melts
- 24 lollipop sticks
- 2 tbsp sprinkles optional
Instructions
- Preheat oven and prepare yellow cake mix according to box instructions using eggs, oil, and water. Bake in a 9×13-inch pan. Let cool completely.
- Crumble the cooled cake into a large bowl. Add 1/3 cup vanilla frosting and mix until the texture resembles dough.
- Roll the mixture into 1-inch balls using your hands or a cookie scoop. Place them on a baking sheet lined with parchment paper.
- Melt a small amount of white candy melts. Dip each lollipop stick tip into the melts, then insert halfway into a cake ball. This helps the stick stay in place.
- Freeze the cake pops for 15 minutes until firm.
- Melt white, yellow, and orange candy melts in separate microwave-safe bowls, using 20-second intervals and stirring in between.
- Dip each pop about 2/3 into melted yellow coating. Let set.
- Then dip the bottom third in orange melts. Let set.
- Finish by spooning or drizzling white melts on top.
- While the coating is still wet, add sprinkles if desired. Stand pops upright in a foam block to dry completely.
- Once dry, enjoy immediately or store in an airtight container.
Creative Candy Corn Cake Pops Variations
I like to mix things up when making candy corn cake pops. There are so many ways to decorate and flavor them.
Color Fun:
Instead of classic yellow, orange, and white, I sometimes use pastel colors for spring or red and green for the holidays.
Just swap out the candy melts.
Flavor Twists:
I don’t always stick with vanilla cake. Chocolate or even red velvet works well, too.
Here’s a list of my favorite flavor swaps:
- Chocolate cake with orange candy melts
- Lemon cake with white chocolate coating
- Pumpkin spice cake with classic candy corn colors
Decorating Tips:
I use sprinkles or edible glitter for extra sparkle. Sometimes, I pipe small faces on the cake pops to make them look like cute candy corn characters.
Basic Ingredients List:
| Ingredient | Quantity |
|---|---|
| Baked cake (any flavor) | 1 box (about 15 oz) |
| Frosting | 1 cup |
| Yellow candy melts | 1/2 cup |
| Orange candy melts | 1/2 cup |
| White candy melts | 1/2 cup |
| Lollipop sticks | 20 |
| Sprinkles (optional) | 2 tbsp |
Sometimes I even crush real candy corn and mix it into the cake for a true candy corn boost. It’s all about having fun and trying new ideas!
Substitute
Sometimes I run out of certain ingredients, or just feel like mixing things up. Here are a few swaps I’ve tried for my Candy Corn Cake Pops.
Cake Substitute
If I don’t have vanilla cake, I’ll use one of these instead:
| Original Ingredient | Substitute | Amount |
|---|---|---|
| 1 box vanilla cake mix | Chocolate cake mix | 1 box |
| 1 box vanilla cake mix | Pumpkin bread | 1 loaf (about 12 oz) |
| 1 box vanilla cake mix | Lemon cake mix | 1 box |
Frosting Substitute
Sometimes I’ll swap out the frosting just for a different vibe:
- 1 cup vanilla frosting → 1 cup cream cheese frosting
- 1 cup vanilla frosting → 1 cup chocolate frosting
Candy Melts Substitute
If I’m out of candy melts, I just melt white chocolate chips and add food coloring.
- 12 oz orange, yellow, and white candy melts → 12 oz white chocolate chips + food coloring
Lollipop Sticks
If I don’t have sticks, I’ll grab whatever works:
- Thick pretzel rods
- Wooden skewers (trimmed down, obviously)
Honestly, these swaps save me when I’m low on supplies or just want to experiment with new flavors.
What Can Go Wrong?
I’ll be honest—sometimes my Candy Corn Cake Pops just flop. Even when I do everything “right,” stuff happens.
Here are some classic problems I’ve run into, and what usually causes them.
Common Problems:
- Cake pops falling off the stick:
This usually means I went overboard with frosting, or I didn’t chill the cake balls long enough. - Cracked coating:
If the candy coating’s too hot, or the cake balls are straight from the fridge, the coating cracks as it sets. Super frustrating. - Uneven coloring:
When I don’t melt the candy melts all the way, or get lazy about stirring, the colors turn out streaky or spotty. Not cute.
The flavor can also get weird if I mess up the amounts. For example, if I use more or less than these:
| Ingredient | Amount |
|---|---|
| Baked vanilla cake | 1 box (about 18 oz) |
| Cream cheese frosting | 1/2 cup |
| White candy melts | 8 oz |
| Orange candy melts | 4 oz |
| Yellow candy melts | 4 oz |
| Lollipop sticks | 24 sticks |
If the cake balls are too mushy or too dry, forget it—they won’t hold their shape at all. I try to measure carefully and mix well, but sometimes I’m just not in the mood to fuss.
Air bubbles are another sneaky problem. If I don’t tap off the extra coating before it sets, the pops end up bumpy.
Honestly, making cake pops takes patience, and if I rush, the results look kind of… meh. That’s just how it goes.
Storage And Shelf Life Tips
I like to stash my candy corn cake pops in an airtight container. That way, they stay nice and moist—nobody wants a dry cake pop.
Where to Store:
- Room Temperature: Up to 3 days (just keep them away from direct sunlight).
- Refrigerator: Good for up to a week, and honestly, that’s when they’re at their tastiest.
- Freezer: Up to 1 month. I always wrap each pop in plastic wrap before freezing—trust me, it’s worth the extra step.
Here’s a little table I keep handy so I don’t forget how long they’re good for:
| Storage Method | Shelf Life |
|---|---|
| Room Temperature | 1-3 days |
| Refrigerator | 5-7 days |
| Freezer | 1 month |
I always let frozen cake pops thaw in the fridge first. If you pull them out and open the container too soon, you’ll probably get some condensation and a sweaty coating—never a good look.
If I want to prep ahead, I make the cake pops and freeze them before adding any decorations. Once they’re thawed, I dip and decorate them. That way, nothing gets messed up in the freezer.
Here’s a quick checklist I stick to:
- Seal container well
- Avoid humid places
- Handle pops with clean, dry hands