Bloody Drip Red Velvet Cake Pops Recipe
I love making treats that look as good as they taste. These bloody drip red velvet cake pops are perfect for parties or Halloween.
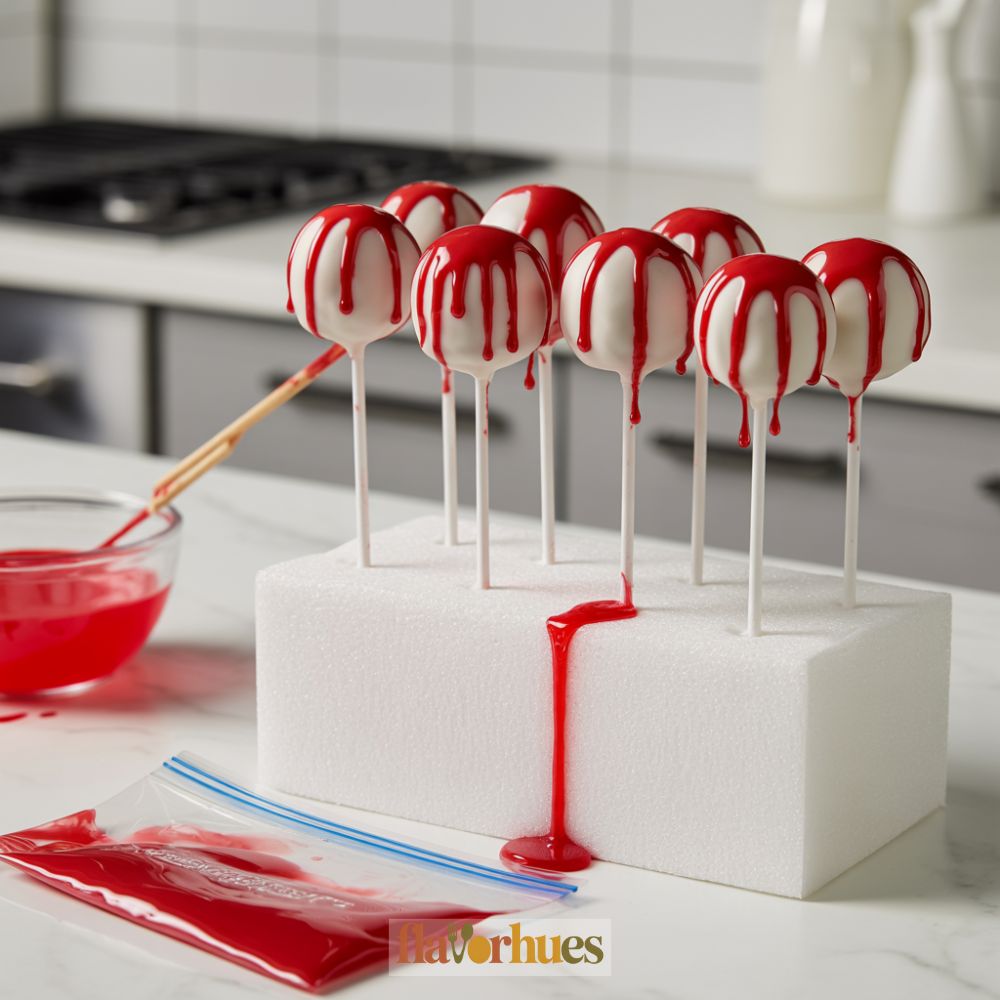
This recipe will show you step-by-step how to make eye-catching cake pops that are soft, sweet, and finished with a spooky red “blood” drip. They’re bite-sized, easy to serve, and always grab everyone’s attention.
If you’ve never made cake pops before, don’t worry. I’ll share the exact amounts for every ingredient and explain each step as clearly as I can.
With a little patience, you can make these cake pops at home. Seriously, your friends or family will be impressed with a treat that stands out at any gathering.
Why I Love Them
I love Bloody Drip Red Velvet Cake Pops because they look fun and taste delicious. Each bite gives me that soft, rich red velvet cake flavor mixed with creamy frosting.
The chocolate shell and red “drips” add a playful touch. Making them isn’t hard, and I actually enjoy decorating each pop.
It’s easy to hold them by the stick, which keeps things less messy. I keep coming back to this recipe because it brings a little excitement to dessert.
Equipment
To make my Bloody Drip Red Velvet Cake Pops, I use a few basic tools from my kitchen. Here’s a simple list:
- 1 large mixing bowl
- 1 electric mixer or whisk
- 1 baking tray (about 9×13 inches)
- Parchment paper
- 1 sharp knife
- 1 spoon
- 1 microwave-safe bowl
- 20–24 lollipop sticks
- Measuring cups and spoons
- 1 small zip-top bag (for the “bloody” drizzle)
- Cooling rack
I find the electric mixer makes blending the red velvet cake batter much faster and smoother. I always use parchment paper on my tray so the cake doesn’t stick.
The microwave-safe bowl is for melting chocolate or candy melts. The lollipop sticks hold the pops together and make them easy to dip and decorate.
With these items, I can create smooth cake balls and add the “bloody drip” detail without any trouble.
Ingredients
To make my Bloody Drip Red Velvet Cake Pops, I use simple ingredients that are easy to find at most grocery stores.
Here’s what I use for the cake:
- 1 box red velvet cake mix (about 15.25 ounces)
- 3 large eggs
- 1 cup water
- 1/3 cup vegetable oil
For the frosting, I prefer:
- 1/2 cup (1 stick) unsalted butter, softened
- 4 ounces cream cheese, softened
- 2 cups powdered sugar
- 1 teaspoon vanilla extract
To create and decorate the pops, I need:
- 40 lollipop sticks
- 12 ounces white chocolate or candy melts
- 1/2 cup red candy melts or red colored white chocolate
I keep everything measured and ready before I start. It just makes the process go faster.
If you like, you can look at the table below for quick reference:
| Ingredient | Amount |
|---|---|
| Red Velvet Cake Mix | 1 box (15.25 oz) |
| Eggs | 3 large |
| Water | 1 cup |
| Vegetable Oil | 1/3 cup |
| Unsalted Butter | 1/2 cup |
| Cream Cheese | 4 oz |
| Powdered Sugar | 2 cups |
| Vanilla Extract | 1 tsp |
| Lollipop Sticks | 40 |
| White Chocolate/Candy Melts | 12 oz |
| Red Candy Melts | 1/2 cup |
Having all my ingredients ready before I begin helps keep things simple. I’m not a fan of scrambling for stuff mid-recipe.
Instructions
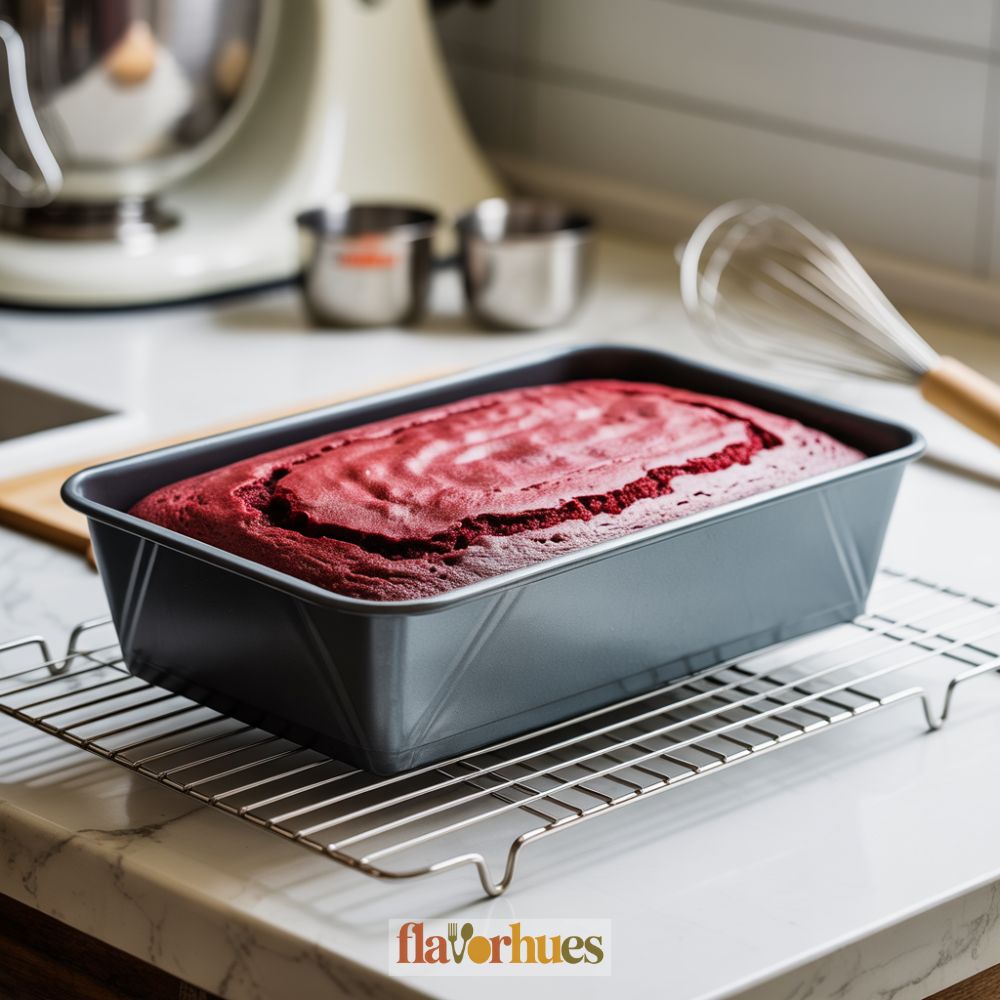
I start by preheating my oven to 350°F (175°C) and greasing a 9×13-inch baking pan. I mix together 2 ½ cups of all-purpose flour, 1 ½ cups of sugar, 1 tsp baking soda, 1 tsp salt, 1 tsp cocoa powder, 1 cup buttermilk, ½ cup vegetable oil, 2 large eggs, 2 tbsp red food coloring, 1 tsp vanilla extract, and 1 tsp white vinegar.
I pour the batter into the pan and bake for about 30 minutes. I know it’s done when a toothpick in the center comes out clean.
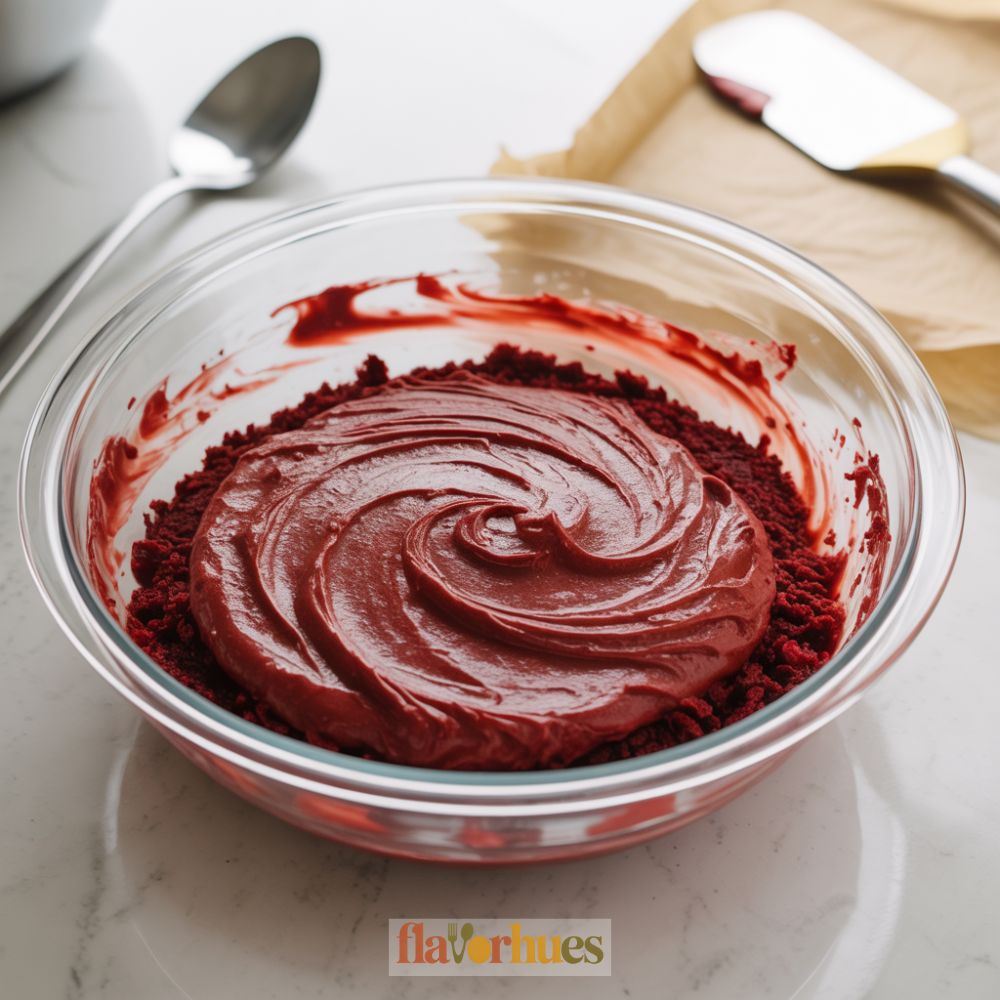
I let the cake cool completely before moving to the next step. Once the cake is cool, I crumble it into a large bowl.
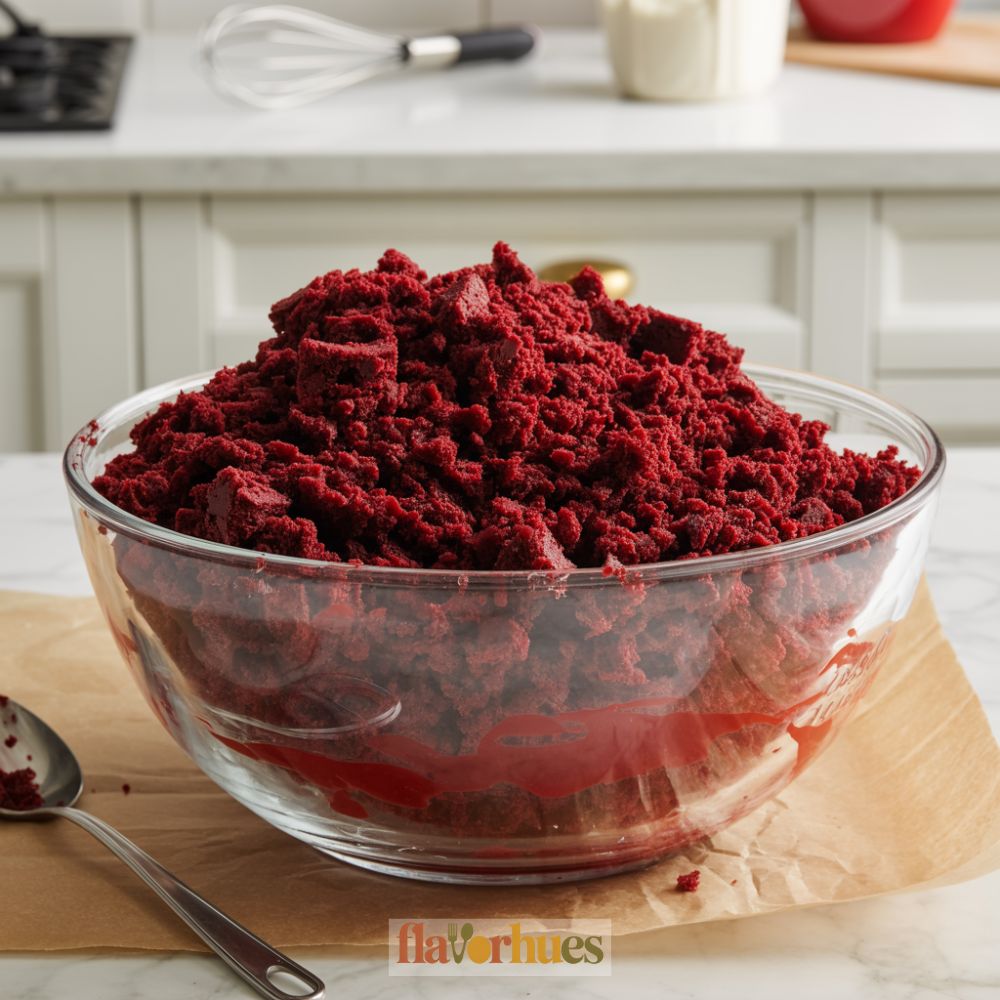
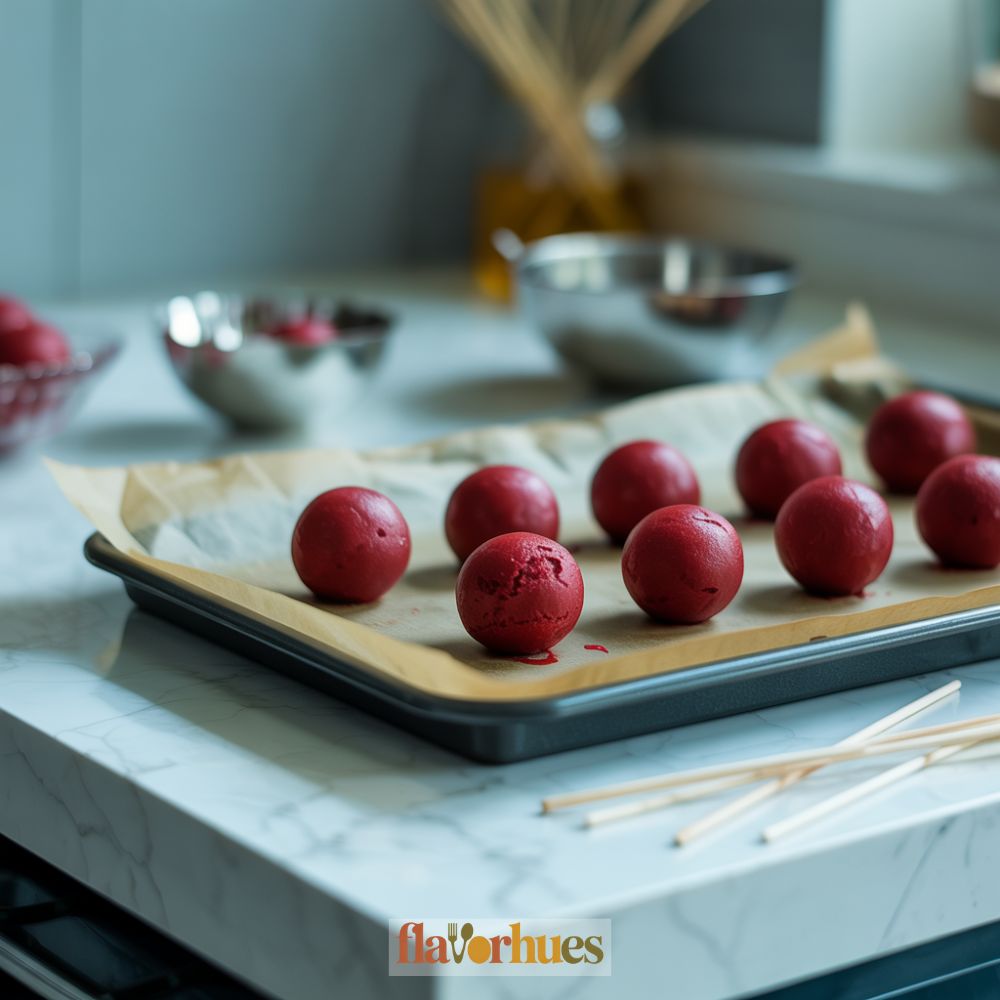
I mix in ¾ cup of cream cheese frosting using my hands or a spoon until it’s well blended. I roll the mixture into small balls, about 1 ½ inches wide.
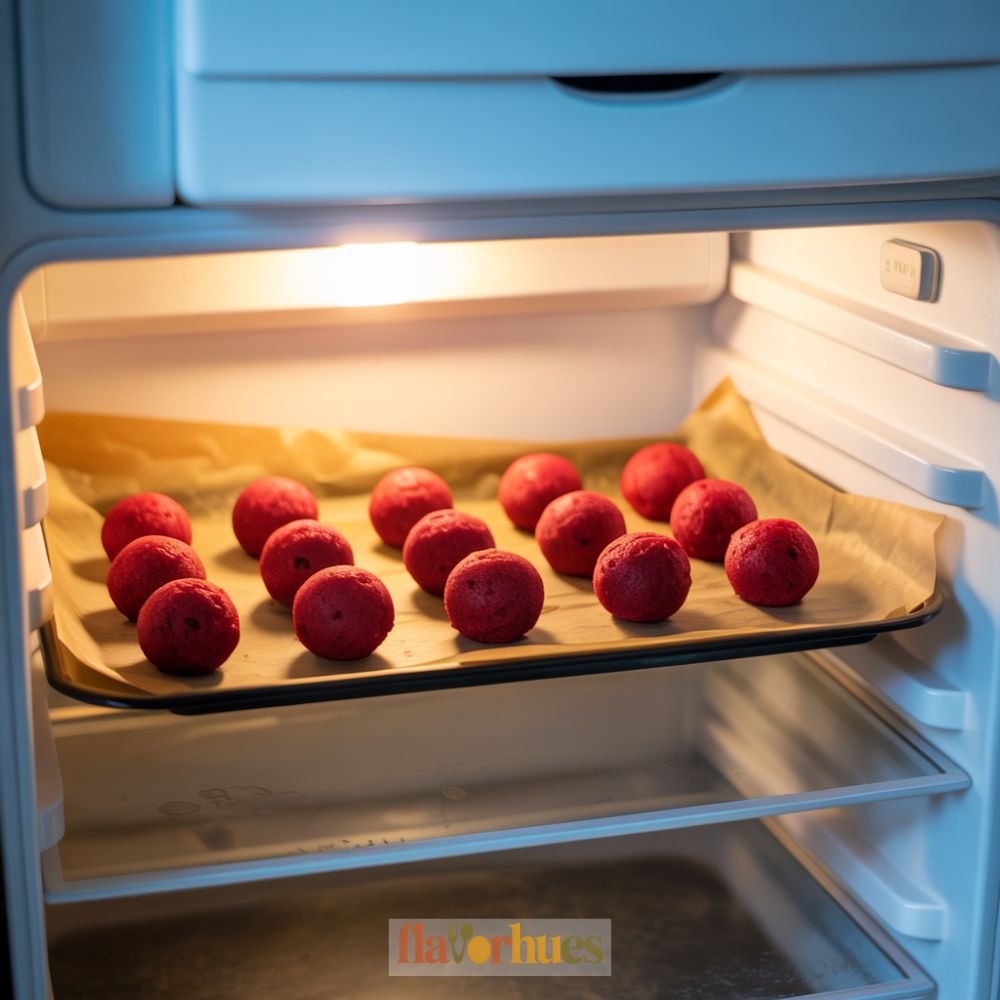
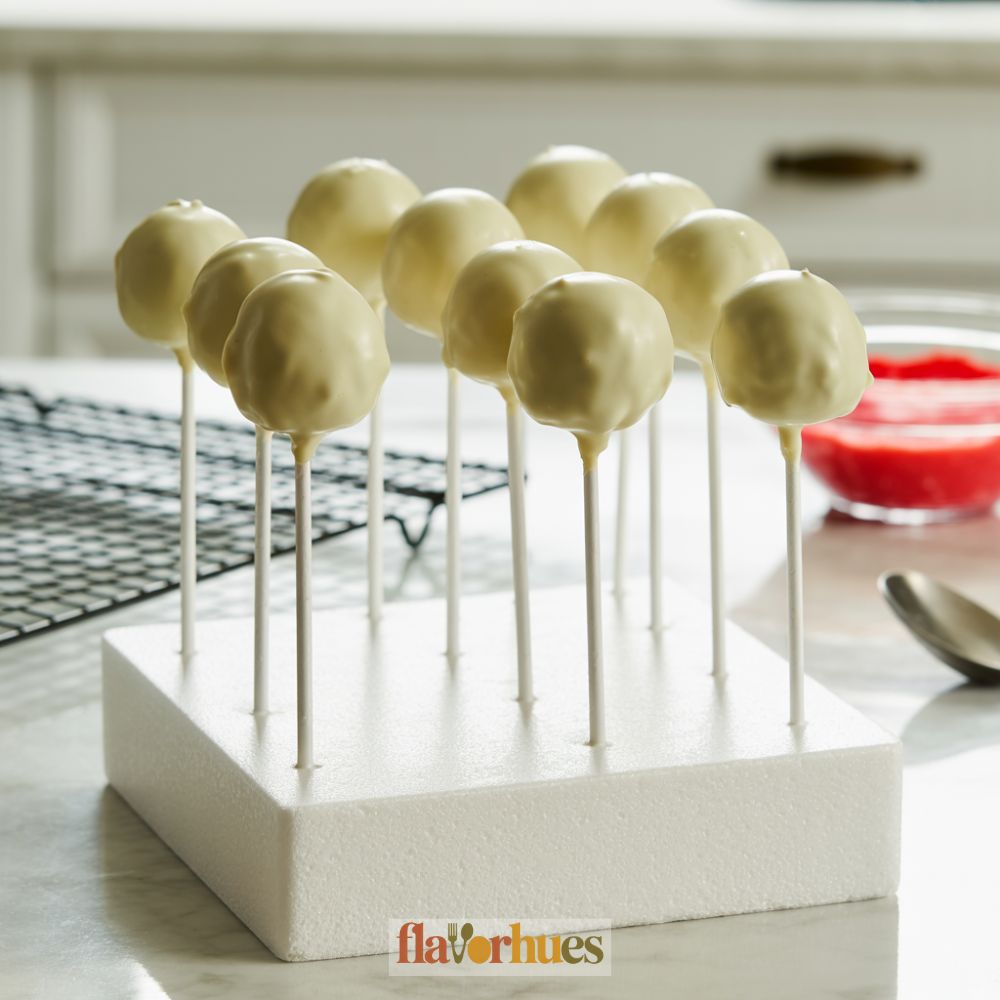
I place the balls on a baking sheet lined with parchment paper and chill them in the fridge for at least 1 hour. I melt 12 oz of white chocolate in a microwave-safe bowl.
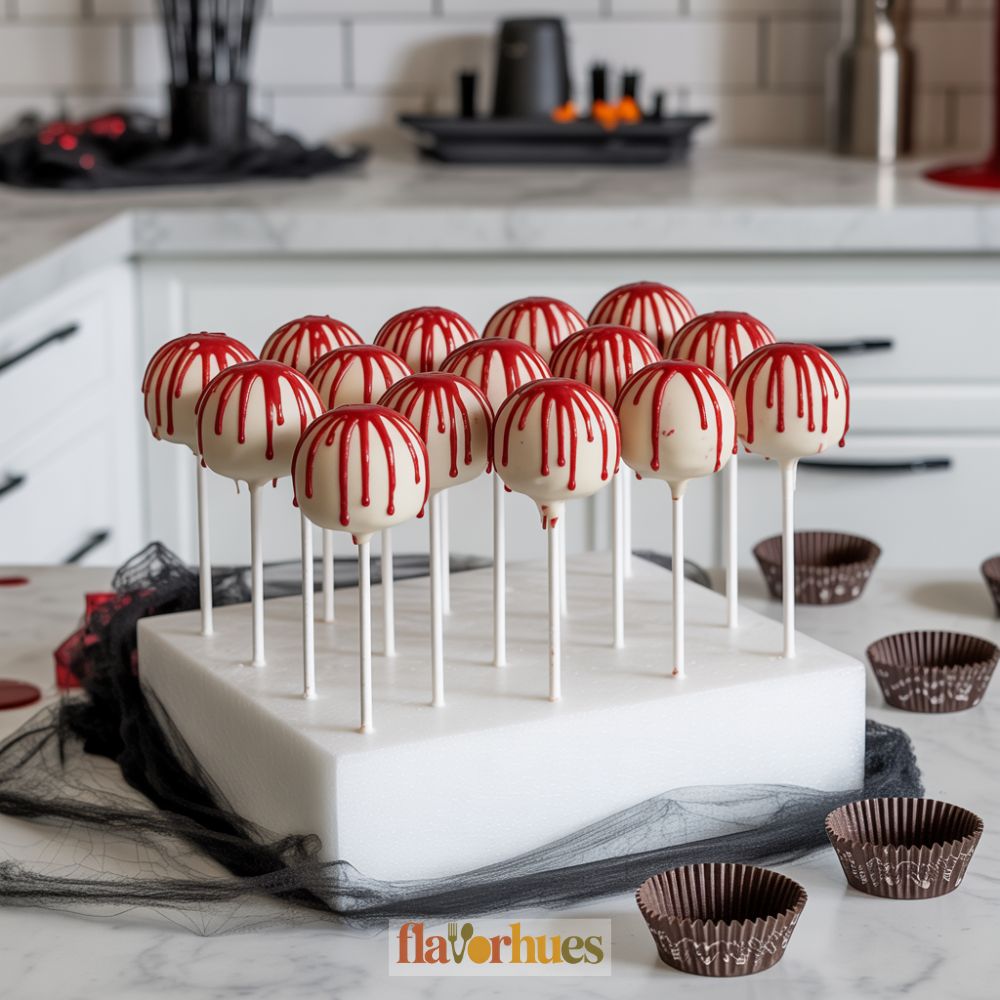
Using cake pop sticks, I dip the tip of each stick into the melted chocolate and then gently push it into a cake ball. I fully dip each pop into the melted chocolate, letting the extra drip off before placing them back on the parchment to set.
To create the “bloody” effect, I drizzle ¼ cup of red gel icing or melted red candy over the tops. It’s a little messy, but that’s the point, right?
Decoration Tips
I like to keep my decorations simple but spooky. For these Bloody Drip Red Velvet Cake Pops, I melt 1 cup of white chocolate chips to coat the cake pops.
I use a fork or toothpick to let the extra chocolate drip off before the coating sets. To get the bloody drip look, I mix 2 tablespoons of corn syrup with ½ teaspoon of red gel food coloring.
A little goes a long way, so I only need a drop or two of blue food coloring to deepen the shade. I stir well and use a spoon to drip the syrup over the pops.
It’s best to let it dribble down the sides for a realistic effect. Here’s a quick table for my usual decorating quantities:
| Item | Quantity |
|---|---|
| White chocolate chips | 1 cup |
| Red gel food coloring | ½ tsp |
| Blue food coloring (optional) | 1-2 drops |
| Corn syrup | 2 tbsp |
Sometimes, I stick a candy knife or fake edible glass shard into the top for a scary touch. Edible glitter or gold dust is fun if I want a shiny finish, but I usually keep the focus on those bloody red drips!
I let the pops sit until the syrup thickens. It creates a sticky, glossy look that makes them stand out at any party.

Equipment
- 1 Baking tray (9×13 inches)
- 1 spoon
- 20–24 Lollipop sticks
- 1 small zip-top bag (for “bloody” drizzle)
Ingredients
For the Red Velvet Cake:
- 15.25 oz red velvet cake mix
- 3 eggs
- 1 cup water
- 1/3 cup vegetable oil
For the Cream Cheese Frosting:
- 1/2 cup unsalted butter softened
- 4 oz cream cheese softened
- 2 cups powdered sugar
- 1 teaspoon vanilla extract
For Assembling & Decorating:
- 40 lollipop sticks
- 12 oz white chocolate
- 1/2 cup red candy melts
For Optional Blood Syrup Decoration:
- 2 tbsp corn syrup
- 1/2 tsp red gel food coloring
- 1 drops blue food coloring optional, for deeper red
Instructions
- Preheat your oven to 350°F (175°C) and grease a 9×13-inch baking tray.
- In a large bowl, mix red velvet cake mix, eggs, water, and oil until smooth. Pour into the tray and bake for 28–32 minutes, or until a toothpick comes out clean. Let cool completely.
- Beat butter and cream cheese until smooth. Add powdered sugar and vanilla extract. Beat until fluffy.
- Crumble cooled cake into a large bowl. Add about 3/4 cup of frosting. Mix until a dough-like texture forms.
- Scoop and roll into 1½-inch balls. Place on a parchment-lined tray. Chill in the fridge for at least 1 hour.
- Melt white chocolate or candy melts in a microwave-safe bowl in 20-second intervals, stirring between each.
- Dip the tip of each stick in melted chocolate, then insert into a chilled cake ball.
- Dip each pop into melted chocolate. Let excess drip off and place on parchment to set.
- Melt red candy melts. Spoon into a zip-top bag and snip the corner. Drizzle over the top of each pop for a “bloody” effect.
Optional Blood Syrup Effect:
- Mix corn syrup with red food coloring (and blue, if using) until deep red. Spoon or drizzle over the cake pops for a gory shine.
- Let cake pops set at room temperature or chill briefly in the fridge. Serve and enjoy!
Nutrition
Creative Bloody Drip Red Velvet Cake Pops Recipe Variations
I like to switch up my cake pops to make them even more fun. Here are a few ideas and ingredient swaps you can try.
Ingredients List (for 12 cake pops):
- 2 cups red velvet cake, crumbled
- 3 tbsp cream cheese frosting
- 1 cup white chocolate chips
- 1/2 cup red candy melts
- 12 cake pop sticks
For a spooky touch, I sometimes add candy eyes or squiggly gummy worms into the cake pop mixture before rolling them into balls. It gives a little surprise when you take a bite.
Another option is to dip the pops in dark chocolate instead of white chocolate. I melt 1 cup of dark chocolate chips and use it for the coating.
The red “blood” stands out even more that way. To make the “blood” drip look real, I mix 1/2 cup red candy melts with a drop of black food coloring.
It makes a deeper red shade. Here’s a quick table for other fun mix-ins I like:
| Variation | Ingredient Swap or Add-In |
|---|---|
| Crunchy center | 1/4 cup crushed cookies |
| Extra sweetness | 2 tbsp mini marshmallows |
| Nutty flavor | 2 tbsp chopped walnuts |
| Fruity surprise | 2 tbsp dried cranberries |
With just a few tweaks, I can customize each batch to fit the party or my cravings. Why not have some fun with it?
Substitute
Sometimes I don’t have all the exact ingredients on hand. Here are some easy substitutes I like to use when making Bloody Drip Red Velvet Cake Pops.
Cake Mix Substitute:
| Original Ingredient | Substitute | Quantity |
|---|---|---|
| 1 box red velvet cake mix | 1 box chocolate cake mix | 432 grams (15.25 oz) |
If I run out of red velvet cake mix, I use chocolate cake mix instead. To make it red, I add 2 tablespoons of red food coloring.
Cream Cheese Frosting Substitute:
- 115 grams (4 oz) softened butter
- 240 grams (2 cups) powdered sugar
- 1 teaspoon vanilla extract
If I don’t have cream cheese, I make simple vanilla buttercream. I mix the butter and powdered sugar, then stir in vanilla extract.
Candy Coating Substitute:
Instead of red candy melts, I sometimes melt 340 grams (12 oz) of white chocolate chips. I mix in 2 teaspoons of vegetable oil and a few drops of red food coloring to make a red coating.
If I need more drip for the effect, I melt strawberry jelly or raspberry jam in the microwave. Then, I use it as my “bloody” drizzle for extra color and flavor.
Switching out ingredients like this helps me make cake pops even if my pantry is a bit empty. No need to stress if you’re missing something!
What Can Go Wrong?
Sometimes cake pops just fall apart. If I use too much cream cheese frosting—say, more than 1/2 cup for a single box of cake mix—the mixture ends up too wet.
When that happens, the balls won’t hold their shape at all. It’s honestly a little frustrating.
Melting chocolate can be its own kind of headache. If I overheat it, the coating turns thick or even a bit lumpy.
I try melting in 15-20 second bursts in the microwave and stir well after each one. It’s not foolproof, but it helps.
Here’s a quick table of common problems:
| Problem | What Might Cause It |
|---|---|
| Cake pops too soft or mushy | Too much frosting |
| Sticks falling out | Not dipping sticks in chocolate first |
| Lumpy or streaky coating | Overheating chocolate |
| Red “blood” drip not sticking | Cake pops still too cold or wet |
Sometimes, the sticks just slip right out. I learned to dip each stick’s tip in a bit of melted chocolate, then push it partway into the cake ball.
Letting it set for a minute or so seems to help.
If the red gel “blood” doesn’t drip right, maybe the cake pops are still frozen or just too cold. Letting them warm up for a few minutes usually does the trick.
If the coating cracks, it might be that the cake balls are too cold and the melted chocolate is a bit too hot. Waiting a few minutes to balance out the temperature helps, in my experience.
Storage And Shelf Life Tips
I keep my Bloody Drip Red Velvet Cake Pops fresh by storing them the right way. After decorating, I wait for the coating to set completely.
Then I toss the cake pops in an airtight container. For best results, I usually line it with a paper towel to soak up any extra moisture.
Where I Store Cake Pops:
- Room Temperature: Up to 2 days
- Refrigerator: Up to 1 week
- Freezer: Up to 1 month
If I need to store them for longer, I’ll wrap each pop in plastic wrap. After that, I lay them out in a single layer inside the container—otherwise, they just end up sticking together and making a mess.
Here’s a quick table I made for convenience:
| Storage Type | How Long | Extra Tips |
|---|---|---|
| Room Temperature | 1-2 days | Keep away from sunlight. |
| Refrigerator | Up to 7 days | Let them come to room temp before serving. |
| Freezer | Up to 1 month | Thaw in fridge before serving. |
I always make sure the pops are totally cool before storing, otherwise condensation gets everywhere. I don’t stack them, either—decorations are fragile, and stacking just ruins the look.
If I freeze them, I let them thaw slowly in the fridge. It really does help keep the texture right, at least in my experience.