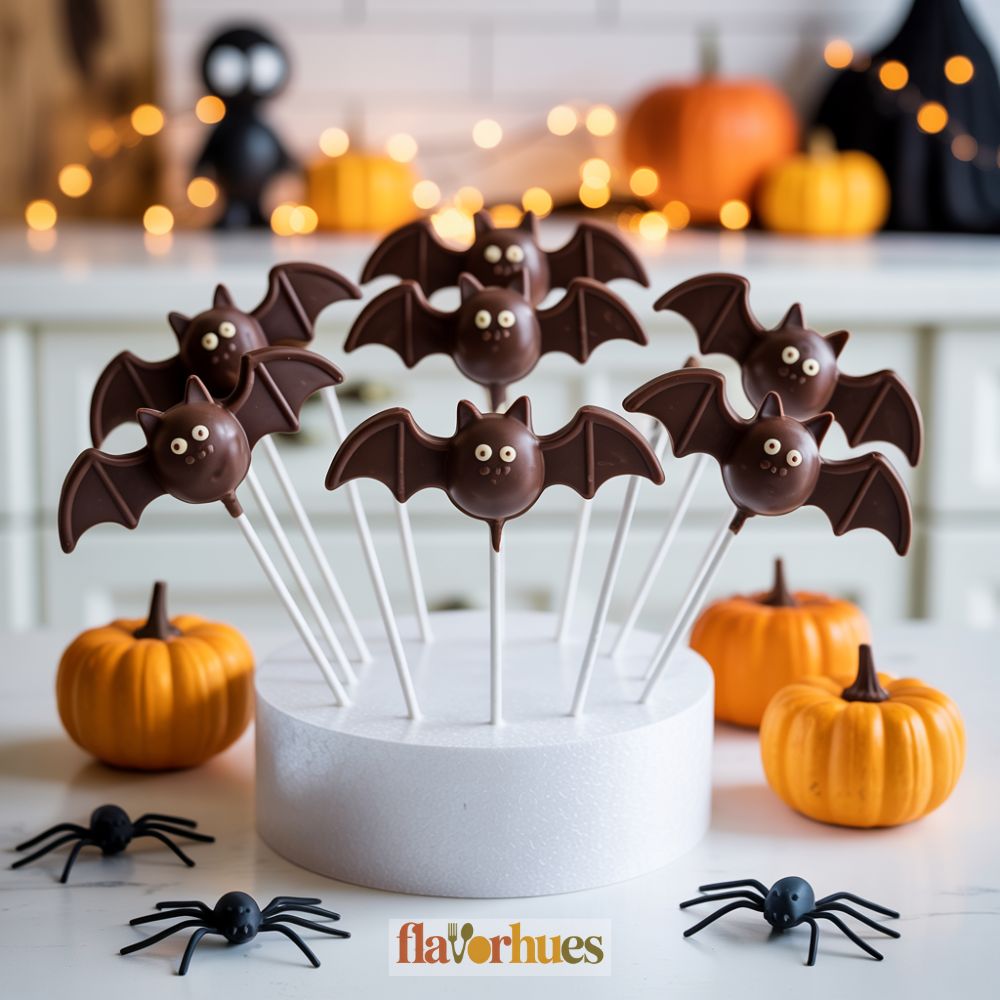
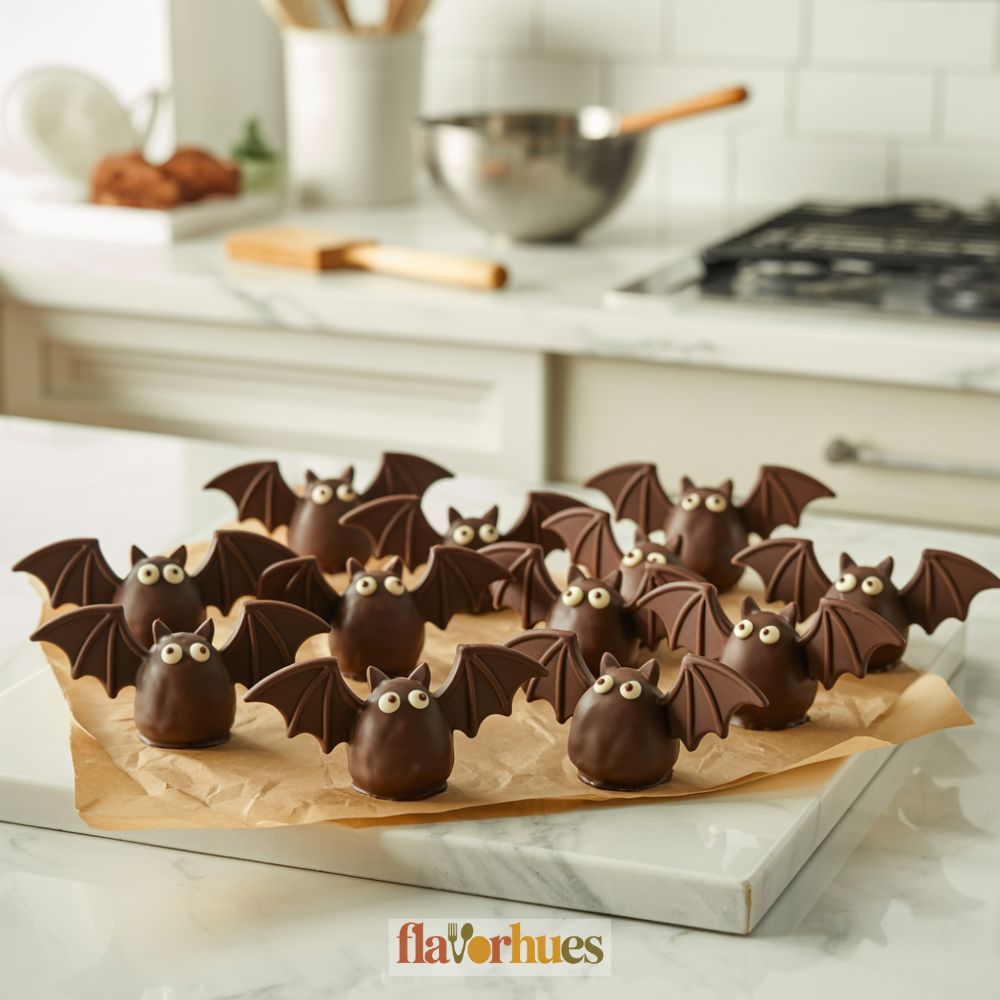
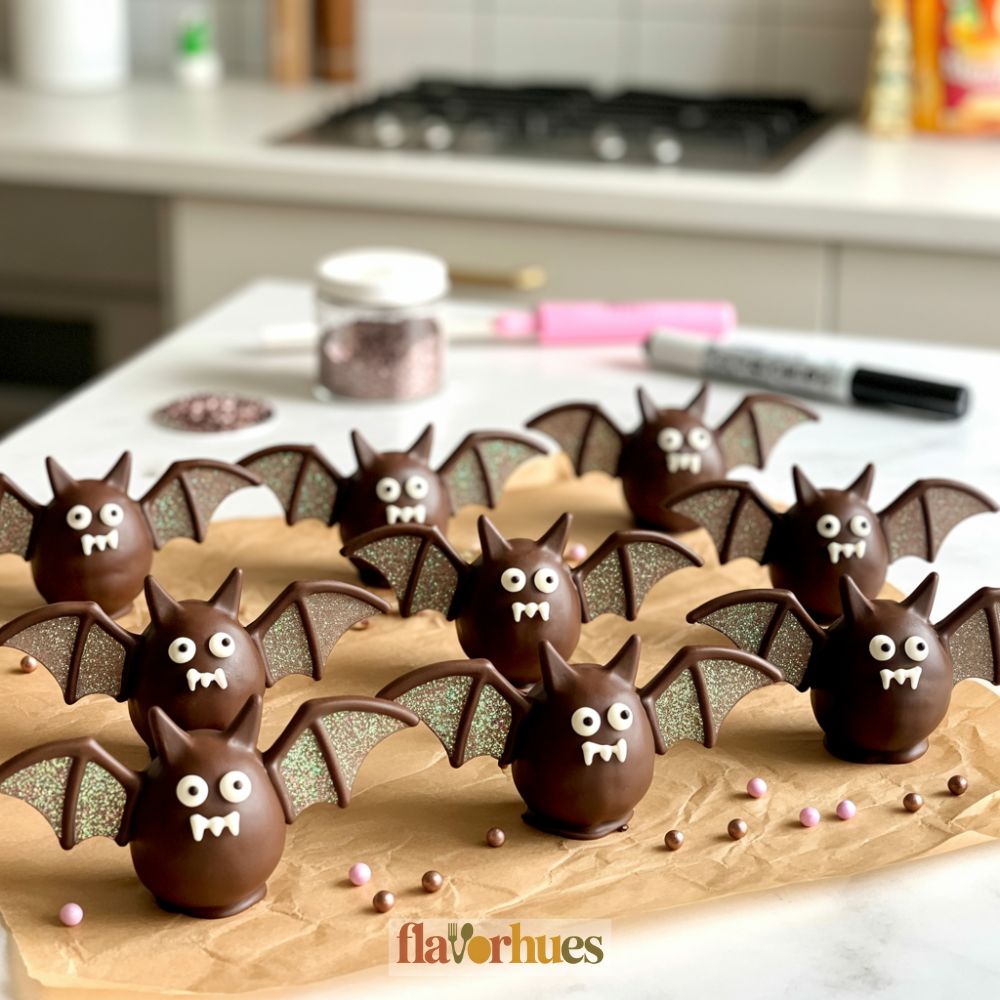
Bat Shaped Chocolate Cake Pops Recipe
I love making treats that look as good as they taste, and bat shaped chocolate cake pops are one of my favorites. They’re cute, fun, and the perfect bite-sized dessert for any party.
These cake pops are easy to make with simple ingredients and a few basic steps.
Anyone can do it, and you don’t need fancy tools. I’ll show you exactly how to create these fun bat treats at home so you can impress your friends and family.
Why I Love Them
I love bat shaped chocolate cake pops because they are so fun to make. It’s exciting to roll the cake balls and add wings and eyes. Decorating them gives me a chance to be creative.
They are also perfect for parties. Kids and adults both enjoy their look. People always smile when they see the tiny bat faces.
Here are a few reasons why I enjoy them:
- Easy to eat: No need for plates or forks.
- Portable: I can take them anywhere without a mess.
- Chocolate flavor: I love chocolate, and every bite is rich and sweet.
It’s also great that I can change the decorations. Sometimes I use sprinkles, and other times I draw little smiles. Every bat looks a bit different, which makes them special to me.
I also like that they are small. I can have more than one without feeling too full. They make any day feel more playful.
Essential Tools and Equipment
To make bat shaped chocolate cake pops, I need to gather some basic tools. I keep everything ready before starting, which makes the process much smoother.
Here’s what I use:
- Mixing bowls
- Electric mixer or hand whisk
- Baking tray
- Parchment paper
- Cake pop sticks
- Small cookie scoop or spoon
- Microwave-safe bowls for melting chocolate
- Toothpicks
- Cooling rack
I always make sure I have enough cake pop sticks and chocolate for coating. I also set out wax or parchment paper for easy cleanup.
If I want smooth and even pops, my small cookie scoop really helps. Using a cooling rack lets the coating set without smudges.
Having all these tools makes crafting my bat shaped cake pops much easier and more fun.
Ingredients for Bat Shaped Chocolate Cake Pops
When I make bat shaped chocolate cake pops, I start by gathering all my ingredients. This helps me stay organized and makes the process smoother.
Here’s what I use:
- Chocolate cake (baked and cooled)
- Chocolate frosting
- Candy melts or coating chocolate (dark or black)
- Lollipop sticks
- Mini candy eyes
- Black licorice laces or chocolate cookie pieces (for wings)
- Optional: Sprinkles or edible glitter for a fun touch
I like to use homemade chocolate cake, but any boxed cake mix works just fine. The cake will get crumbled, so small flaws don’t matter.
For the chocolate coating, I choose dark chocolate or black candy melts. This gives a classic bat look.
Here’s a handy table for quick reference:
| Ingredient | Amount |
|---|---|
| Chocolate cake | 1 standard cake |
| Chocolate frosting | 1/2 cup (about) |
| Candy melts/chocolate | 12 oz (340 g) |
| Lollipop sticks | 24 |
| Mini candy eyes | 48 |
| Black licorice/cookie | Enough for 24 bats |
I always check that my decorations are edible and safe for kids.
Having everything ready before I start makes decorating much more enjoyable.
How to Make Bat Shaped Chocolate Cake Pops
Making bat shaped chocolate cake pops is a fun baking project. I focus on turning a baked chocolate cake into cute, bite-size bats using simple steps.
Baking and Crumbling the Cake
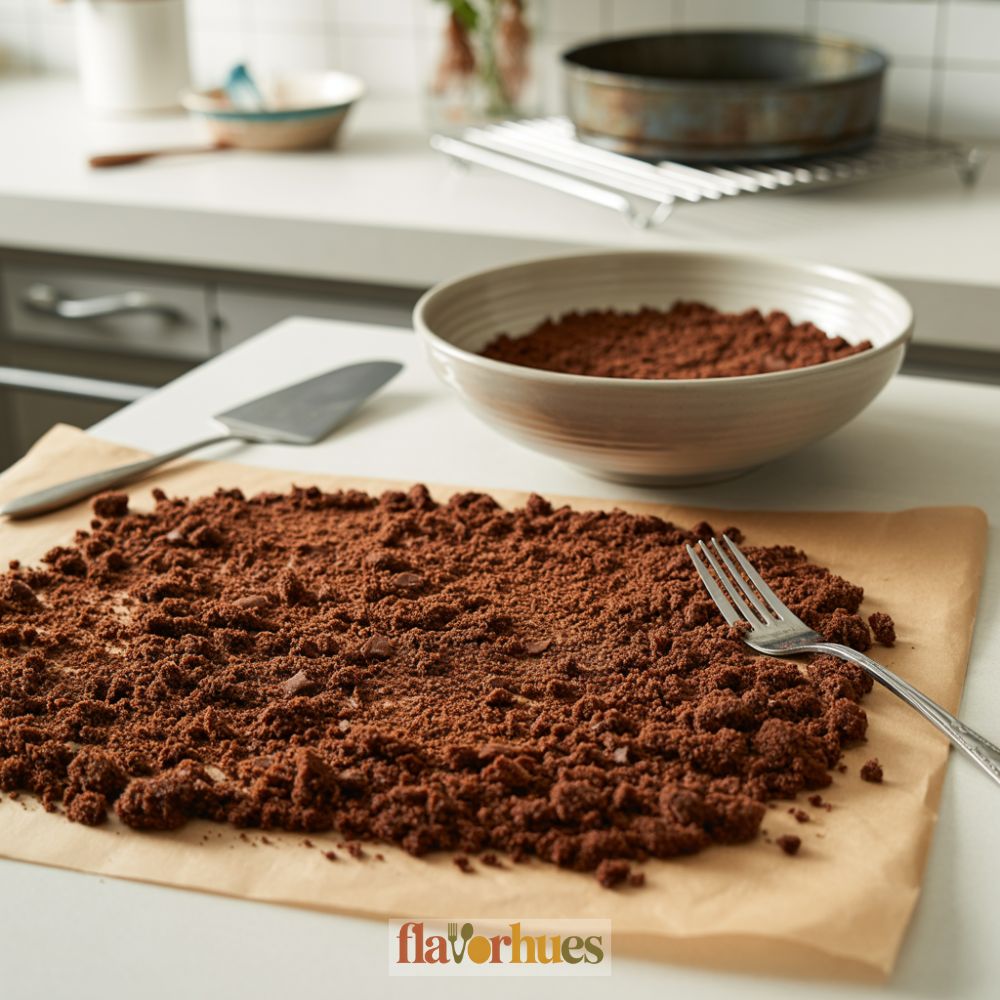
First, I bake a chocolate cake using my favorite box mix or homemade recipe. I let it cool completely before moving to the next step. A cool cake is easier to handle and helps keep the crumbs from sticking to my hands.
Once the cake is cool, I use my hands or a fork to break it into fine crumbs. I make sure not to leave any large chunks. The finer the crumbs, the smoother my cake pop mixture will be.
I like to spread the cake crumbs on a baking sheet to check for big pieces. This little step makes mixing easier later. If I spot any dry bits, I crumble them with my fingers until the texture is even.
Mixing and Shaping the Cake Pop Dough
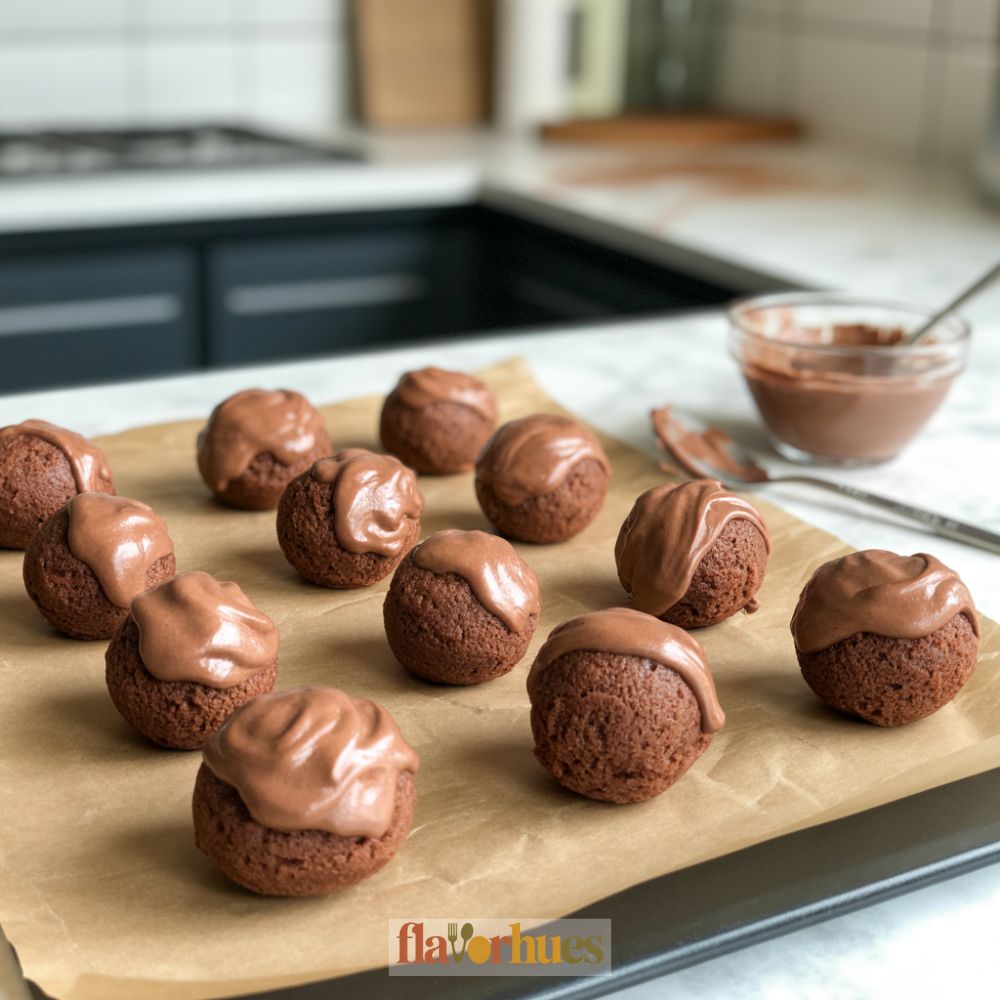
To turn the crumbs into cake pop dough, I add frosting. I usually start with a heaping spoonful, then mix it in with a spoon or my clean hands. I keep mixing and adding more frosting a little at a time until it feels like a soft dough that’s easy to shape.
I roll the mixture into small balls about the size of a walnut. These will be the bodies of the bats. I set them on a tray lined with parchment paper so they don’t stick.
Forming the Bat Shape
To create the bat shape, I gently squeeze the sides of each ball to make an oval. I pinch a little on one side for the bat’s head.
For wings, I press small chocolate cookie wafers or candy melts into each side of the oval so they stick out like wings.
I use a toothpick to shape little indents, giving the wings some detail. I press two tiny white and black sprinkles into the face for eyes. To help the wings and face decorations stick, sometimes I dip a toothpick in melted chocolate and use it like glue.
Once all my bats are shaped, I chill them in the fridge so they hold their shape before dipping or decorating further.
Decorating Bat Shaped Chocolate Cake Pops
I love how decorating brings these cake pops to life. It’s all about even chocolate coating, shaping the wings, and giving each bat its own personality.
Dipping and Coating Techniques
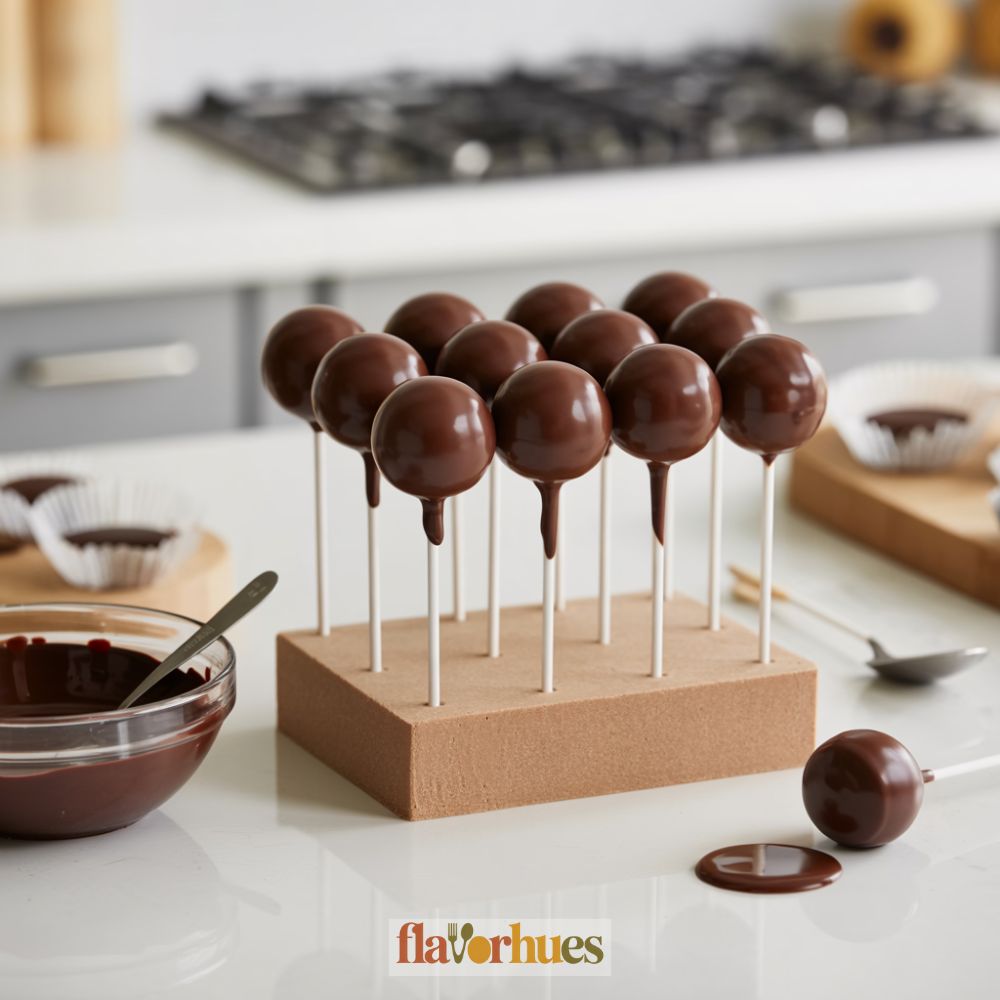
First, I make sure the cake balls are cold so they hold their shape during dipping.
I melt chocolate or candy melts in a deep bowl and dip a lollipop stick about 1 inch into the melted chocolate before pushing it halfway into each cake ball.
I gently dip the cake pop straight down into the chocolate.
I rotate it to get an even coating and lift it out, letting any extra chocolate drip back into the bowl. I tap my wrist, not the stick, against the edge to shake off extra coating.
If the coating is too thick, I thin it with a few drops of vegetable oil or candy coating thinner.
I work quickly so the chocolate stays smooth. While the coating is still wet, I place the pops upright in a foam block and let them set.
Here’s a quick checklist for dipping:
- Cake pops are chilled
- Chocolate is smooth
- Dip straight down and rotate
- Let excess drip off
Creating Bat Wings and Features
To make bat wings, I use thin chocolate wafers, mini cookies, or stiff cutouts of black fondant. I shape the wings with small points on one long edge to mimic bat wings.
I press each wing gently into the sides of the cake pops before the coating dries. If the coating has already set, I use a bit of extra melted chocolate to attach the wings. I line the wings up so they stick out at the same angle on both sides.
For faces, I use mini chocolate chips, candy eyes, or small dots of white and black icing. I press them gently onto the cake pop, spacing them evenly.
Here’s a simple list of wing ideas:
- Chocolate wafers
- Cookie pieces
- Fondant shapes
Adding Finishing Touches
For extra detail, I use food-safe markers to add small mouth lines, fangs, or eyebrows after the chocolate sets. If the bats are for Halloween, I sometimes sprinkle on edible glitter or tiny colored candies for a fun look.
I double check that all decorations are secure before packaging. I place each cake pop in a mini treat bag and tie it with ribbon at the base.
For an organized look, I display the pops upright in a decorated foam base. It keeps them from rolling around and messing up the wings. Having all the bats facing out shows off their details and makes them easy to grab.
Creative Bat Cake Pop Variations
I like to add fun twists to my bat cake pops. Small changes in flavors or decorations can make each batch unique and extra special.
Using Different Flavors
When I make bat cake pops, I often try out new cake and frosting flavors. I use chocolate, vanilla, or even red velvet cake for the inside. For frosting, I sometimes mix in cream cheese, peanut butter, or cookies and cream, depending on what I have.
Here is a quick table of tasty combinations I’ve used:
| Cake Flavor | Frosting Type |
|---|---|
| Chocolate | Chocolate Ganache |
| Vanilla | Cream Cheese |
| Red Velvet | Vanilla Buttercream |
| Funfetti | Strawberry |
I roll the mixture into balls, then shape the pops into little bats. No matter the flavor, the bat wings and candy eyes still look great and taste delicious.
Decorating with Sprinkles and Edible Glitter
To make my bat cake pops more festive, I use colored sprinkles and edible glitter. I sprinkle some black or purple sugar over the chocolate coating before it sets. Sometimes, I use gold or silver glitter to make the wings sparkle.
For extra fun, I add mini star-shaped sprinkles near the bat wings. It’s easy to gently press sprinkles into the coating while it’s still wet. I even stick small candy pearls on the bats’ heads for “earrings” or “crowns.”
Here’s a quick decorating list I use:
- Black or purple sanding sugar
- Gold edible glitter
- Candy pearls
- Mini star sprinkles
- Silver edible glitter
These touches make each bat cake pop stand out. Decorating is my favorite part because I can get creative and try new ideas each time.
Equipment
- – Microwave-safe bowls (for melting chocolate)
- Leaf or wing-shaped cutter (if using fondant)
- Food-safe paintbrush (optional)
Ingredients
For Cake Pops:
- 1 9×13-inch chocolate cake baked and cooled
- ½ cup chocolate frosting
- 12 oz black or dark chocolate candy melts
- 24 lollipop sticks
For Decorations:
- 48 mini candy eyes
- 24 bat wings made from black licorice laces, mini chocolate cookies, or black fondant
- 2 tbsp melted chocolate for attaching decorations
- 2 tbsp sprinkles or edible glitter optional
- 1 tsp edible glue optional
- 1 edible food markers black or white, optional
Instructions
Bake the Cake:
- Prepare and bake a chocolate cake in a 9×13-inch pan. Let it cool completely.
- Make Cake Pop Dough:
- Crumble the cooled cake into a large mixing bowl until fine crumbs form.
- Add ½ cup chocolate frosting and mix until the mixture holds together like dough.
Shape the Cake Pops:
- Scoop out 1-inch portions and roll into balls.
- Slightly flatten and shape into ovals with a pinch for the bat’s head.
- Place on a parchment-lined tray and chill for 20 minutes.
Insert Sticks:
- Dip the end of each lollipop stick into melted chocolate, then insert halfway into each cake pop.
- Chill for another 10 minutes to set.
Dip and Coat:
- Melt the candy melts in a microwave-safe bowl until smooth.
- Dip each cake pop into the melted coating, turning to coat evenly.
- Tap off the excess and place upright in a foam block to set.
Attach Wings and Eyes:
- While the coating is still soft, press in bat wings on both sides and mini candy eyes on the front.
- Use melted chocolate or edible glue if needed to secure them.
Decorate and Finish:
- Use edible markers to draw fangs, smiles, or eyebrows.
- Add sprinkles or edible glitter before the coating hardens for extra flair.
- Let cake pops set completely before serving or packaging.
Serving and Displaying Bat Shaped Cake Pops
I like to make my bat-shaped cake pops stand out, whether I’m hosting a party or giving them as gifts. A good display can make them look even cuter, and careful packaging keeps them safe and fresh.
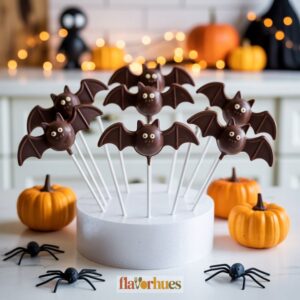
Arranging Pops for Parties
When I set out cake pops at a party, I use a foam block or a cake pop stand. I cover the foam with tissue paper or cloth to match my party theme. Each pop goes into the block so they stand upright, showing off the bat wings and faces.
I like to group the pops in small bunches and space them out so they don’t touch. This helps the decorations stay neat. Sometimes, I add plastic spiders or mini pumpkins around the base for a Halloween look.
For easy grabbing, I place the display near plates and napkins. I also make a simple label, like “Chocolate Bat Pops.” This helps guests know what they are before biting in.
If I have extra pops, I keep them in the fridge and swap them out as needed to keep the table looking full.
Packaging for Gifting
When I give cake pops as gifts, I wrap each pop in a small cellophane bag. I tie the bag with a piece of ribbon or twist tie to keep it closed. This keeps the cake moist and protects the decorations.
For an extra touch, I use stickers, mini tags, or Halloween-themed ribbon. I write a short note or the recipient’s name on each tag. This makes the gift feel more personal.
If I am giving more than one pop, I put them in a small gift box. I use tissue paper or crinkle paper to fill empty spaces so the pops don’t move around and get damaged. I always keep the box in a cool spot so the chocolate coating doesn’t melt.
What can go wrong?
Sometimes, my cake pops fall off the sticks. This usually happens if I make the balls too heavy or don’t chill them long enough. I try to keep them small and let them set in the fridge.
The chocolate coating might crack. If my cake balls are too cold or the chocolate is too hot, the shell can split. I let everything come to room temperature before dipping.
Attaching the bat wings can be tricky. Sometimes, the wings slide off or don’t stick. I use a bit of melted chocolate as glue and hold each wing in place for a minute.
Sometimes, decorations—like the candy eyes—won’t stay on. I press them gently into the wet chocolate before it hardens. If the chocolate sets too fast, I dab some melted chocolate on as glue.
Common Mistakes Table
| Mistake | How I Fix It |
|---|---|
| Cake pops falling off sticks | Make smaller balls, chill well |
| Cracked chocolate coating | Let cake pop and chocolate warm up a bit |
| Wings don’t stick | Use melted chocolate to attach |
| Decorations falling off | Press on quickly or use “chocolate glue” |
If the cake pops look messy, I remind myself it gets easier with practice. Even imperfect bats still taste good!
Storage and Shelf Life Tips
I store my bat shaped chocolate cake pops in an airtight container. This helps keep them fresh and stops them from drying out. I keep the container at room temperature if I plan to finish them in a couple of days.
If I want to keep them longer, I use the fridge. I line the container with wax paper, set the pops inside, and add another layer of wax paper on top.
Here’s a simple guide:
| Storage Method | How Long They Last |
|---|---|
| Room Temperature | 2-3 days |
| Refrigerator | 5-7 days |
| Freezer | Up to 1 month |
Tips:
- Make sure the chocolate coating is set before packing.
- Avoid stacking pops without wax paper between layers.
- Let chilled or frozen pops come to room temperature before serving so they taste their best.
I never store cake pops in direct sunlight or near a heat source, as the chocolate can easily melt.
If I notice condensation on the chocolate after chilling, I gently pat it dry with a paper towel.