Cauldron Cookie Cups Recipe
I love finding fun, easy recipes to make with my family, especially for parties or holidays.
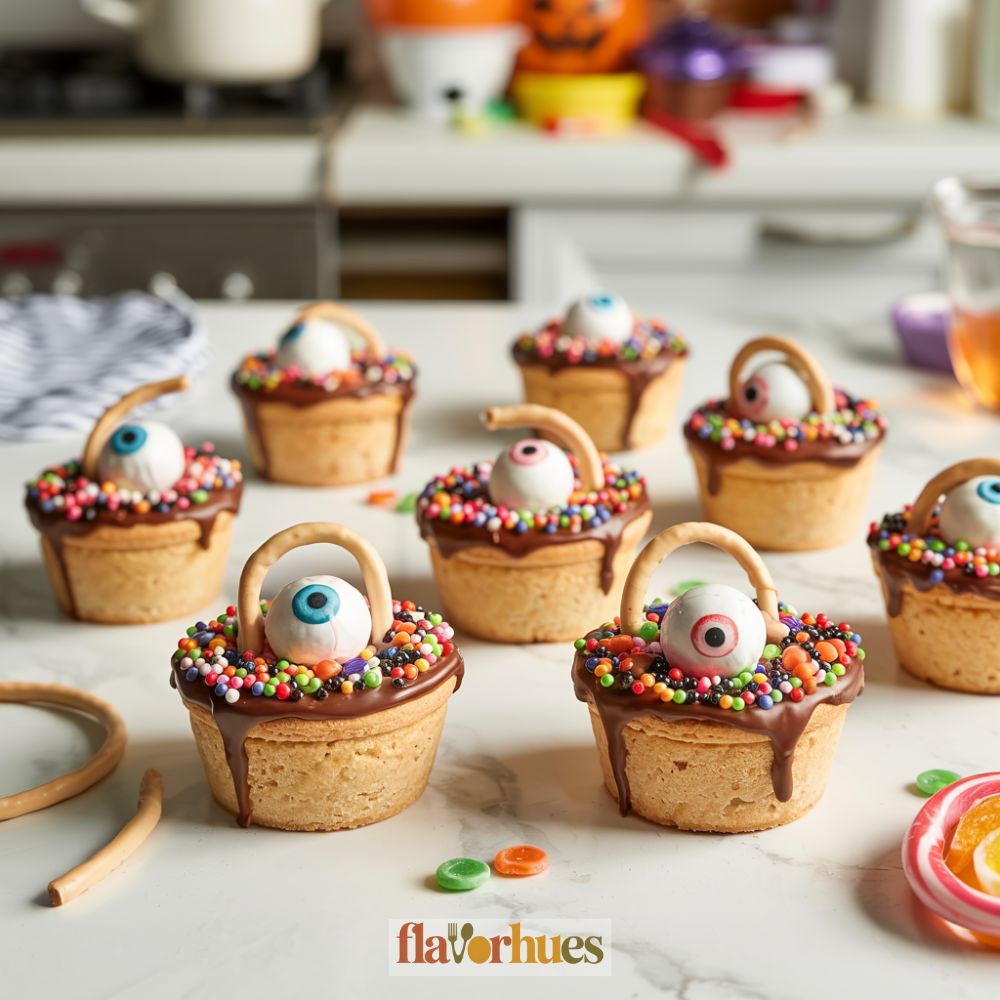
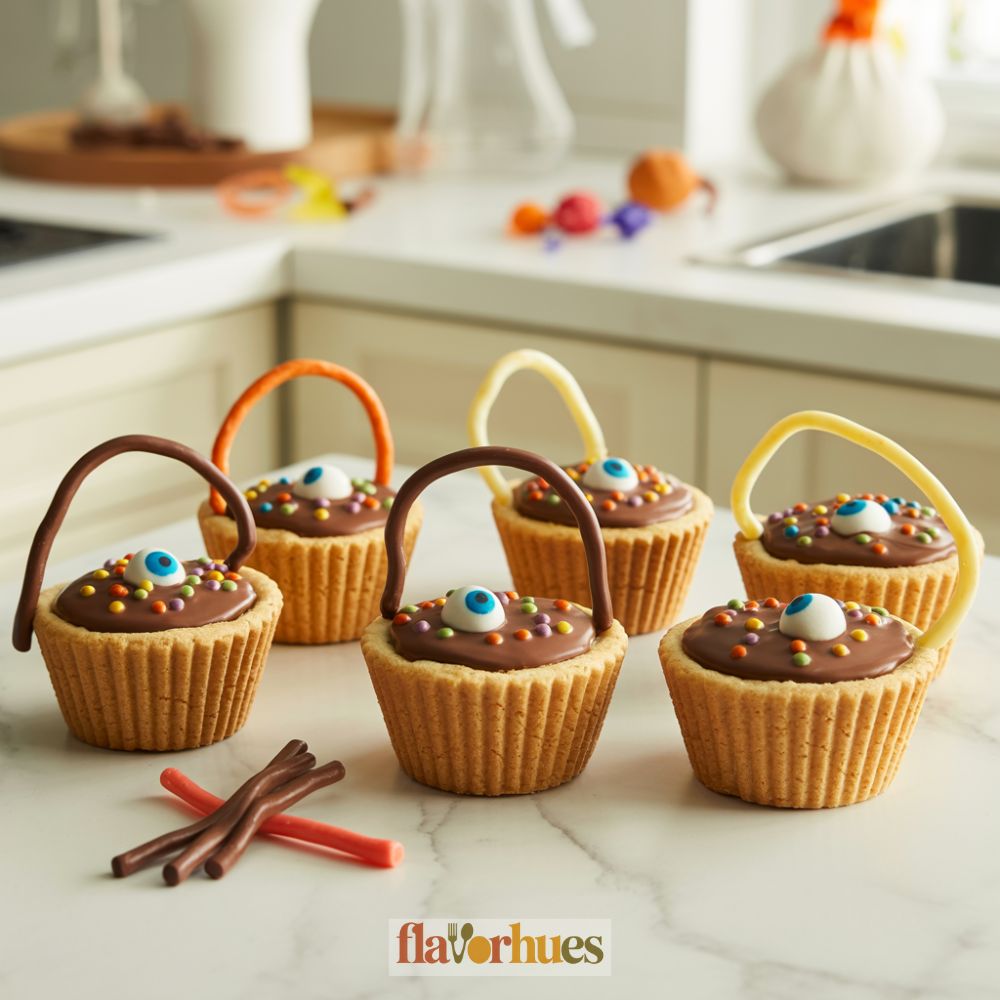
Cauldron Cookie Cups are a simple treat that looks magical but uses basic ingredients you probably already have at home.
They’re perfect for Halloween or any time you want a cute dessert that stands out.
When I tried this recipe, I was honestly surprised at how quickly everything came together.
The cookie cups hold their shape well. Decorating them is actually pretty simple—no need to stress about fancy techniques.
If you’re looking for a creative dessert that doesn’t take much time, you’ll want to check out how to make these Cauldron Cookie Cups.
Why I Love Them
I love these Cauldron Cookie Cups because they’re both fun and delicious. They look cute and magical, which always makes me smile.
Making them lets me get creative. I enjoy picking different candies and decorations for each cup—it’s like a little edible art project.
I also like that they use simple ingredients I already have at home. There’s no need to buy fancy baking tools.
Just regular cups, cookie dough, and some favorite treats. When I bring these out, people notice them right away.
Even picky eaters usually want to try one. It feels nice to see others excited about something I made, honestly.
Equipment
Before I start baking, I like to get all my tools ready. It just makes things smoother.
Here’s what I use for making Cauldron Cookie Cups:
- Muffin tin – Helps shape each cookie cup.
- Mixing bowls – I use a few to separate wet and dry ingredients.
- Measuring cups and spoons – For getting the right amounts.
- Hand or stand mixer – For mixing the dough. A wooden spoon works too.
- Cooling rack – I place the cookie cups here after baking.
- Small spoon – To press the dough into the tin and create cups.
- Piping bag (optional) – Handy for neat icing, but a plastic bag with a snipped corner works.
I keep parchment paper nearby for less mess. If I want colorful treats, I grab food coloring and sprinkles.
Sometimes I use a butter knife to help loosen the cups from the pan. Having these things ready just makes baking more fun for me.
Ingredients
Here are the things I use to make my Cauldron Cookie Cups. You might already have some of these at home.
Main Cookie Base:
- 1 roll of sugar cookie dough (about 16 ounces)
- Non-stick cooking spray
For the “Cauldron” Cups:
- 1 cup chocolate chips (semi-sweet or milk chocolate)
- 8 black licorice ropes (for handles)
Colorful “Potion” Filling:
- 1 cup green candy melts (or white chocolate chips with green food coloring)
- Sprinkles in fun, bright colors
Decorations:
- Mini marshmallows
- Candy eyes (optional)
- Gold or silver candy pearls
Tip: You can swap out the green candy melts for any color you like. Just use food coloring with white chocolate chips!
I like adding sprinkles and candy eyes to make each cup look extra fun. The candy pearls look like little magic bubbles—so cute, right?
Instructions
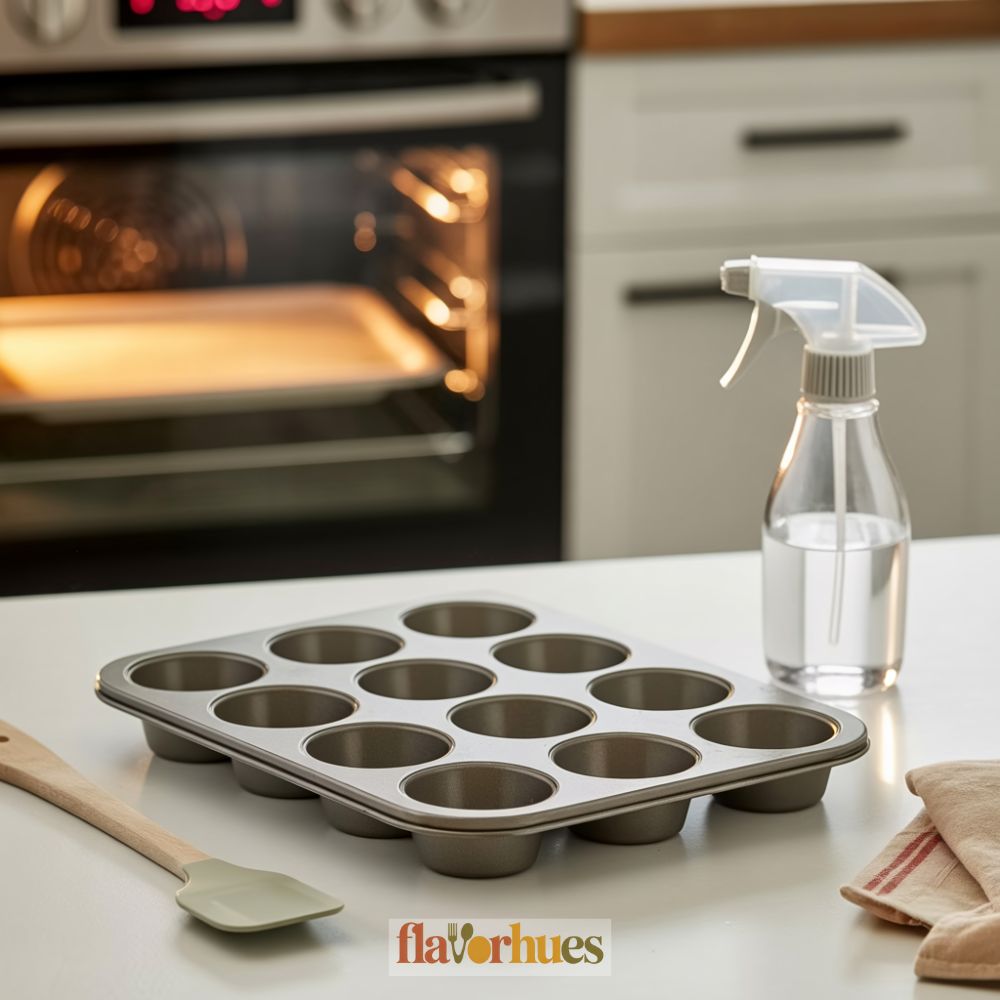
First, I preheat my oven to 350°F (175°C). I get out a mini muffin pan and spray it with non-stick cooking spray.
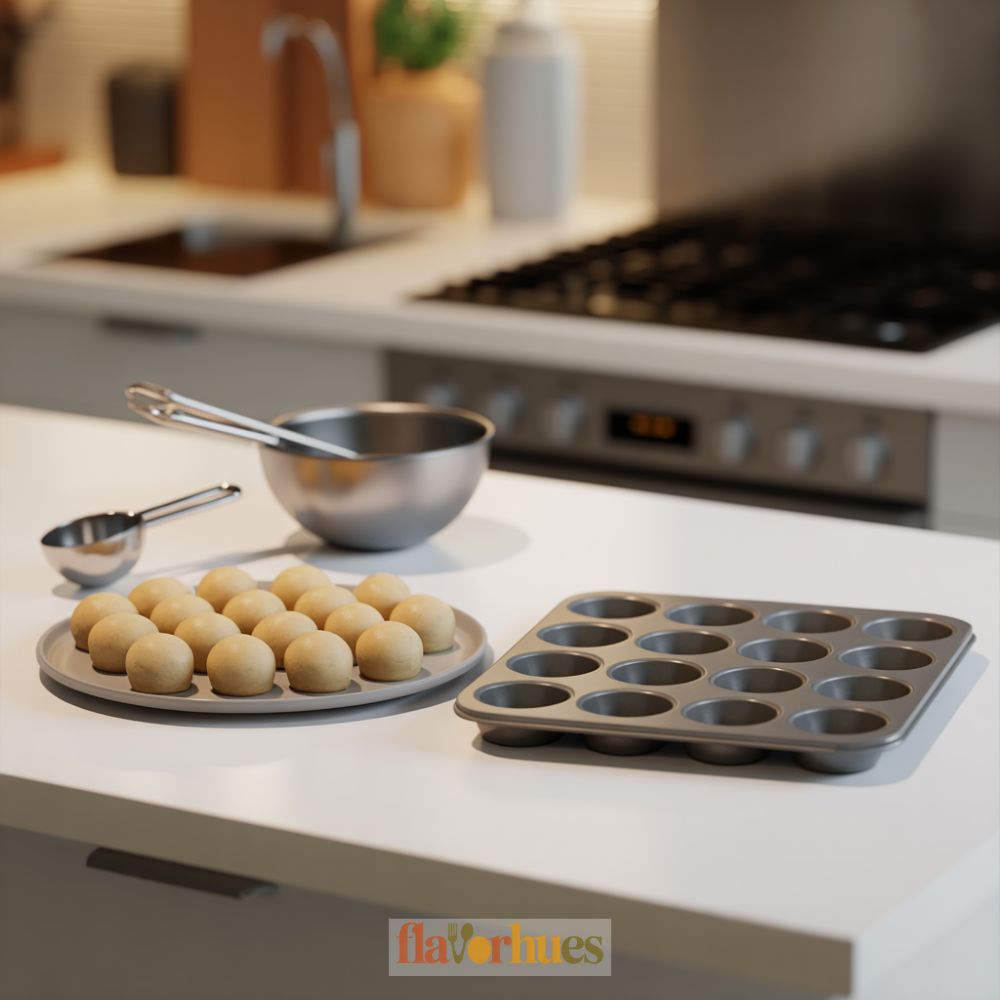
I roll my cookie dough into small balls, about 1-inch each. I place one ball in each muffin cup.
Using my thumb, I press the dough down in the center to make a little well. Next, I bake the cookies for 10-12 minutes.
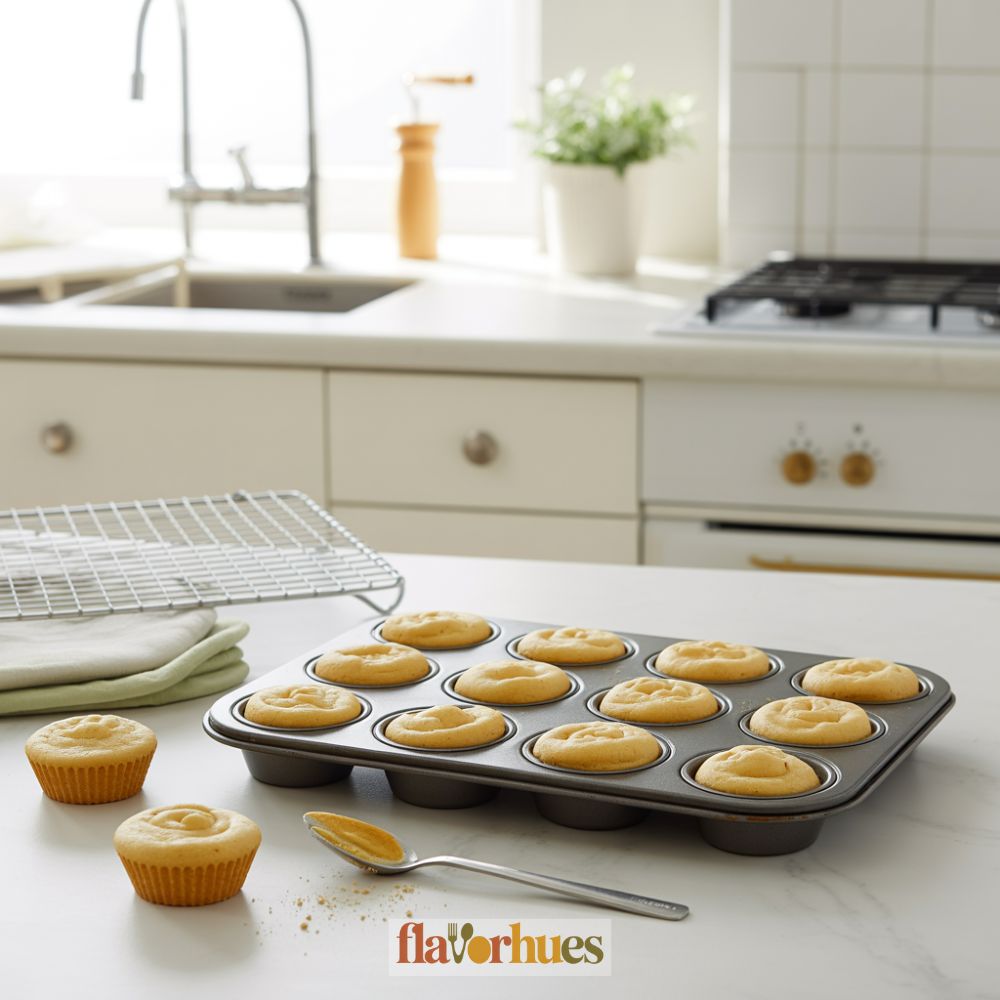
When they’re golden, I take them out and use a small spoon to gently press down the middle again. I let the cookie cups cool in the pan for 10 minutes before moving them to a wire rack.
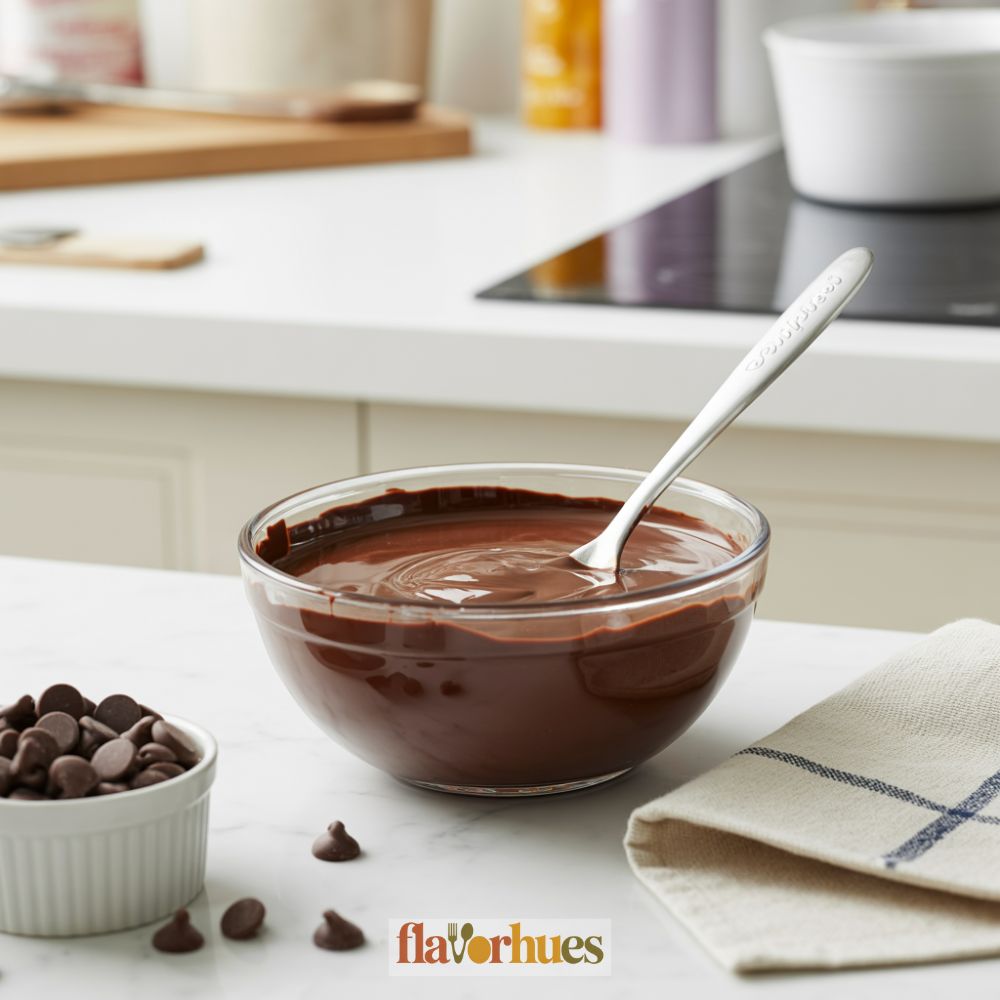
While the cups cool, I melt chocolate chips in the microwave in 30-second intervals, stirring each time. I spoon the melted chocolate into the wells.

For decoration, I add some sprinkles or small candy pieces. Sometimes I use licorice strings for a handle by poking each end into the sides of the cup.
I let the chocolate set before serving. My cauldron cookie cups are now ready to enjoy!

Equipment
Ingredients
Main Cookie Base:
- 16 oz sugar cookie dough
- Non-stick cooking spray
For the “Cauldron” Cups:
- 1 cup chocolate chips semi-sweet or milk chocolate
- 8 black licorice ropes
Colorful “Potion” Filling:
- 1 cup green candy melts or 1 cup white chocolate chips with green food coloring
- Sprinkles in fun bright colors
Decorations:
- Mini marshmallows
- Candy eyes optional
- Gold or silver candy pearls
Instructions
- Preheat the oven to 350°F (175°C). Spray a mini muffin tin with non-stick cooking spray.
- Roll cookie dough into 1-inch balls and place one in each muffin cup.
- Use your thumb or a small spoon to press a well into the center of each dough ball.
- Bake for 10–12 minutes or until lightly golden.
- Remove from the oven and gently press down the centers again with a spoon.
- Let the cookie cups cool in the tin for 10 minutes, then transfer to a wire rack to cool completely.
- In a microwave-safe bowl, melt the chocolate chips in 30-second intervals, stirring between each until smooth.
- Spoon the melted chocolate into the wells of each cookie cup.
- Melt the candy melts (or white chocolate + green coloring) and spoon or pipe a small amount over the chocolate layer.
- Decorate with sprinkles, mini marshmallows, candy eyes, and candy pearls.
- Cut licorice ropes and insert both ends into the cookie cups to form handles, mimicking a cauldron.
- Let set until firm before serving.
Substitute
Sometimes I run out of a key ingredient or need to swap something because of allergies or taste. Here are a few common substitutes I use for Cauldron Cookie Cups.
Cookie Base Substitutes
- Instead of sugar cookie dough, I sometimes use chocolate chip cookie dough for a different flavor.
- Brownie mix works well too if I want a richer taste.
- For a gluten-free option, I pick up gluten-free cookie dough from the store.
Candy “Bubble” Toppings
- Mini marshmallows make a good substitute if I don’t have candy-coated chocolates.
- Gummy bears or sprinkles can add bright colors instead.
- Chopped nuts also work, but only if there are no nut allergies.
Frosting Substitutes
| Original Frosting | Substitute |
|---|---|
| Regular buttercream | Store-bought icing |
| Cream cheese frosting | Whipped topping |
| Green icing | White icing, colored with gel or food coloring |
If I want to skip dairy, I try plant-based frostings or make my own with margarine. It’s easy to mix things up and make Cauldron Cookie Cups fit what I have in my pantry or what my friends can eat.
What Can Go Wrong?
Sometimes my cookie cups stick to the pan. To help prevent this, I spray it with nonstick spray or just go with cupcake liners—both work pretty well.
If I overbake the cookies, they turn dry or crumbly instead of soft. So, I keep a close eye on the baking time and check them often (paranoia pays off here).
Filling the cups before they’ve cooled? That’ll melt the candies or frosting in a heartbeat. I always let the cookies cool fully before adding anything on top, even if I’m impatient.
I’ve used too much dough before, and yep, they overflowed. Measuring out even amounts helps each cauldron look way neater, trust me.
Here’s a quick list of common mistakes:
- Using too much or too little dough
- Not greasing the pan
- Filling before cookies cool
- Baking for too long
| Problem | How I Avoid It |
|---|---|
| Sticking to the pan | Use nonstick spray/liners |
| Candy melts | Wait for cooling |
| Overflowing cups | Use less dough |
| Dry cookies | Watch bake time closely |