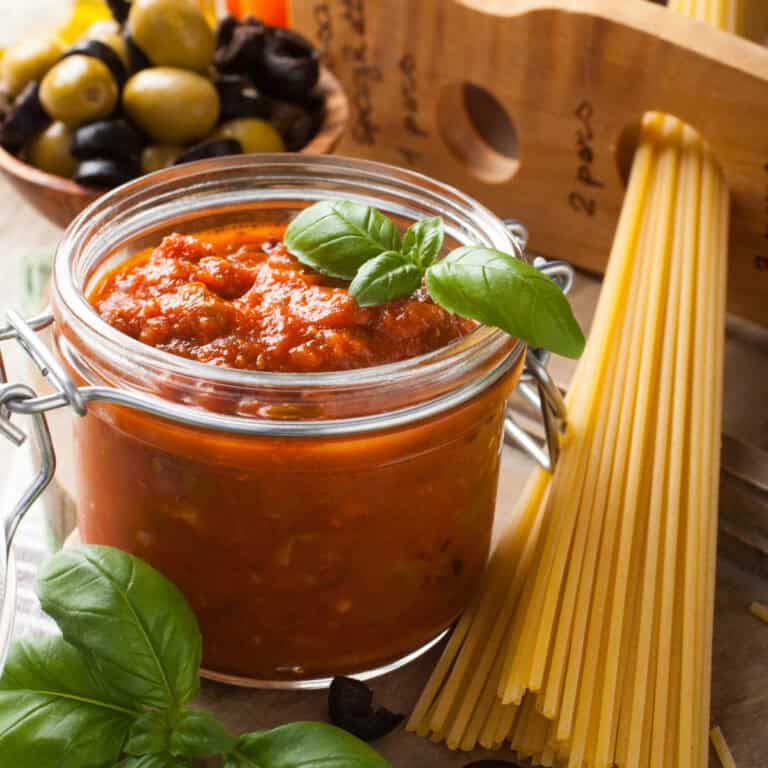
Olive Tapenade Recipe
Olive tapenade is this punchy Mediterranean spread made with olives, capers, garlic, and a splash of olive oil. It comes together fast—like, really fast. I love making it because honestly, it’s barely any work and packs a ton of flavor.
Perfect for parties, game night, or when you just want something salty to snack on. It’s one of those things I make on a whim when friends drop by.
This olive tapenade takes about 10 minutes, start to finish, and uses ingredients you probably already have hanging around. I make it a lot because it’s so flexible.
Serve it with crackers, toasted baguette, veggies, or just dollop it onto grilled chicken or fish. Heck, I’ve even tossed it with pasta.
Let me show you how I pull it together at home. I’ll talk about what gear you’ll need, which ingredients I like best, and how to blend everything into a tapenade that’s way better than any store-bought version.
Equipment
You really don’t need anything fancy for tapenade. Just a couple of basics from your kitchen drawer.
The main thing is a food processor. It does all the chopping and mixing for you. If you don’t have one, a blender will do, but you might have to scrape the sides more than you’d like.
Here’s what I grab before I start:
- Food processor or blender
- Measuring cups and spoons
- Cutting board
- Sharp knife (for pitting or rough chopping)
- Rubber spatula (to scrape out every last bit)
- A container with a lid (for leftovers)
I usually keep a little bowl nearby to toss my measured ingredients into. Makes the whole thing go smoother.
If your olives aren’t pitted, make sure your knife is sharp—it’ll make your life easier. And the spatula is a must if you hate wasting good tapenade stuck to the bowl.
That’s it. No need for any weird gadgets or expensive tools. Once you’re set up, the whole thing is done in under 10 minutes.
Ingredients
I keep my tapenade pretty straightforward. You probably have most of these already. This batch makes about a cup and a half—enough for a small crowd or a few days of snacking.
Here’s what you’ll need:
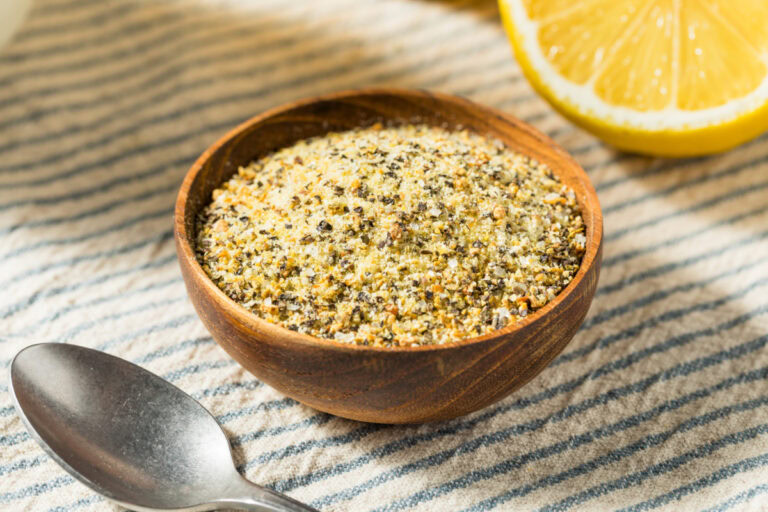
- 1 ½ cups pitted olives (I usually use a mix of kalamata and green olives)
- 2 tablespoons capers, drained and rinsed
- 2 garlic cloves, peeled
- 3 tablespoons extra virgin olive oil
- 1 tablespoon lemon juice
- 2 tablespoons fresh parsley, roughly chopped
- 1 tablespoon fresh basil, roughly chopped
Kalamata olives are my usual pick—they’re rich and kind of meaty. Sometimes I mix in castelvetrano or regular green olives if I have them. Just make sure they’re pitted, or you’ll have a bad time.
The olive oil makes everything blend together and gives it that fruity kick. The fresh herbs really brighten it up, so I wouldn’t skip those.
Want to play around? Throw in some sun-dried tomatoes for a little sweetness, or anchovies if you’re into that salty, briny thing. I usually stick to the basics, but you do you.
Seriously, double-check that all your olives are pitted before you start. Your food processor will thank you.
Instructions
Start by draining your olives and capers. I like to pat them dry with a paper towel—less water means a better texture.
Toss the olives, capers, and garlic into your food processor. If you’re using anchovies, add them now too. Pulse about 5 or 6 times until it’s all chopped but still chunky. Texture is key; you don’t want a paste.
Now add the lemon juice and the herbs. Pulse a couple more times to mix them in.
With the machine running on low, slowly pour in the olive oil through the top. This brings it all together into a spreadable mix, but keep it chunky. You can always pulse again if it’s too rough, but you can’t un-blend it.
Taste it. Want more brightness? Squeeze in a bit more lemon. Too thick? A splash more olive oil. Need pepper? Go for it.
Scrape down the sides with your spatula, then give it one last quick pulse.
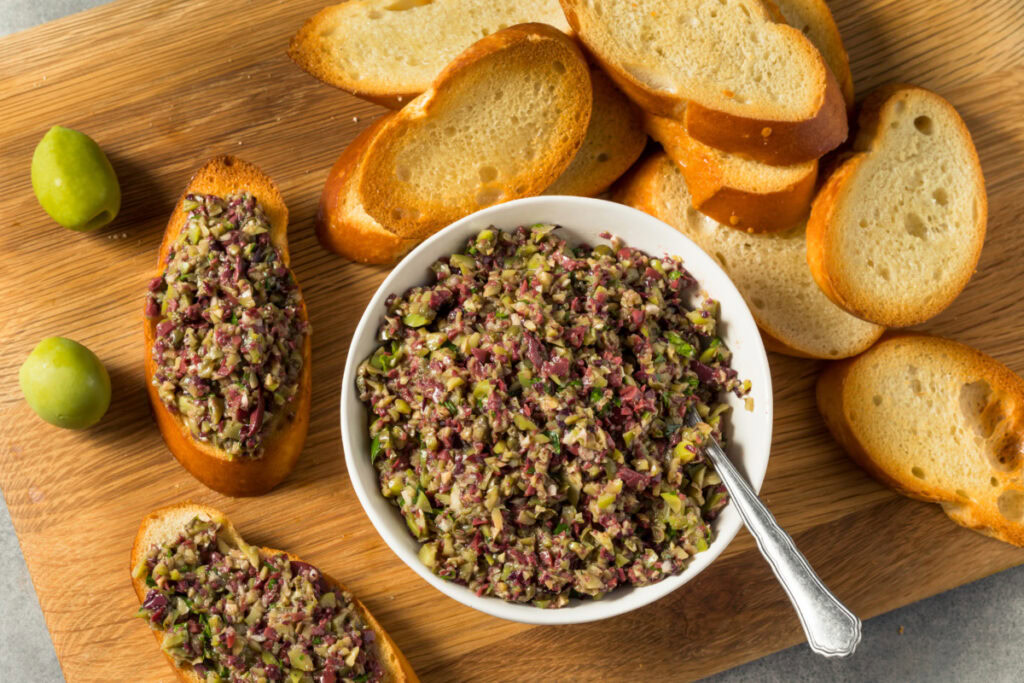
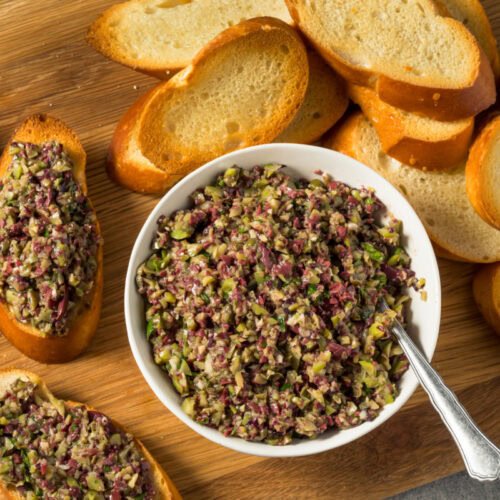
Scoop it into a bowl or jar—I like to drizzle a little extra olive oil over the top before serving. Looks nice and keeps it from drying out.
If you can, let it sit for 15 minutes before digging in. The flavors get friendlier the longer they hang out together. You can make it ahead and stash it in the fridge for about a week.
Notes
I always think this tapenade tastes better after a few hours in the fridge. Overnight? Even better. The flavors really come together.
Store it in an airtight container and keep it chilled. I usually press a piece of plastic wrap right on the surface before sealing the lid—it helps keep it from turning brown.
You can tweak the consistency by adding more or less olive oil. I tend to like mine thick and spreadable, but if you want to drizzle it, just loosen it up.
The type of olives you use makes a big difference. I’m a fan of Kalamata for their deep, fruity flavor, but go with what you like. Just skip the canned black olives—they’re kind of bland for this.
Serving ideas? I love it on toasted baguette slices or crackers. It’s also great spooned over grilled chicken or fish. Sometimes I toss it with hot pasta or spread it on sandwiches. Even pizza before baking—yep, it works.
If it comes out too salty, add a little more olive oil or a squeeze of lemon juice. You could even stir in a spoonful of cream cheese to mellow it out.
I wouldn’t freeze tapenade—the texture gets weird and the oil separates. Just make enough to eat within a week.
Feel free to riff on the base recipe. Add sun-dried tomatoes, roasted red peppers, or extra herbs if you’re feeling it. A pinch of red pepper flakes is nice if you want some heat.
Equipment
- Food processor or blender
- Measuring cups and spoons
- cutting board
- Chef’s knife
- rubber spatula
- Airtight container
Ingredients
- 1 1/2 cups pitted olives mix of kalamata and green olives
- 2 tbsp capers drained and rinsed
- 2 garlic cloves peeled
- 3 tbsp extra virgin olive oil plus more to drizzle (optional)
- 1 tbsp lemon juice plus more to taste
- 2 tbsp fresh parsley roughly chopped
- 1 tbsp fresh basil roughly chopped
- 1/4 tsp black pepper to taste (optional)
Instructions
- Drain the olives and capers. Pat dry with paper towels to avoid a watery tapenade.
- Add the olives, capers, and garlic to a food processor. Pulse 5–6 times until chopped but still chunky (not a paste).
- Add the lemon juice, parsley, and basil. Pulse 2–3 times to combine.
- With the machine running on low, slowly drizzle in the olive oil until the mixture becomes spreadable but remains chunky. Stop and scrape down the sides as needed.
- Taste and adjust: add more lemon for brightness, a bit more oil to loosen, or black pepper if desired. Pulse once more to finish.
- Transfer to a bowl or jar. For best flavor, let it rest for about 15 minutes before serving. Refrigerate leftovers in an airtight container for up to 7 days.
Notes
Nutrition
Tasting Notes
When I dig into this olive tapenade, the first thing that hits me is the bold, briny punch from the olives. The garlic and capers? They bring this sharp, tangy jolt that really wakes up your taste buds.
There’s a little earthiness from the herbs too, which just kind of ties everything together. The texture’s thick and spreadable—honestly, that makes it pretty great for serving at get-togethers.
I’m a big fan of piling it onto toasted crostini. The combo of crispy bread with the chunky, smooth spread is just so good.
If I’m feeling lazy or short on time, sturdy crackers do the trick. They don’t fall apart and let you scoop up plenty.
It’s also right at home on a cheese board, hanging out with soft cheeses like goat cheese or brie. That mix is always a hit.
Sometimes, if I want something a bit lighter, I’ll add it to a platter of fresh veggies. Bell peppers and cucumber slices are my go-to pairings—they just work.
The tapenade’s got this strong, unmistakable taste, but somehow it doesn’t drown out everything else. I catch a little hint of lemon in there, which brightens things up.
The olive oil gives it a silky finish that just kind of lingers in a good way. When I serve it with crackers or bread, I’ve learned that you really don’t need much—a spoonful packs a ton of flavor.