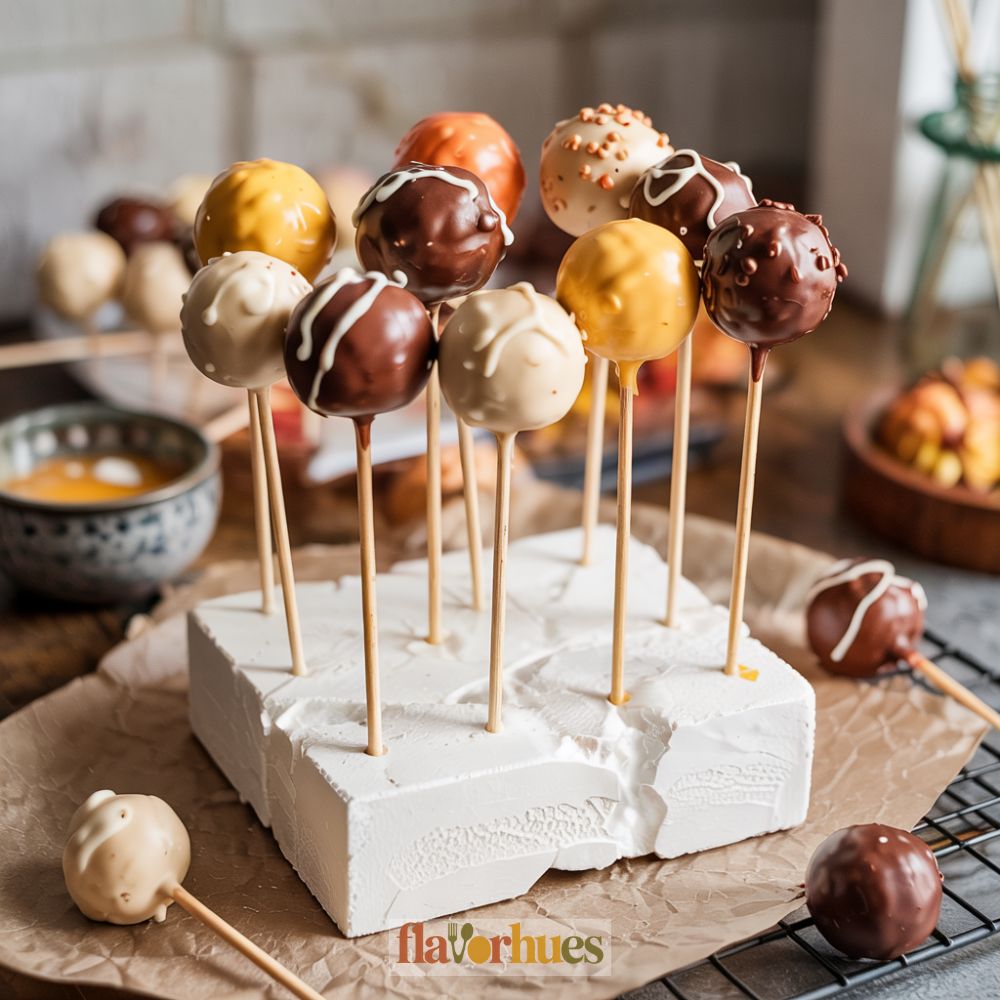
Autumn Leaf Decorated Cake Pops
When the weather cools down and leaves start turning, I just want to make treats that feel like fall. Autumn leaf decorated cake pops are a playful, easy way to bring those cozy vibes right into my kitchen.
The bright colors and cute little leaf shapes? They always get noticed at family get-togethers or parties.
Honestly, these cake pops aren’t just delicious—they’re a fun project to do with kids or friends, too. Decorating each pop with colorful leaves gives everyone a chance to get creative, and people love making their own designs.
This is a project that’s simple enough for beginners. The finished pops look like something special for any autumn event.

Why I Love Them
I love autumn leaf decorated cake pops because they’re festive and cheerful. Each pop reminds me of fall, with those oranges, reds, and yellows that just make the table pop.
Making these? I get to try out different leaves and colors every time. It’s like decorating a tiny piece of edible art.
It’s fun to see friends’ faces light up when I bring these out at parties. People always smile and can’t wait to try one.
They’re easy to eat, too—no plates needed, just grab the stick. Serving and cleanup? So much easier.
Making these cake pops brings back memories of raking leaves as a kid. There’s something comforting about those colors and shapes.
My kitchen smells sweet and cozy when I’m baking them. Even when the weather’s gloomy, these pops brighten things up.
Essential Ingredients and Tools
For autumn leaf decorated cake pops, I focus on picking the best cake, frosting, and a few handy decorating tools.
Bright food coloring and simple sculpting tools help each pop look festive and, well, kind of professional.
Choosing the Right Cake and Frosting
I like cakes with a close, moist crumb. Vanilla, chocolate, or pumpkin spice—honestly, they all work for cake pops.
The cake needs to be soft but not sticky, so the pops actually hold their shape.
For frosting, I skip anything too runny or greasy. Buttercream or cream cheese frosting blends smoothly with crumbled cake.
I mix until it feels like play dough—easy to roll, not mushy. Here’s my quick list for best results:
- Cake: homemade or store-bought
- Frosting: buttercream or cream cheese
- Mixing ratio: about 1 cup frosting to 3 cups cake crumbs
I chill the mixture before shaping so it stays firm.
Food Coloring and Edible Paints
To make the autumn leaf design pop, I pick food colors like red, orange, yellow, brown, and green. Gel-based food coloring is my go-to—it gives deep color without making the coating runny.
I use edible paints or colored dust for fine details on each leaf. Edible markers help outline veins or add tiny dots. If I want a metallic effect, I brush on edible gold or bronze dust.
Key colors for autumn leaves:
| Color | Use for |
|---|---|
| Red | Maples, oaks |
| Orange | General leaves |
| Yellow | Birches, accents |
| Brown | Stems, details |
| Green | Early autumn shades |
Tools for Shaping and Decorating
I keep my toolkit simple. For shaping, I use a small cookie scoop, clean hands, and sometimes a mini rolling pin.
Leaf-shaped cookie cutters help stamp out leaf patterns before dipping. Piping bags with small tips are great for drawing veins with chocolate or candy melts.
Toothpicks and paintbrushes let me fix little errors or add tiny details. I always use lollipop sticks that are sturdy but not too thick.
A foam block or cake pop stand helps the pops dry evenly. Parchment paper keeps my work area clean. That way, things stay fun and not too chaotic.
Step-by-Step Guide to Making Autumn Leaf Cake Pops
Here’s how I make autumn leaf cake pops that look festive and taste delicious. The process covers mixing, rolling, dipping, and crafting those cute leaf details.
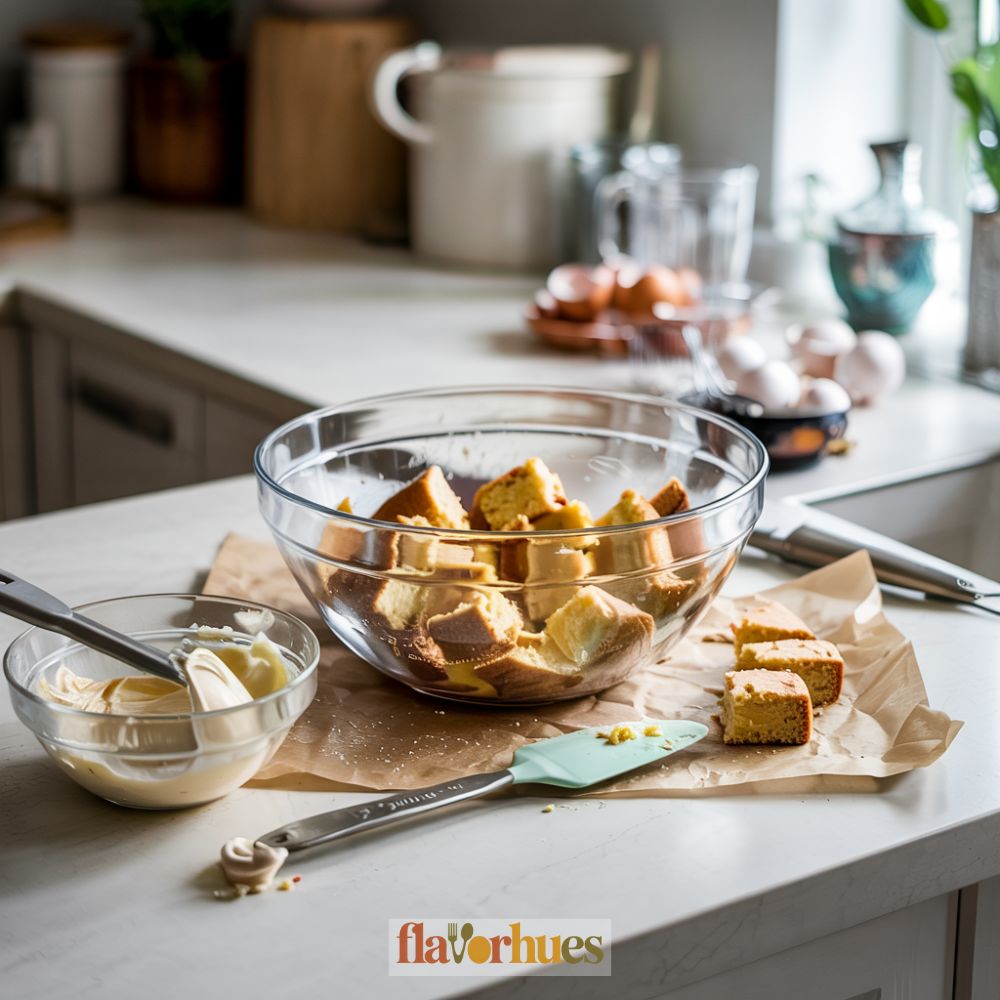
Preparing Cake Pop Mixture
First, I bake a simple cake—any flavor works. Once it’s cool, I break it up in a big bowl with my hands until it’s all crumbs.
Next, I add about 2-3 tablespoons of frosting. I just use enough so the crumbs stick together but aren’t too wet.
When I squeeze a bit in my hand, it should hold its shape but not feel sticky. I mix everything until smooth, then cover the bowl and chill it for 30 minutes. That makes shaping way easier.
Shaping and Coating Cake Pops
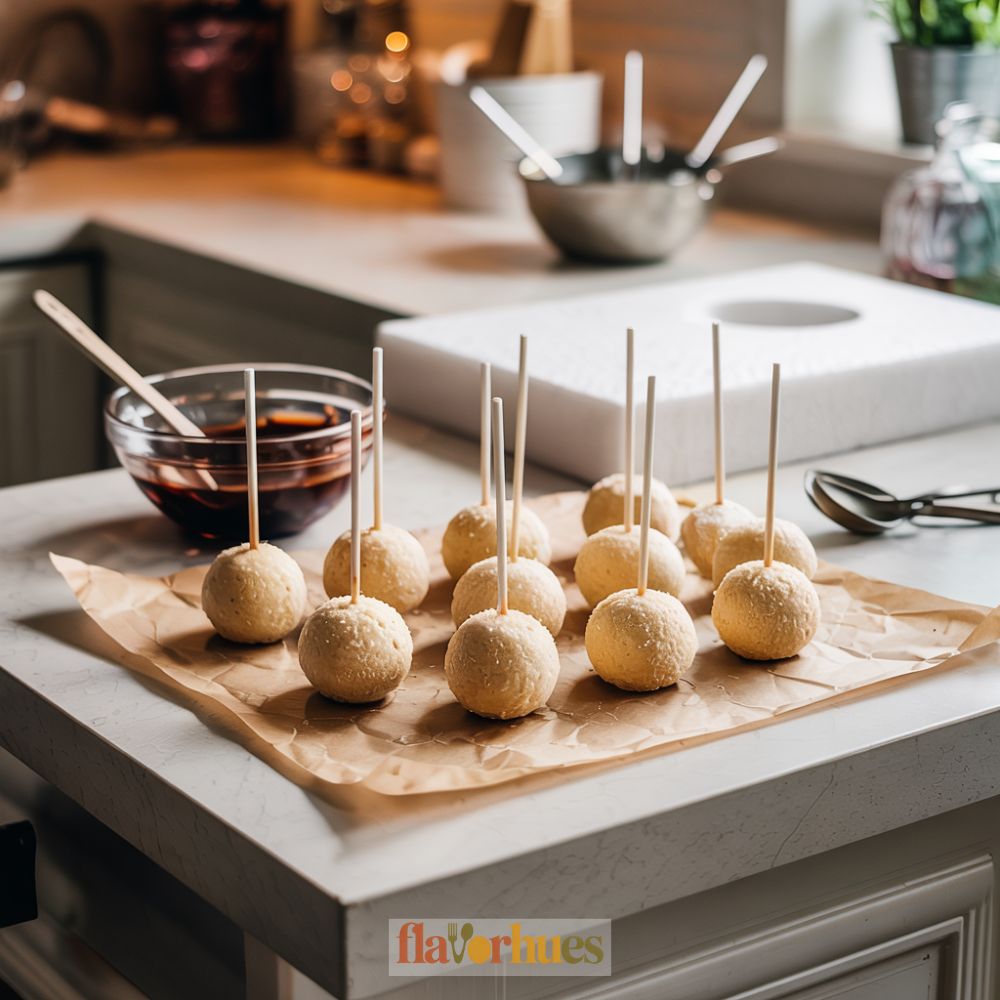
I take small amounts of the chilled mixture and roll each into a ball. I try to keep them all the same size—about 1 inch across—so they look neat.
Using lollipop sticks, I dip the end of each one into melted candy coating, then push it halfway into a cake ball. This helps the stick stay put.
Once all the cake balls are on sticks, I dip them into melted coating. I tap off extra coating gently so the pops are covered evenly.
I stick them upright in a foam block or cup to dry.
Making Leaf Decorations

For the leaves, I use multicolored candy melts, fondant, or colored chocolate. I roll fondant thin and cut out small leaves with mini cutters, or sometimes just shape them with a knife.
If I want more detail, I use a toothpick to add lines. For vibrant color, I might mix in a bit of food coloring or use food-safe paintbrushes to dab on yellow, red, and orange.
When the cake pops are dry, I stick the leaf decorations on with a dab of melted chocolate. I let them cool a few more minutes before serving.
Creative Techniques for Autumn Leaf Designs
I like trying different techniques to make my autumn leaf cake pops look beautiful and realistic. What works best for me? Hand-painting patterns, shaping leaves with fondant, and mixing colors to mimic what I see outside in the fall.
Hand-Painted Fall Leaf Patterns
Sometimes I want a custom look, so I use food-safe brushes and edible gel colors to paint leaf shapes right onto the cake pops.
I start with a simple outline, using a fine tip brush and a little brown or gold edible paint. Then I fill in the leaf with fall colors—orange, deep red, or yellow.
Blending these colors together on the pop gives a more natural look. I use thin layers to build up color so it looks like real leaves.
If I’m feeling extra, I add veins or little speckles for detail. Here are a few tips I’ve picked up:
- Use new brushes just for food.
- Start with lighter colors, then add darker details.
- Let each layer dry before adding the next.
Using Fondant and Molds
I like fondant because it’s so easy to shape. To make leaves, I roll out colored fondant to about 1/8 inch thick and use a leaf-shaped cutter for even shapes.
If I want more detail, I press the fondant into a silicone leaf mold to get realistic veins and texture. I let the fondant pieces dry for a few minutes so they’re easier to handle.
Then I attach the leaves to my cake pops with a bit of edible glue or jam. Sometimes I brush on edible gold or shimmer to highlight the edges—just makes each leaf stand out.
Blending Colors for Realistic Leaves
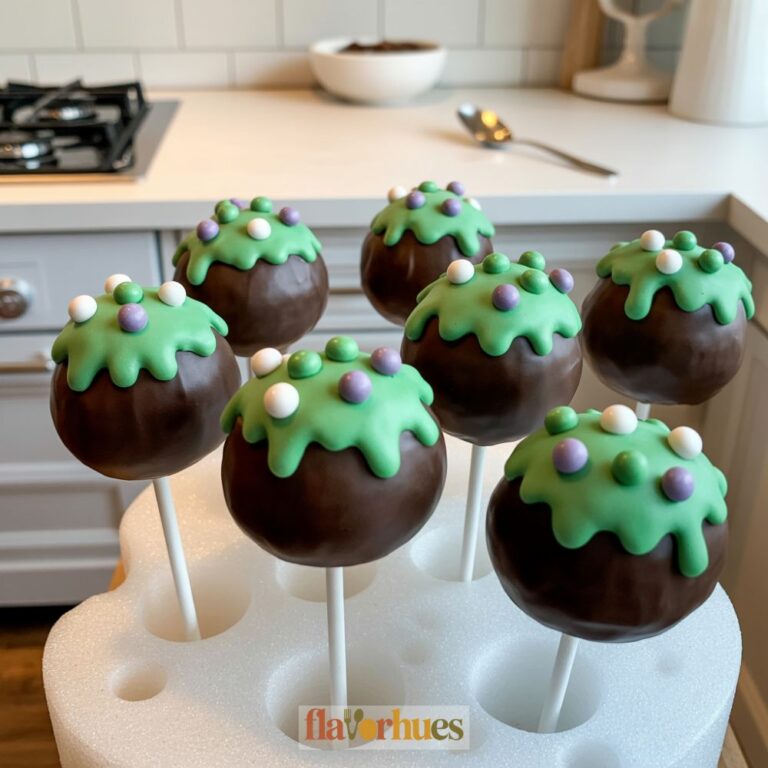
Creating lifelike colors is probably my favorite part. I use different shades of candy melts or colored white chocolate.
First, I melt several colors—red, orange, yellow, green—each in its own bowl. I dip each cake pop in one main color, and while the coating’s still wet, I drizzle or dot on other colors.
With a toothpick or skewer, I gently swirl the colors together. That marbling makes every leaf unique and looks just like the mix of shades outside.
Here’s a simple blending guide:
| Main Color | Accent Colors | Best For |
|---|---|---|
| Orange | Red, Yellow | Maple Leaves |
| Green | Yellow, Brown | Oak Leaves |
| Red | Orange, Gold | Sweet Gum/Maple Leaves |
I let the pops dry on a stand so the colors set evenly. Mixing and matching is honestly the best part—lets me have fun and get creative all at once.
Fun Ways to Personalize Autumn Leaf Cake Pops

I love mixing things up when I decorate autumn leaf cake pops. Adding a personal touch makes each one feel special.
One way I like to get creative is by using different colored candy melts for the leaves. I mix oranges, yellows, reds, and even a little green. Sometimes I swirl two colors together for a marbled effect.
Here are some fun ideas I use:
- Edible glitter: Adds a gentle shimmer that catches the light.
- Names or initials: I write them on the leaves with edible markers or colored icing.
- Sprinkles: Sometimes I sprinkle gold or chocolate bits for extra sparkle.
- Leaf shapes: I try different cutters—oak, maple, whatever I’m in the mood for.
I also like using a mix of white chocolate drizzle or colored sprinkles to decorate the sticks. Makes them look festive and ties in the whole autumn theme.
Here’s a quick table of some options I use:
| Decoration Idea | How I Use It |
|---|---|
| Edible Markers | Write messages or names |
| Leaf Sprinkles | Add texture on top |
| Colored Drizzle | Make the sticks match |
| Mini Candies | Add a pop of color |
I make each cake pop look unique. That way, everyone feels like the treat was made just for them.
Equipment
Ingredients
For Cake Pops:
- 1 Piece 9×13-inch cake any flavor (vanilla, chocolate, or pumpkin spice)
- 1 cup frosting buttercream or cream cheese
- 12 oz 340 g chocolate coating or candy melts(assorted fall colors)
- 24 Pieces lollipop sticks
For Decorations:
- 4 oz 115 g fondant (divided into red, orange, yellow, brown, green)
- ½ tsp edible gel food coloring assorted fall colors, optional
- 1 tsp edible gold or bronze dust optional
- 1 tsp edible glue or melted chocolate for attaching decorations
- 1 tsp edible glitter optional
- 2 tbsp colored sprinkles optional
- 2 edible markers brown, black, or gold
Instructions
Prepare the Cake Mixture:
- Crumble the cooled cake into a large bowl.
- Add frosting gradually and mix until the texture is like play dough.
- Chill the mixture for 30 minutes.
- Form the Cake Pops:
- Roll the chilled mixture into 1-inch balls.
- Dip the end of each stick into melted coating, then insert into each ball.
- Let them chill briefly to secure the sticks.
Coat the Cake Pops:
- Dip each cake pop in melted candy coating.
- Tap off excess and place upright in a foam block to dry.
- Create Leaf Decorations:
- Roll out fondant or use candy melts to make leaf shapes using cutters or molds.
- Use edible paint or food coloring for color and detail.
- Optional: use a toothpick to draw veins or patterns.
Decorate the Cake Pops:
- Once pops are dry, attach leaves using melted chocolate or edible glue.
- Add extra touches like edible glitter, drizzle, or initials with markers.
- Serve or Store:
- Display upright using a decorated foam block or jars filled with candy.
- Store in an airtight container in the fridge or freeze for later.
What can go wrong?
Sometimes, the cake pops just crack or fall apart. That’s usually because I’ve used too much frosting—or maybe the cake mix just ended up a bit too dry.
The candy coating? It can be a pain. If it gets too thick, dipping the pops is almost impossible. But if it’s too thin, it drips everywhere and barely covers anything.
I run into trouble with the autumn leaf decorations, too. When the coating dries too quickly, sprinkles or fondant leaves just won’t stick—super frustrating.
Here are some other issues I’ve run into:
- Sticks falling out: If I don’t chill the pops long enough, those sticks just won’t stay put.
- Sweaty coating: If I bring cold cake pops into a warm room too fast, condensation forms on the coating. Not great.
- Colors bleeding: Decorations that are too wet or smudged will make the colors run together. It’s not pretty.
| Problem | Possible Cause | Quick Fix |
|---|---|---|
| Cracks | Cake too cold | Let pops warm a bit |
| Decorations sliding | Wet coating | Let set slightly first |
| Pops won’t hold shape | Too much frosting | Use less next time |
Storage and Make-Ahead Tips
I keep my autumn leaf decorated cake pops fresh by storing them in an airtight container. Usually, I’ll pop the container in the fridge if I’m planning to eat them within a week.
If I want to make these ahead of time, I freeze them. But before freezing, I always let the candy coating harden up completely.
Here’s what I do for freezing and thawing:
| Step | What I Do |
|---|---|
| Freeze | Place pops in a single layer, separate layers with wax paper |
| Storage | Use a zip-top bag or sealed container |
| Thaw | Move to fridge for a few hours before serving |
I try not to thaw at room temperature, or condensation can make the colors run. It’s happened before and it’s a mess.
For best taste, I’ll decorate just before serving if I froze the pops plain. If I’ve already decorated them, the autumn leaf designs usually stay pretty well, but I handle them gently just in case.
One last thing: keep cake pops away from strong-smelling foods. Otherwise, they soak up weird flavors, and nobody wants that.
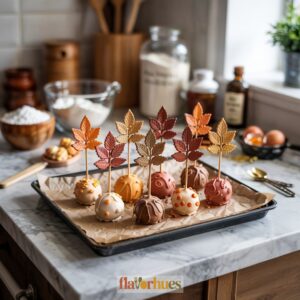
Serving Suggestions and Presentation
When I serve autumn leaf decorated cake pops, I like to keep things simple but still make them pop.
A foam block wrapped in burlap or some cozy fall fabric works well for standing the pops upright—nothing too fussy.
Sometimes, I’ll grab a few mason jars or glass cups and fill them with candy corn or bright sprinkles. It keeps the cake pops steady and, honestly, the splash of color is just fun.
Some of my favorite presentation ideas:
- Arrange cake pops in a circle on a big platter. It looks festive without much effort.
- Pop each one into a mini cupcake liner so people can grab them easily.
- Use a wooden tray and scatter real autumn leaves around—nature does half the work.
| Occasion | Serving Tip |
|---|---|
| Birthday Party | Place pops in a themed mug |
| Thanksgiving | Use gold or orange plates |
| School Event | Wrap pops in clear treat bags |
To make each pop feel a bit more personal, I’ll tie a small ribbon on the stick—autumn colors like orange, red, or yellow look best, in my opinion. Sometimes, a little chalkboard sign with the flavors scribbled on adds a homey touch.