Halloween Dirt Cups Recipe
Halloween dirt cups are honestly one of my favorite party treats to whip up every October. These Oreo dirt cups are quick and easy to prepare, and they’re perfect for anyone who wants a fun dessert with a spooky twist.
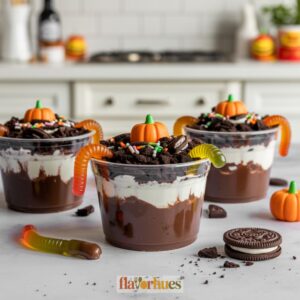
I love watching people dig in and discover the layers of creamy pudding, chocolate cookies, and those cute gummy worms wriggling on top. It’s a little bit of edible mischief, and that’s half the fun.
I always use chocolate pudding, crushed Oreos, and a few Halloween candies to decorate each cup. The best part? This Halloween dirt cups recipe doesn’t need any baking at all.
Kids and adults both enjoy making these spooky Halloween dirt cups because they’re simple and delicious. There’s just something about smashing cookies and sneaking a gummy worm or two that gets everyone grinning.

Why I Love Them
I love making Halloween dirt cups because they’re a fun recipe that everyone instantly recognizes. Those layers of chocolate pudding, crushed cookies, and gummy worms pretty much scream “spooky treat.”
These dessert cups use simple ingredients you can find at any store. I honestly don’t have to spend much time in the kitchen, which is a huge win when I’m scrambling to get ready for a Halloween party.
- Kid-friendly dessert: Kids love digging into them and adding their own toppings.
- Family-friendly recipe: My whole family helps out, from crushing cookies to placing the worms and candies.
- Easy dessert: There’s no baking or fancy steps, so anyone can make them.
I also enjoy how these dirt cups fit right in with other Halloween treats. They make the dessert table look extra festive, thanks to all those colorful toppings and “dirt” layers.
Equipment
To make Halloween dirt cups, I need only a few basic kitchen tools. Most of these are things I already have at home—nothing fancy required.
Here’s what I use:
- Mixing bowl: For mixing the pudding.
- Whisk or spoon: To stir up the pudding mix and milk.
- Measuring cups: These help me measure the milk and pudding mix.
- Plastic cups: I like using clear ones so you can see the layers.
- Plastic bags/rolling pin: For crushing the cookies, I toss them in a bag and smash them with a rolling pin (sometimes my hands if I’m impatient).
- Spoon or spatula: To scoop the layers into the cups.
Optional items:
- Decorative Halloween picks
- Plastic worms or themed candy
I always make sure everything’s clean before I get started. It’s just one less thing to worry about when you’re making a mess with “dirt.”
Ingredients
When I make Halloween dirt cups, I start with a few simple things. The main items are chocolate pudding, Oreo cookies, and gummy worms.
Here’s a quick list of what I usually gather:
- 1 package instant chocolate pudding mix
- 2 cups cold milk
- 1 package Oreo cookies (about 20-25 cookies), crushed
- 1 container Cool Whip or other whipped topping
- 10-12 gummy worms
- 6-8 Milano cookies or other “tombstone” cookies
- Halloween candy: candy corn, candy pumpkins, candy eyeballs
- Halloween sprinkles (optional)
I sometimes use cream cheese (softened) and a little salted butter with about 1/2 cup of powdered sugar for a creamier pudding layer. It makes the dirt cups even richer—totally worth it if you’re feeling extra.
For more fun, I add chocolate chips, crushed chocolate cookies, or other Halloween candy. Oreos are classic, but honestly, any crushed cookies will work in a pinch.
I like picking a mix of candy for decorating the tops. Candy pumpkins, sprinkles, and candy corn always look great and taste good, too.
Instructions
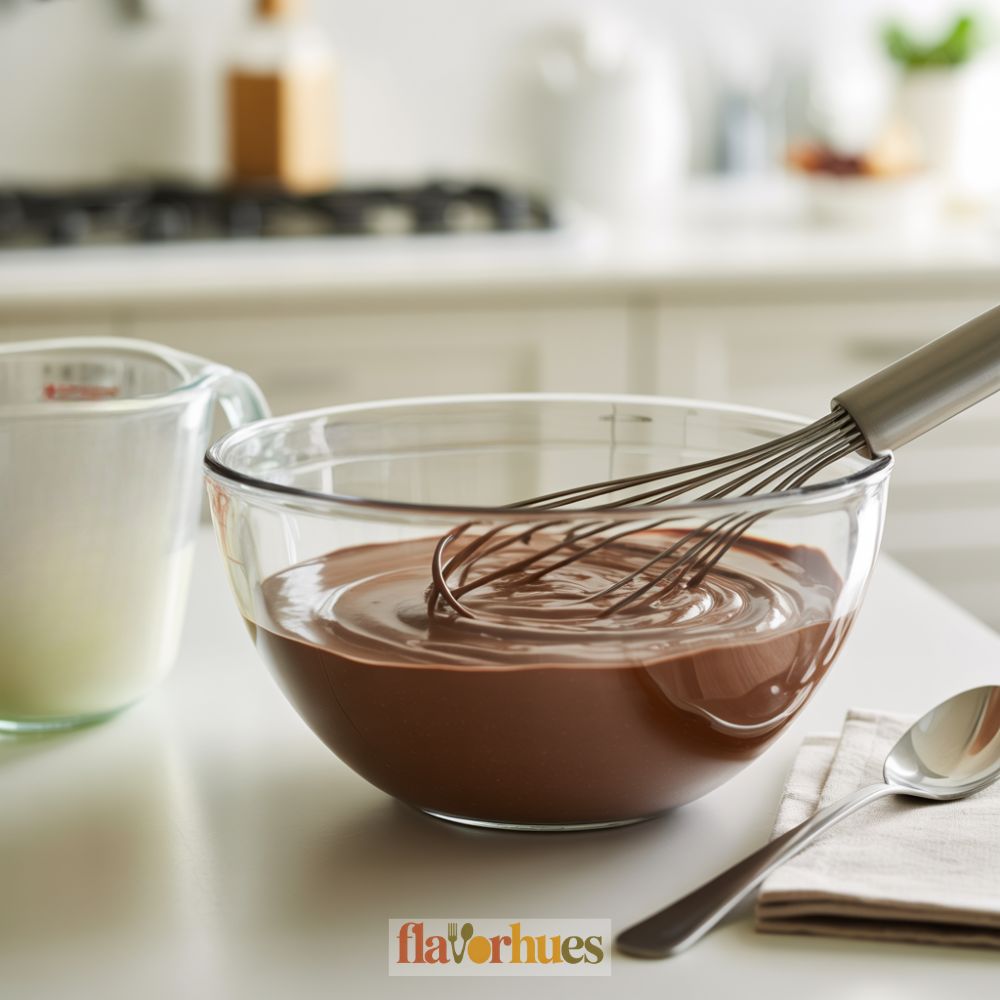
1. Make the pudding:
I start by preparing my favorite pudding recipe. Usually, I use instant chocolate pudding to keep things easy. I mix it with cold milk and whisk until it gets thick.
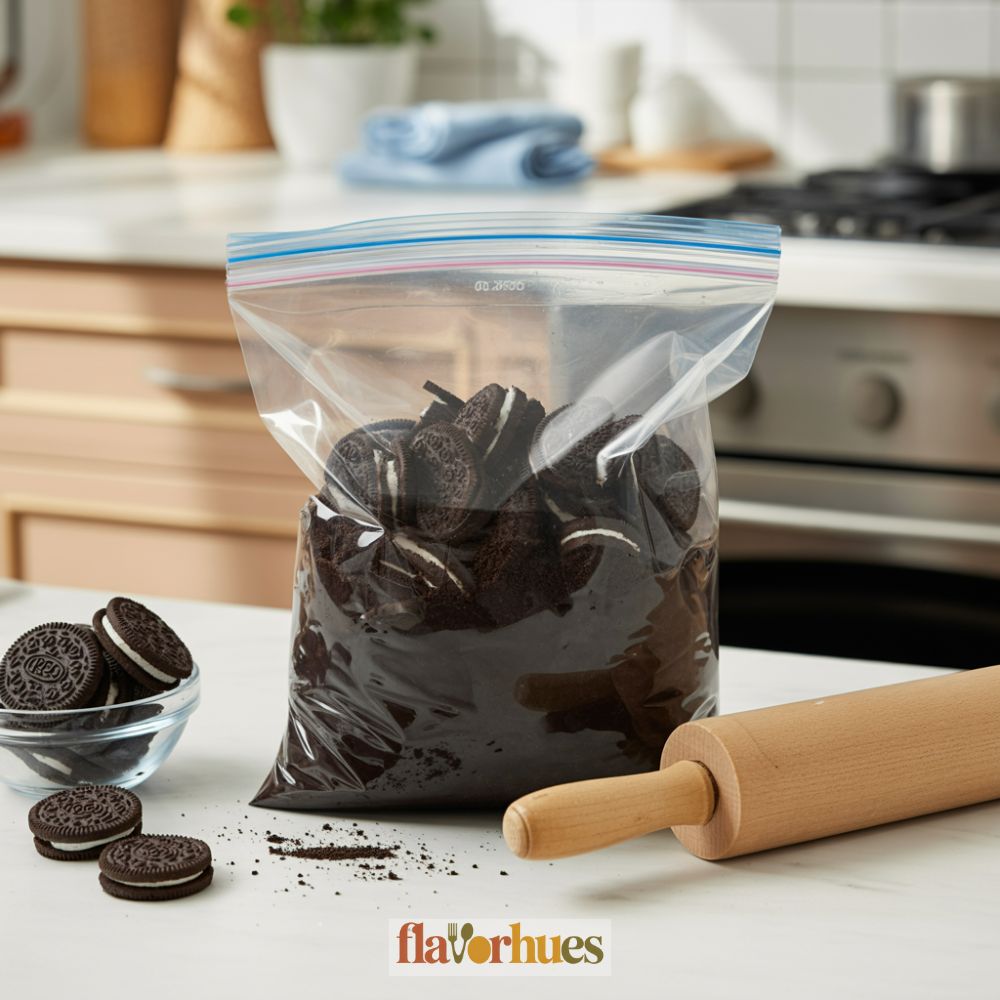
2. Crush the cookies:
For the Oreo dirt, I place cookies in a sealed bag and crush them with a rolling pin. I make sure the pieces are fine and look like soil.
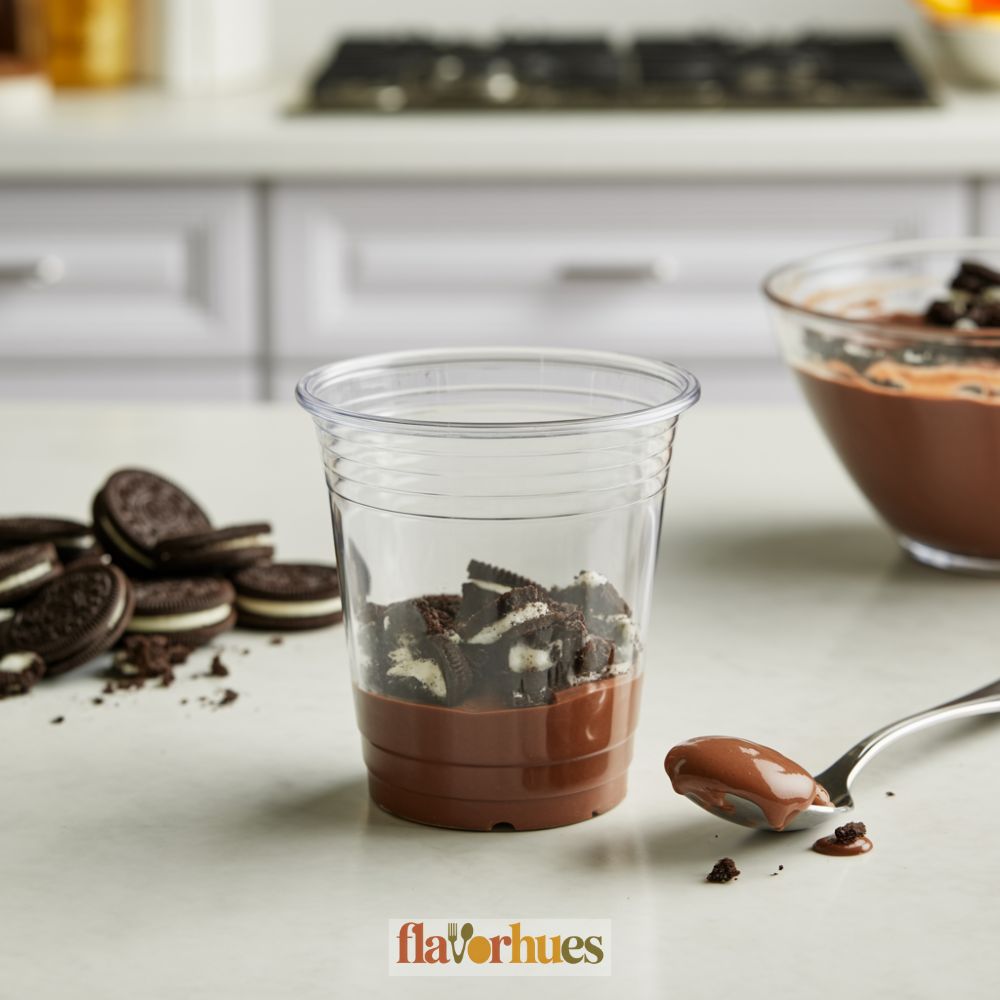
3. Layer the dessert cups:
I grab my small clear pudding cups or jars. First, I spoon some pudding into the bottom. Then I add a layer of crushed cookies.
4. Repeat layers:
I add another layer of pudding, followed by more cookie crumbs. I like to finish with a thick layer of cookie “dirt” on top.
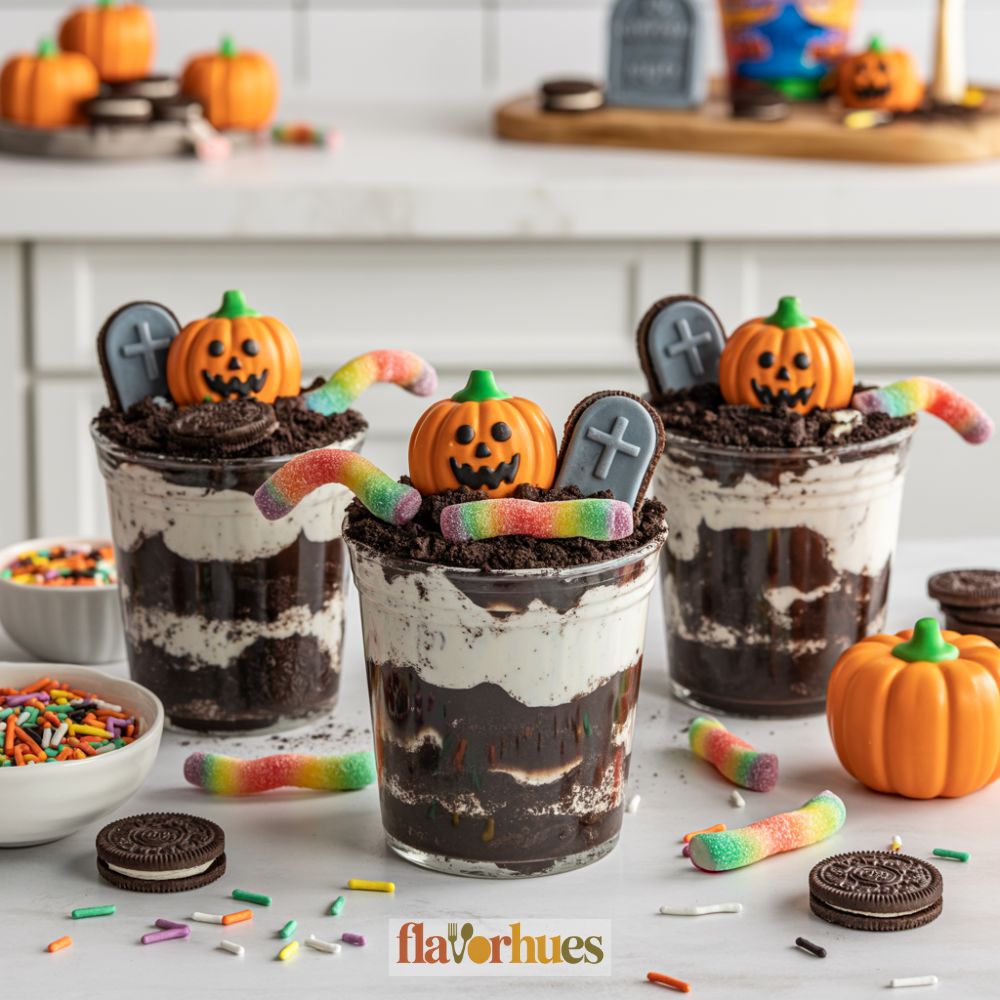
5. Add decorations:
This is my favorite step. I use candy pumpkins, gummy worms, or small cookies shaped like gravestones to make them look like graveyard dirt cups.
6. Chill time:
I put the assembled cups in the fridge for at least 30 minutes. This helps the layers set.
Equipment
- Plastic cups (clear, for serving)
- Plastic bags
- Spoon or spatula
- Optional: Decorative Halloween picks or plastic worms
Ingredients
- 3.9 oz Instant chocolate pudding mix
- 2 cups Milk (cold)
- 25 cookies Oreo cookies Crushed
- 8 oz Whipped topping Cool Whip
- 12 gummy worms
- 8 Milano cookies or other “tombstone” cookies
- ¼ cup Halloween candy e.g. candy corn, candy pumpkins, candy eyeballs
- 1 tablespoon Halloween sprinkles optional
Optional frosting for writing “RIP” on cookies
Instructions
- In a mixing bowl, whisk together the instant chocolate pudding mix and cold milk. Stir until thickened, about 2 minutes. Set aside to chill slightly.
- Place Oreo cookies in a plastic bag and crush them with a rolling pin until they resemble dirt-like crumbs.
- In each plastic cup, spoon a layer of chocolate pudding into the bottom. Add a layer of crushed Oreos on top.
- Add another layer of pudding, followed by another layer of crushed cookies. Finish with a thicker layer of cookie “dirt” on top.
- Stick a gummy worm into the top of each cup. Press in Milano cookies (as tombstones), and decorate with Halloween candies and sprinkles. Use frosting to write “RIP” on tombstone cookies if desired.
- Place the assembled dirt cups in the refrigerator for at least 30 minutes before serving. This helps the layers set and flavors meld together.
Nutrition
Substitute
If I run out of chocolate pudding, I like to use vanilla pudding instead. It makes the dirt look lighter, but it still tastes sweet. Sometimes I’ll add a drop of orange food coloring to make it look like a pumpkin patch.
When I don’t have chocolate sandwich cookies, I crush graham crackers or use chocolate cereal as a substitute. It gives a crunchy topping that still looks good.
For decorations, if I don’t have gummy worms, I use mini marshmallows or small candy pumpkins. Drawing little faces on marshmallows with an edible marker is surprisingly fun (and a little silly).
If I want some color, but don’t have candy melts, I use melted chocolate chips. Sometimes, I use black candy melts to make spooky shapes or drizzle spooky lines over the top.
Here’s a quick table with swaps:
| Original Ingredient | Substitute |
|---|---|
| Chocolate pudding | Vanilla pudding |
| Sandwich cookies | Graham crackers |
| Gummy worms | Candy pumpkins, marshmallows |
| Candy melts | Chocolate chips, black candy melts |
Trying new ingredients helps me make Halloween dirt cups even if I don’t have everything on hand. Sometimes, the best treats come from improvising a little.
What Can Go Wrong?
Sometimes my Halloween dirt cups just don’t work out the way I hope. There are a few reasons this happens.
Oreos Too Soggy
If I pour pudding in before it’s cooled, those chocolate-covered Oreos on top? Yeah, they get soggy fast. I try to remember to let the pudding chill first, though sometimes I get impatient.
Messy Layers
If I rush, the layers end up all swirled together. Taking my time with each spoonful helps keep things looking festive.
Decorations Sink or Get Lost
Decorating can be a little nerve-wracking. If the pudding’s still soft, things like Halloween bark or Halloween strawberries just disappear beneath the surface. I wait until the cups are nice and firm before I start decorating.
Overpowering Flavors
It’s tempting to pile on every Halloween sweet in the house, but honestly, too much candy makes these dirt cups a sugar overload. I stick with just enough toppings for a pop of color and crunch.
Common Mistakes Table
| Mistake | How I Fix It |
|---|---|
| Soggy Oreos | Chill pudding before assembly |
| Messy layers | Use a spoon, go slow |
| Sinking decorations | Chill pudding, decorate last |
| Too sweet | Limit extra candy toppings |