Chocolate Energy Bites Recipe
When I’m craving something quick that actually tastes good and gives me a bit of a pick-me-up, I go for chocolate energy bites.
These chocolate energy balls are super easy, packed with good-for-you stuff, and honestly, they keep me going on those extra hectic days.
I love that I can just grab a couple on my way out the door—work, school, gym, you name it. They’re pretty much my go-to for a portable snack.
My favorite part? No baking. I’m not about to turn on the oven just for a snack, especially when it’s hot outside.
The no-bake thing is a lifesaver, and I can always tweak the ingredients depending on what I’m feeling or what’s in the pantry.
I try to keep a stash in the fridge, so when I want something chocolatey but not loaded with sugar, I’ve got options.

Why I Love Them
Honestly, these bites remind me of cookie dough, but I don’t have to feel weird about eating them. When I need a snack fast, they’re what I reach for.
The energy boost is real, and there’s protein, fiber, and healthy fats packed in there—so I’m not hungry again ten minutes later. The chocolate flavor makes them feel a bit indulgent, but I know I’m not just eating junk.
I can toss a few in my bag for school or work, and there’s no mess.
If I’m craving something sweet, I’ll grab one instead of a candy bar. It’s a nice way to stay on track without feeling like I’m missing out.
Equipment
I keep it simple with these—nothing fancy required. Most of the stuff I use is probably in your kitchen already.
Here’s what I pull out:
- Mixing bowl – Medium or large works.
- Wooden spoon or spatula – Just for mixing.
- Measuring cups and spoons – So I don’t totally mess up the ratios.
- Baking sheet or tray – For setting the bites before they chill.
- Parchment paper – Keeps things from sticking.
If the mixture’s sticking to my hands, I’ll rub a tiny bit of oil on them before rolling. Sometimes I use a food processor if I want everything really smooth, but honestly, I usually just mix by hand.
Cleanup’s easy, and if you’ve got a melon baller or cookie scoop, it helps make the bites look more uniform. But, I don’t always bother.
Ingredients
I usually start with a few basics when I make these. Rolled oats or quick oats are my go-to base—they give the bites that chewy thing I like.
Here’s what I toss in most of the time:
- 1 cup rolled oats (or gluten free rolled oats)
- ½ cup creamy peanut butter or almond butter
- ⅓ cup honey or maple syrup
- ¼ cup unsweetened cocoa powder or raw cacao powder
- ½ teaspoon vanilla extract
- ¼ cup mini chocolate chips or dark chocolate chips
Sometimes I want to mix it up or sneak in a bit more nutrition, so I’ll add:
- 2 tablespoons ground flax seeds or flaxseed
- 2 tablespoons chia seeds or hemp seeds
- ¼ cup dried cranberries or other dried fruit
- ¼ cup shredded coconut or unsweetened coconut
- 2 tablespoons wheat germ
- 2 tablespoons chocolate protein powder
Honestly, I just use whatever’s in the pantry. It keeps things interesting, and I don’t have to run out to the store every time.
Instructions
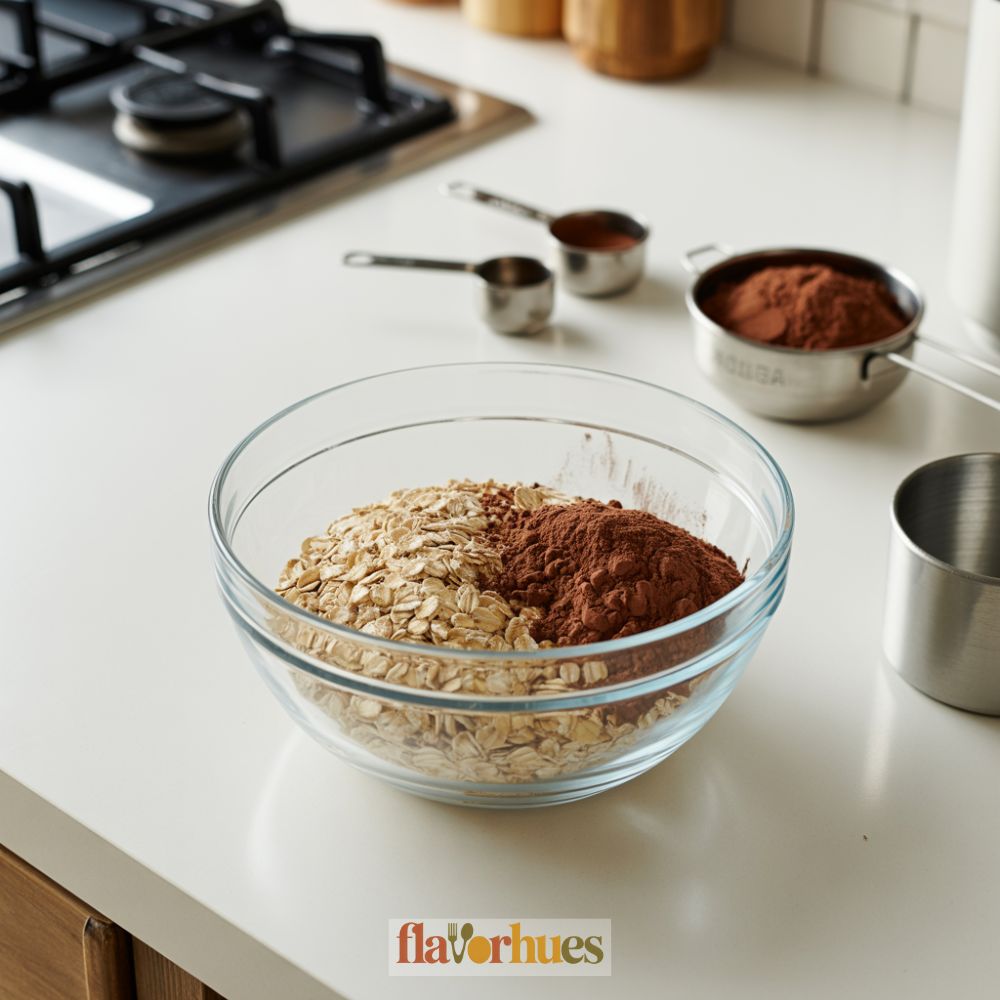
First thing, I get all my ingredients out and measured. Oats, cocoa powder, nut butter, honey, chocolate chips—just makes things easier.
I dump the dry stuff (oats, cocoa) into a big bowl, then add in the wet stuff like nut butter and honey. Mixing it all together with a big spoon.
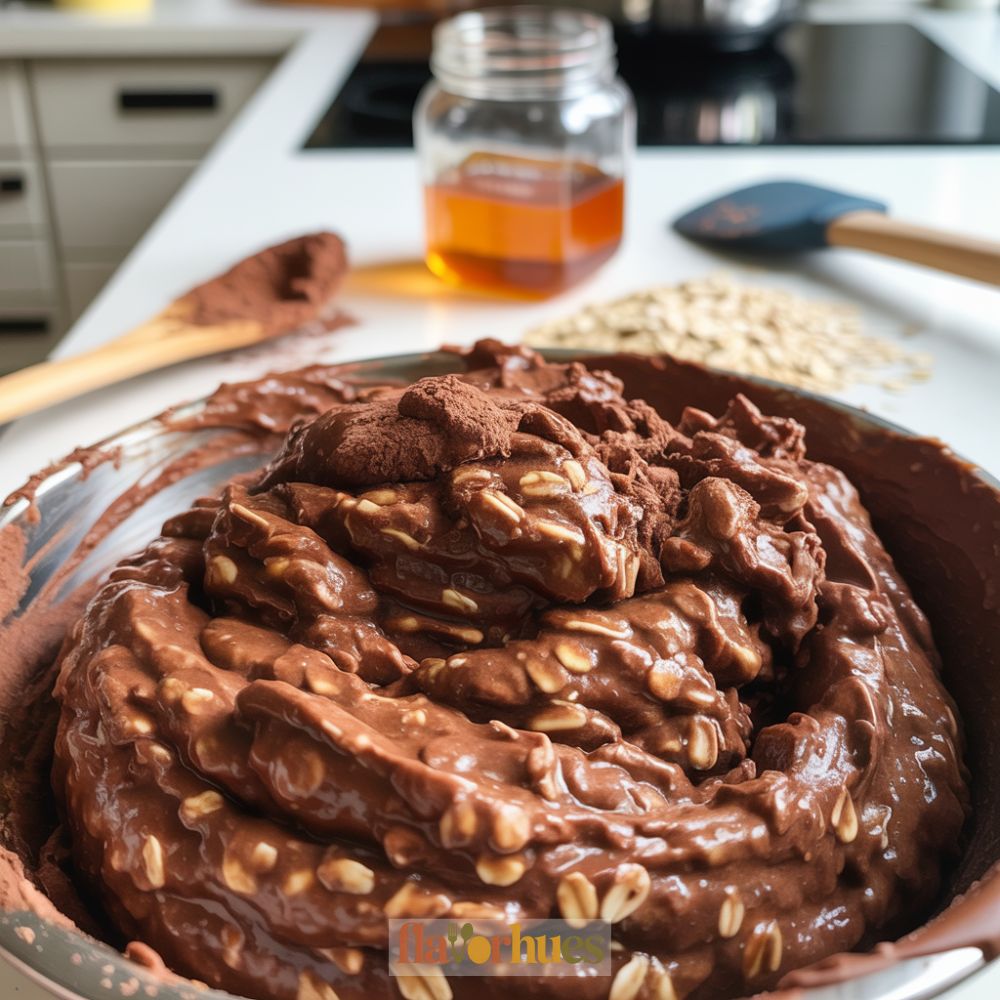
If it seems a little too dry, I’ll add more nut butter. Too sticky? I throw in a few more oats. After it’s all combined, I roll the dough into balls—about an inch across.
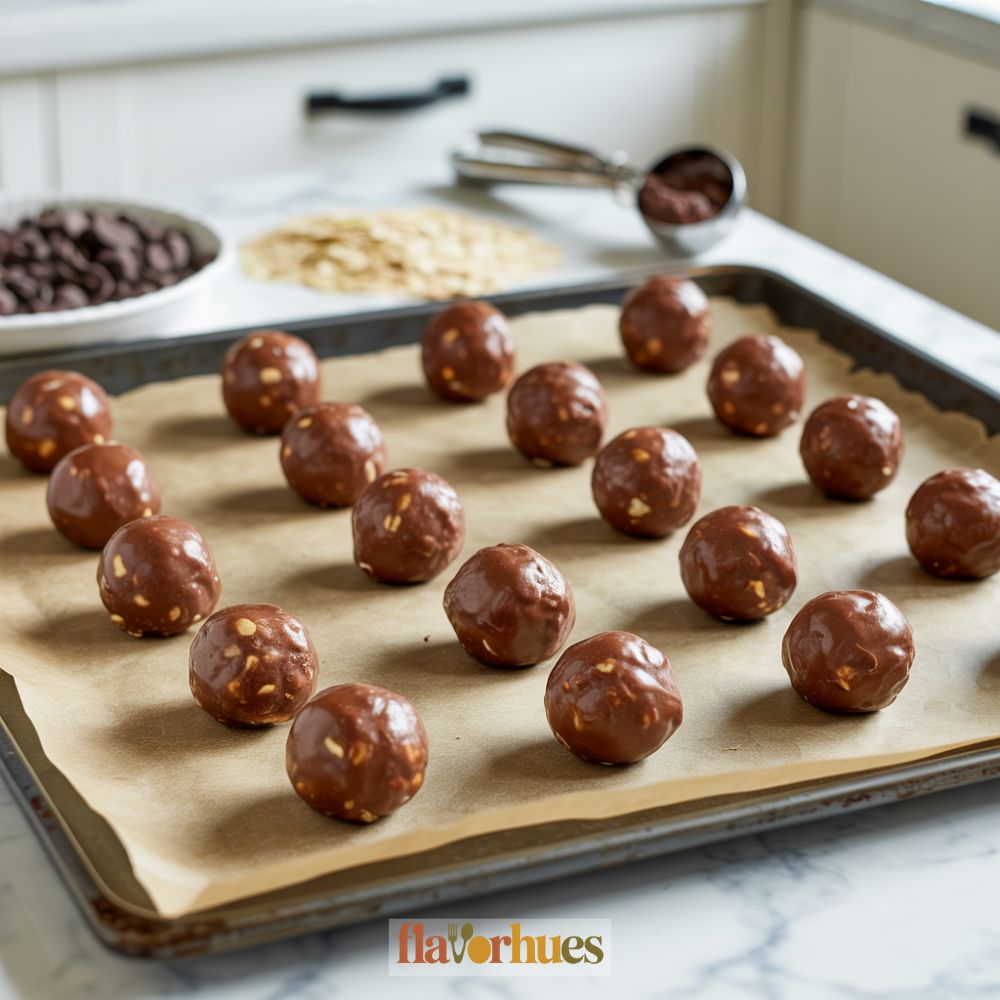
I put the energy bites on a tray and pop them in the fridge for 20-30 minutes. That helps them firm up so they’re not falling apart when you eat them.
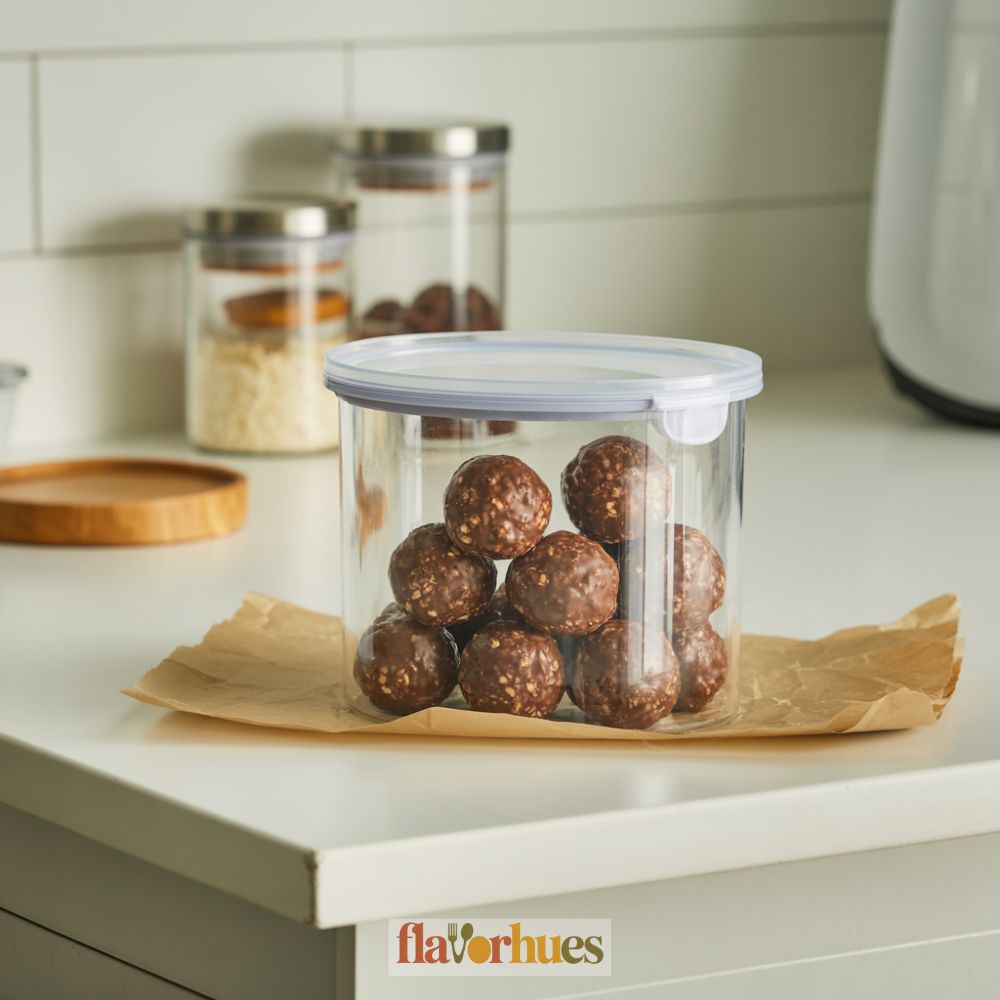
Once they’ve chilled, they’re good to go. I keep them in a sealed container in the fridge, ready whenever I want a snack.

Ingredients
- 1 cup rolled oats or gluten-free oats
- ½ cup creamy peanut butter or almond butter
- ⅓ cup honey or maple syrup
- ¼ cup unsweetened cocoa powder or raw cacao powder
- ½ teaspoon vanilla extract
- ¼ cup mini chocolate chips or dark chocolate chips
- 2 tablespoons ground flax seeds optional
- 2 tablespoons chia seeds optional
- ¼ cup dried cranberries optional
- ¼ cup shredded coconut optional
- 2 tablespoons wheat germ optional
- 2 tablespoons chocolate protein powder optional
Instructions
- Line a baking sheet with parchment paper.
- In a mixing bowl, combine rolled oats, cocoa powder, flax seeds, chia seeds, cranberries, coconut, wheat germ, and protein powder (if using).
- Add in peanut butter, honey, and vanilla extract.
- Stir with a wooden spoon or spatula until the mixture is fully combined.
- Fold in mini chocolate chips.
- If the mixture is too dry, add more nut butter or honey. If too wet, add a few tablespoons of oats.
- Roll the mixture into 1-inch balls using your hands or a cookie scoop.
- Place the bites on the prepared baking sheet.
- Chill in the fridge for 20–30 minutes until firm.
- Store in an airtight container in the refrigerator for up to 1 week.
Nutrition
Substitute
Let’s be real, sometimes I’m out of an ingredient or two. No big deal—there are a bunch of easy swaps. Saves me a trip to the store, and I can usually make it work with what I’ve got.
- Nut Butter: If I’m out of peanut butter, almond, sunflower seed, or even cashew butter all work. Each one changes up the flavor a bit.
- Sweetener: I’ve used honey, maple syrup, agave, and sometimes unsweetened applesauce if I want to cut back on sugar.
- Oats: Regular, quick, or gluten-free oats—they all do the trick.
If I’m feeling like Almond Joy, I’ll add coconut flakes, almonds, and a few extra chocolate chips. Switching to almond butter gives it more of that nutty vibe.
Here’s a quick swap chart:
| Ingredient | Substitute Options |
|---|---|
| Peanut Butter | Almond, cashew, or seed butter |
| Honey | Maple syrup, agave, applesauce |
| Oats | Quick oats, gluten-free oats |
| Chocolate Chips | Cacao nibs, carob chips |
| Almonds (for Almond Joy) | Walnuts, pecans |
Mixing and matching keeps things interesting. Plus, if you’ve got allergies, these swaps help make a batch everyone can enjoy. I like trying new combos when I get bored of the usual.
What Can Go Wrong?
Sometimes my mixture just ends up too dry or crumbly. That’s usually because I’ve tossed in too many dry ingredients or got a little sloppy with measuring the wet ones.
If my dough refuses to stick together, I’ll just mix in a bit more honey or nut butter—problem mostly solved.
Other times, I go the opposite direction and use too much liquid. Then the bites get sticky and annoying to shape.
When that happens, I pop the bowl in the fridge for about 10-15 minutes. Sometimes I’ll add a handful more oats if it’s still a mess.
It’s also way too easy to forget about storage. If I leave them in something that’s not airtight, they dry out or start tasting weirdly like whatever’s in the fridge.
Sealing them up really does keep them fresher, longer. That little detail makes a difference, trust me.
Here’s a quick list I try to keep in mind:
- Measure ingredients carefully
- Store in an airtight container
- Adjust wet or dry ingredients as needed
- Chill before shaping, if too sticky
If they taste a bit bland, I’ll just throw in a pinch of salt or a splash of vanilla next time. It’s not the end of the world—most problems are easy enough to tweak.